Utah Drywall Repair is here to unveil the secrets to achieving flawless finishes in drywall installation. Your walls are a canvas waiting to be perfected, and with our expert guidance, you can transform them into a masterpiece. In this article, we’ll share professional tips and techniques that will elevate your drywall installation game to a whole new level.
Contents
- 1 Introduction: The Art of Flawless Drywall
- 2 The Right Foundation: Choosing Quality Drywall
- 3 Precision Matters: Measuring and Cutting
- 4 Seamless Installation: Attaching Drywall Panels
- 5 Taping and Mudding: The Key to Seamless Joints
- 6 FAQ Section
- 7 Ready to Achieve Flawless Finishes? Contact Utah Drywall Repair!
Introduction: The Art of Flawless Drywall
Flawless drywall installation is more than just a skill; it’s an art form that requires precision, technique, and attention to detail. At Utah Drywall Repair, we’re passionate about helping you achieve professional results that elevate the aesthetics and structural integrity of your space.
The Right Foundation: Choosing Quality Drywall
The journey to a flawless finish begins with selecting the right drywall. Opt for high-quality panels that match the needs of your project, whether it’s standard drywall, moisture-resistant drywall, or fire-resistant drywall. The right foundation sets the stage for a successful installation.
Precision Matters: Measuring and Cutting
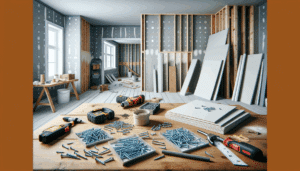
Accurate measurements are the backbone of flawless drywall installation. Use a T-square or ruler to ensure straight lines and precise angles. A utility knife with a sharp blade will make clean cuts, preventing jagged edges that can affect the final result.
Seamless Installation: Attaching Drywall Panels
When attaching drywall panels, proper support is crucial. Secure panels with screws or nails, ensuring they’re evenly spaced and properly aligned. Use anchors if you’re attaching drywall to a ceiling or surface that can’t hold nails or screws directly.
Taping and Mudding: The Key to Seamless Joints
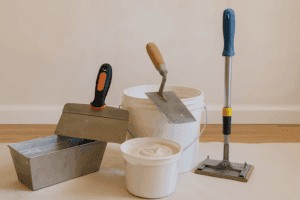
Taping and mudding are where the magic happens. Apply joint tape over the seams and cover it with joint compound. Feather the edges to create a smooth transition between panels. Apply multiple thin layers of joint compound, allowing each layer to dry and sanding between coats.
FAQ Section
Q: Can I install drywall over existing walls? A: Yes, it’s possible to install drywall over existing walls, but proper preparation and surface inspection are essential.
Q: What’s the ideal thickness for drywall panels? A: The standard thickness for drywall panels is 1/2 inch, but 5/8 inch is recommended for ceilings and walls that need extra durability.
Q: How do I avoid visible seams in my drywall installation? A: Proper taping, mudding, and sanding techniques, as well as feathering the edges, help create seamless joints.
Q: Is professional drywall installation necessary for DIY enthusiasts? A: While DIY enthusiasts can handle drywall installation, larger projects or complex designs might benefit from professional expertise.
Q: Why choose Utah Drywall Repair for complex drywall projects? A: Our skilled team ensures precise installation, seamless joints, and a flawless finish, elevating the aesthetics and value of your space.
Ready to Achieve Flawless Finishes? Contact Utah Drywall Repair!
Whether you’re tackling a single room or an entire home, Utah Drywall Repair is your partner in achieving professional results in drywall installation. For a flawless finish that speaks volumes about your dedication to craftsmanship, contact us at 801-406-6350 or visit our website. Let’s transform your walls into works of art.


