Drywall installation can seem like a daunting task for homeowners looking to remodel or repair their homes. However, with the right guidance and tools, it can be an incredibly rewarding DIY project. At Utah Drywall & Repair, we understand the complexities that come with drywall installation and are here to provide a step-by-step guide to make the process as easy and understandable as possible. This blog post is designed to help homeowners in our service areas, including the regions around Salt Lake, Davis, and Utah County, embark on their drywall installation projects with confidence.
Contents
- 1 Understanding Drywall Materials
- 2 Preparing Your Workspace
- 3 Measuring and Cutting Drywall Panels
- 4 Installing Drywall Panels
- 5 Mudding and Taping Seams
- 6 Sanding and Finishing Touches
- 7 Priming and Painting Your Drywall
- 8 Tips for a Successful Drywall Installation
- 9 Avoiding Common Mistakes
- 10 When to Call in the Professionals
Understanding Drywall Materials
Before diving into the installation process, it’s crucial to understand the materials you’ll be working with. Drywall, also known as gypsum board, comes in various sizes and thicknesses to suit different applications. The most common thicknesses are 1/4 inch for curved walls, 1/2 inch for standard walls, and 5/8 inch for ceilings or fire-resistant applications. Choosing the right type of drywall is essential for your project’s success.
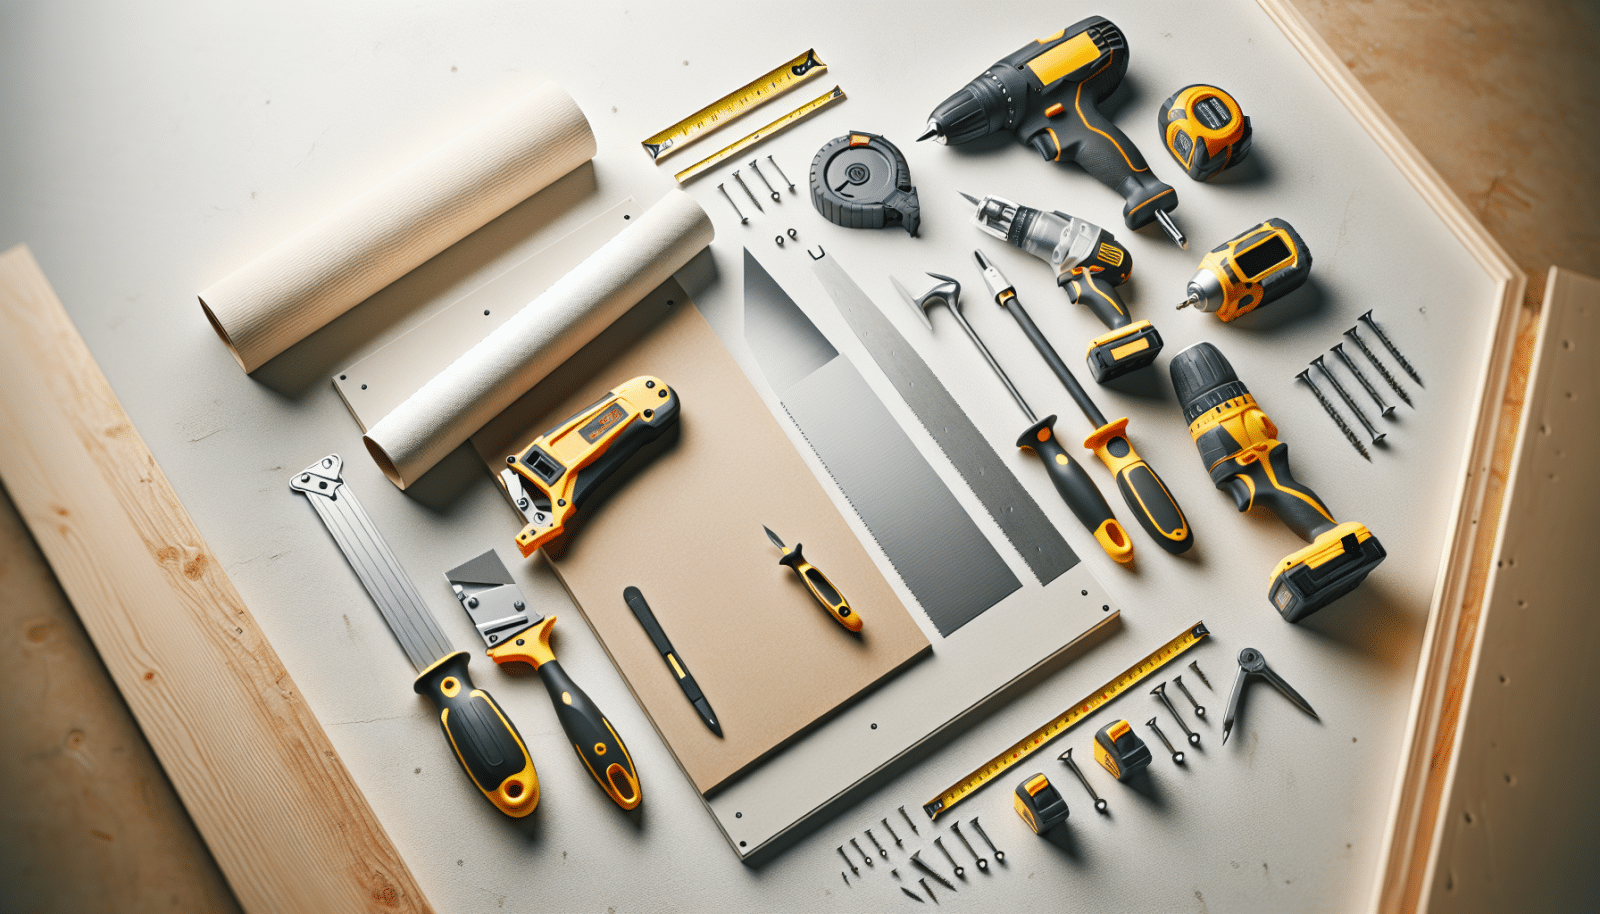
Additionally, you’ll need drywall screws, joint compound, drywall tape, and a few tools like a drywall saw, a utility knife, and a T-square. Gathering all necessary materials before starting will save you time and ensure a smooth installation process.
Preparing Your Workspace
Preparation is key when it comes to drywall installation. Start by clearing out the room as much as possible or covering furniture with drop cloths to protect from dust and debris. Next, remove any existing wall coverings, nails, or screws from the walls. It’s also a good time to check for and address any structural issues or insulation needs before the new drywall goes up.
Ensuring that your workspace is ready and accessible will make the installation process much more manageable. Remember to also protect your floors with drop cloths or plastic sheeting.
Measuring and Cutting Drywall Panels
Accuracy is paramount when measuring and cutting drywall panels. Use a T-square to mark your cut lines on the drywall sheet, ensuring your measurements are precise. When cutting, you can use a utility knife to score the front side of the drywall along your line, then snap the board along the score and cut the paper backing. For cutouts like electrical outlets, measure carefully and use a drywall saw.
Remember, measure twice, cut once! This adage is incredibly important to avoid wasting materials. With a little practice, cutting and fitting drywall can be a straightforward process.
Installing Drywall Panels
Installing drywall begins with the ceiling panels if you’re working on both walls and ceilings. This allows the wall panels to help support the edges of the ceiling panels. Use drywall screws and a drill to attach the panels to the studs or joists, making sure the screws are slightly below the surface of the drywall but not tearing through the paper.
For walls, work from the top down, and be mindful of staggering the seams between panels to add strength and improve the final appearance. Adequate support and proper alignment are critical during this step to ensure a seamless finish.
Mudding and Taping Seams
Once all the panels are up, the next step is to cover the seams and screw holes with joint compound, also known as mud, and reinforce them with drywall tape. Apply a thin layer of mud along each seam, gently press the tape into it, then apply another layer of mud over the top, smoothing it out with a drywall knife.
This process is repeated for screw holes and any imperfections. Allow the mud to dry completely between coats, sanding lightly before applying the next coat. Patience during this stage will lead to a smooth, professional-looking wall.
Sanding and Finishing Touches
After the final coat of mud has dried, it’s time for sanding. Use a fine-grit sandpaper or a sanding block to smooth out the joint compound, being careful not to sand through the tape. The goal is a smooth, even finish that’s ready for primer and paint. Remember to wear a dust mask during this stage to protect your lungs from fine dust particles.
Once sanded, inspect your work for any imperfections, and feel free to apply additional mud and sand as needed. This meticulous attention to detail will ensure a professional-grade finish.
Priming and Painting Your Drywall
With the drywall sanded and smooth, the next step is to apply a primer. Primer helps seal the drywall and ensures an even, adhesive surface for your paint. Make sure to choose a high-quality primer suited for drywall, applying it evenly across the surface.
After the primer has dried, you’re ready to paint. Whether you’re aiming for a bright, airy feel or a cozy, warm atmosphere, the right paint can completely transform a room. Apply the paint in coats, allowing adequate drying time in between, to achieve the best finish.
Tips for a Successful Drywall Installation
- Measure Carefully: Ensuring accurate measurements from the start can save a lot of time and material.
- Use the Right Tools: Having the correct tools on hand, like a drywall saw and a T-square, makes the installation process smoother.
- Mind the Gaps: When installing panels, leave a small gap between them to accommodate for expansion and contraction.
- Patience with Mudding: Don’t rush the mudding process; multiple thin coats are better than one thick coat.
- Keep it Clean: Regularly clean your tools and work area to avoid mixing dried joint compound into your fresh mud.
Avoiding Common Mistakes
A common mistake during drywall installation is driving screws too deep and tearing the paper. This compromises the hold of the screw and can lead to cracks later on. Another mistake is not allowing enough drying time between coats of mud or not properly sanding between coats, which can result in an uneven finish.
Also, failing to properly seal or tape the joints can lead to cracking and separation. Paying close attention to these details and following best practices will help you avoid these pitfalls and achieve a seamless installation.
When to Call in the Professionals
While DIY drywall installation can be a rewarding project, certain situations may call for professional assistance. If you’re dealing with high ceilings, complex architectural details, or significant water damage, it might be time to call in the experts from Utah Drywall & Repair.
We have the skills, tools, and experience to handle any drywall challenge, ensuring a flawless finish every time. Don’t hesitate to reach out for a consultation on your project, big or small.
Ready to tackle your drywall installation project but still have questions? The team at Utah Drywall & Repair is here to help. Give us a call at 801-406-6350 or Request a Free Quote today. Transforming your space is just a call or click away!


