Most drywall headaches don’t start with the mud pan. They start five steps earlier—poor planning, bad framing, rushed fasteners, and dust everywhere. Here’s a straight, field-tested guide to the top mistakes that wreck sheetrock installs across Salt Lake County, Davis County, and Utah County—and what to do instead.
Contents
- 1 Mistake 1: Skipping Layout and Material Planning
- 2 Mistake 2: Mounting to Wavy or Out-of-Square Framing
- 3 Mistake 3: Putting Seams Wherever They Land
- 4 Mistake 4: Using the Wrong Fasteners—or the Right Ones the Wrong Way
- 5 Mistake 5: Starving or Smothering the Joints
- 6 Mistake 6: Rushing Corners and Beads
- 7 Mistake 7: Sanding Like a Sculptor—and Breathing the Dust
- 8 Mistake 8: Ignoring Moisture and Temperature
- 9 Mistake 9: Skipping the Right Primer
- 10 Mistake 10: Treating Ceilings Like Just Another Wall
- 11 Side Notes That Save Budgets
- 12 Tools the Pros Actually Reach For
- 13 When to Call Reinforcements
- 14 Services and Next Steps
- 15 Get a Clean, Flat Finish Without the Headaches
Mistake 1: Skipping Layout and Material Planning
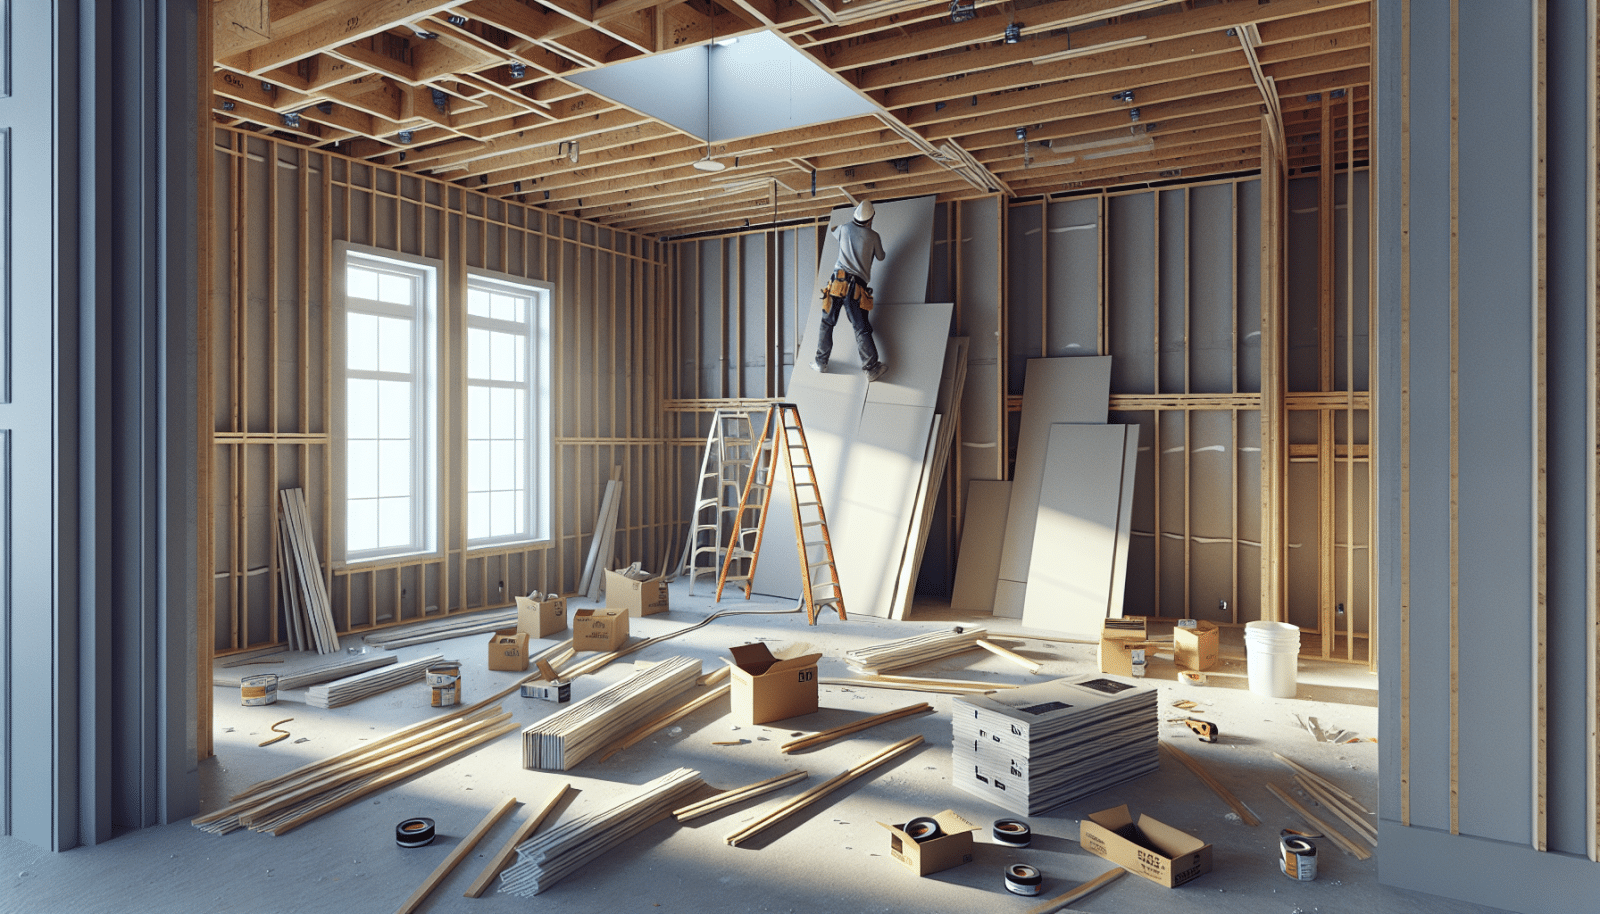
Ordering “about enough” sheets, forgetting long runs, and ignoring stud direction causes seams to land in mid-air and waste time. Measure rooms twice, sketch every wall (including window/door openings), and plan horizontal runs first. Buy 10% extra to cover cuts. Keep 12-ft boards in play for long walls to reduce butt seams. In tight stairwells, stage sheets before you start; carry paths matter more than you think.
Quick Fix
Create a cut list, mark stud layout on floors and ceilings, and pre-label each sheet position on painter’s tape. It feels slow; it saves hours.
Mistake 2: Mounting to Wavy or Out-of-Square Framing
Sheetrock highlights every flaw under paint and light. If framing bows, crowns the wrong way, or lands off plane, you’ll chase it with compound forever. A ¼-inch hump in a stud becomes a visible shadow line later.
Quick Fix
String-line or laser the wall. Plane or shim studs until they hit the same plane. Sister crooked studs. Take 30 minutes now, save three mud coats later.
Mistake 3: Putting Seams Wherever They Land
Random seams equal random cracks. Horizontal seams at the same height around a room and stacked vertical joints on adjacent courses create weak lines that telegraph through paint.
Quick Fix
Stagger vertical joints by at least 16 inches and keep butt seams away from high-glare areas. Land factory edges together whenever possible and keep seams off inside corners. On long runs, use pre-beveled butt-board or float a shallow back-bevel on butt joints to make feathering easier.
Mistake 4: Using the Wrong Fasteners—or the Right Ones the Wrong Way
Drywall screws driven too deep cut the paper face; nails that miss framing or pop later will ruin finished walls. Overdriven screws = future pops and flashing under primer.
Quick Fix
Use coarse-thread drywall screws for wood, fine-thread for metal studs. Set a proper dimpler bit and test it on scrap so the head sits just below the surface without breaking paper. Typical cadence: 16 inches on center for walls, 12 inches on ceilings, tighter if you’re using ½-inch board on joists with wider spacing. If a screw tears paper, back it out, move over 1 inch, and set a fresh screw.
Mistake 5: Starving or Smothering the Joints
Too little compound and the tape won’t bond. Too much and you build a ski slope that sands forever. Paper tape bridges cracks better than mesh on flats but only if it’s properly bedded.
Quick Fix
Embed paper tape in a thin, even bed of all-purpose mud. Press firmly; remove excess so the tape sits flat with no bubbles. Use setting-type compound (hot mud like USG Easy Sand 45 or 90) for first coats on repairs or where fast turnaround helps. Switch to lightweight for final coats to reduce sanding.
Mistake 6: Rushing Corners and Beads
Inside corners that wander and outside corners without a solid bead get hammered by daily life. Crooked bead equals crooked shadows—especially under recessed lights common along Wasatch-front remodels.
Quick Fix
Use metal or paper-faced metal corner bead on outside corners; fasten every 8–10 inches. For inside corners, fold paper tape cleanly and bed each side evenly. If you want dead-straight inside corners, run a corner roller and corner trowel. Don’t trust eyeballs—use a 6-foot level for a quick check.
Mistake 7: Sanding Like a Sculptor—and Breathing the Dust
Over-sanding cuts paper, exposes tape, and fills the house with dust. That dust migrates everywhere—HVAC returns, cabinets, baby rooms. Not great.
Quick Fix
Feather with your knife first so sanding is minimal later. Use a vacuum-attached sanding head or a Festool/DEWALT dust extractor with a fine filter. Wear a proper mask. Prime between coats in high-glare areas; primer reveals ridges better than bare compound.
Mistake 8: Ignoring Moisture and Temperature
Cold garages in Davis County winters and damp basements in Utah County slow cure times, cause bonding issues, and create joint shrinkage surprises. Mud behaves differently when the room is 52°F and humid.
Quick Fix
Keep rooms between 55–70°F with reasonable airflow. Dehumidify basements before finishing. In bathrooms or laundry rooms, install moisture-resistant board where code requires and use mold-resistant paper or fiberglass-faced products around wet zones (not as a tile backer in showers—that’s a different board).
Mistake 9: Skipping the Right Primer
Paint hides color, not texture. If you prime with leftover wall paint or skip PVA primer altogether, the finish will flash where mud meets paper. You’ll see dull stripes under raking light forever.
Quick Fix
Use a drywall PVA primer—one full coat, even coverage. Then select a quality topcoat appropriate for kitchens, baths, or high-traffic stairwells. Under strong Utah sunlight blasting through big windows, raking light exposes flaws; primer first, always.
Mistake 10: Treating Ceilings Like Just Another Wall
Ceilings sag if you stretch spacing, seams show in the afternoon sun, and heavy texture hides nothing if the substrate is sloppy. Ceiling mistakes are the first thing people notice in open-plan homes from Salt Lake to Lehi.
Quick Fix
Use ⅝-inch board on joists 24 inches on center, or add furring to tighten spacing. Hang boards perpendicular to joists. Consider pre-filling butt joints and using a wider feather (10–12 inches) overhead. If you’re removing old popcorn, test for asbestos when the house predates the 80s and control dust aggressively.
Side Notes That Save Budgets
- Cutting: Score with a sharp blade, snap clean, then trim the back paper. Replace blades often; dull knives tear faces.
- Openings: Wrap window and door openings with factory edges when you can; fewer butt seams around trim means faster finish.
- Electrical: Use a rotary cutout tool gently—mark box locations and plunge with care to avoid oversize holes.
- Acoustics: For bedrooms or media rooms, add mineral wool in the cavity and use sound-damping caulk at plates before hanging.
Tools the Pros Actually Reach For
A 6″, 10″, and 12″ stainless or blue-steel knife set, a hawk or mud pan, a corner roller and corner trowel, a reliable dimpler bit, a 4- or 6-foot level, a roto-zip with a dust port, and a vacuum-sanding setup. Brands that hold up on real jobs: USG Sheetrock compounds, DEWALT and Makita fastening, Festool or DEWALT extractors with HEPA filters, Strait-Flex or paper-faced metal for crisp corners.
When to Call Reinforcements
Large ceiling repairs, major fire or water damage, and whole-home patches around recessed lighting are not “weekend quickies.” They require staging, dust control, lift equipment, and knife control that pays for itself in fewer callbacks and a flatter finish. For full installations or surgical repairs in Salt Lake County, Davis County, and Utah County, leverage a team that does this every day.
Services and Next Steps
For complete installation details and related tasks, see our service overview at Drywall & Repair Services. Planning a new build or a major basement finish? Review specifications for straight, clean installs here: Drywall Installation in Utah.
Get a Clean, Flat Finish Without the Headaches
By Phone: 801-406-6350
By Form: https://drywallrepairutah.com/request-estimate/#free


