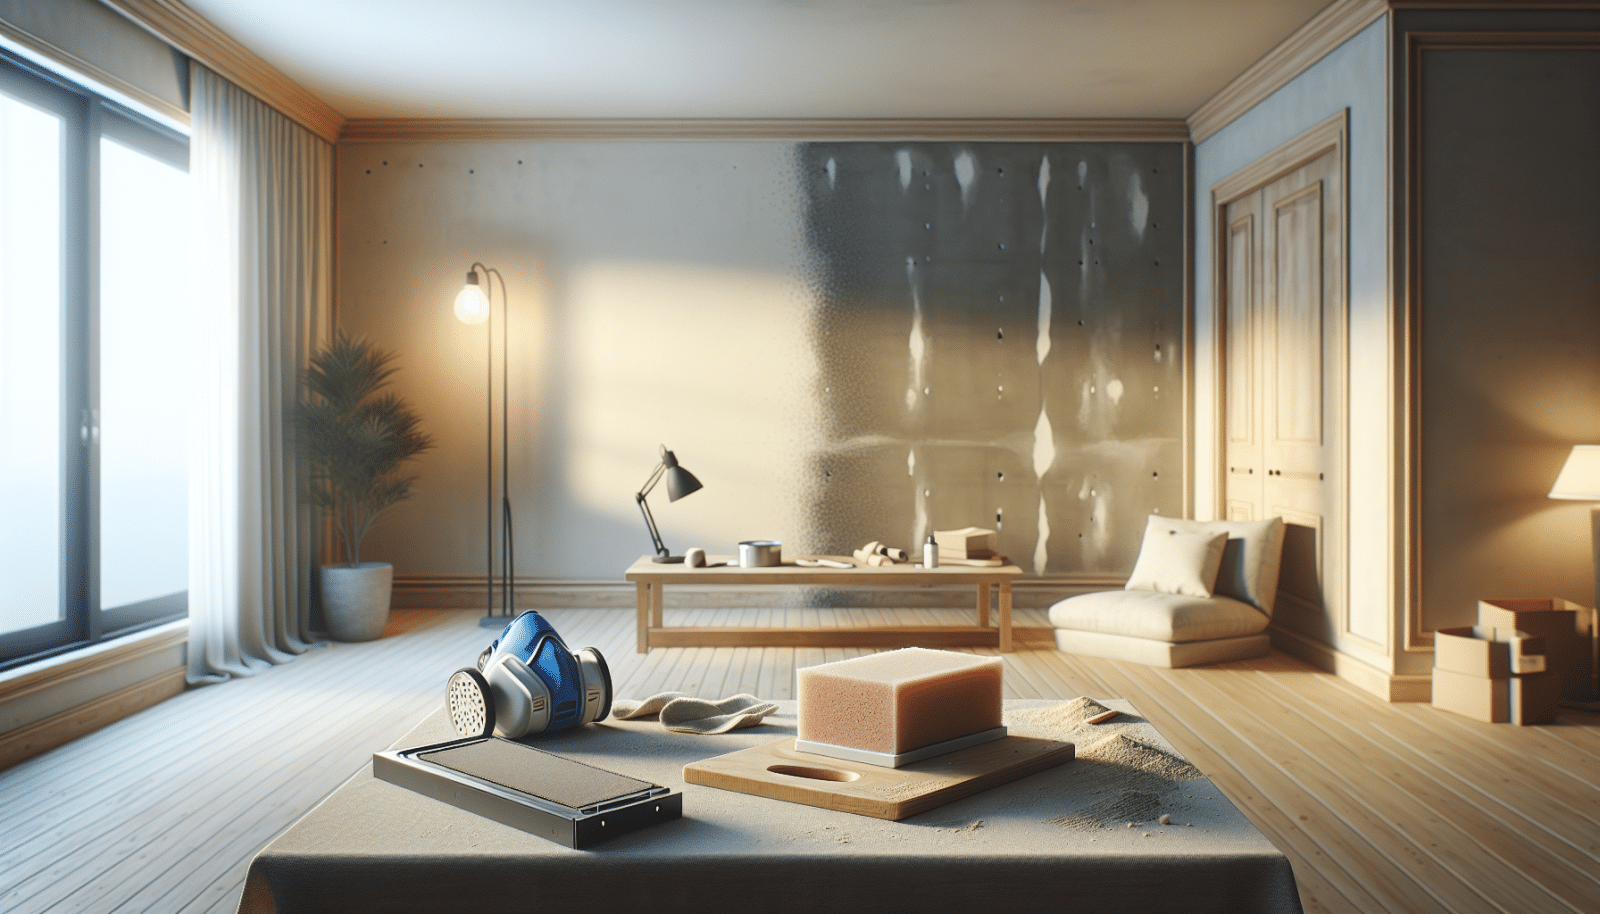
At Utah Drywall & Repair, we know that achieving perfectly smooth walls can feel like a daunting task. Whether you’re dealing with rough surfaces or unsightly seams, drywall Sanding is a crucial step in transforming your home’s interior. Fortunately, this guide will empower you with essential tips and techniques to master the sanding process. From understanding the basics to tackling common challenges, this article is your go-to resource for homeowners eager to achieve professional-looking results.
Contents
- 1 Understanding the Importance of Drywall Sanding
- 2 Choosing the Right Tools
- 3 Preparing the Room for Drywall Sanding
- 4 Basic Sanding Techniques
- 5 Tackling Corners and Edges
- 6 Common Sanding Mistakes to Avoid
- 7 Finishing Touches with Fine Grit Sanding
- 8 Priming and Painting Smooth Walls
- 9 Maintaining the Perfect Wall Finish
- 10 Your Partner in Home Improvement
Understanding the Importance of Drywall Sanding
Before we dive into the nitty-gritty of drywall sanding, let’s discuss why it’s so important. Sanding is vital because it smooths out the surface after joint compound application, ensuring a flawless finish for Painting. Without proper sanding, those lumps, bumps, and irregularities can ruin your perfect vision for your interiors.
Another key aspect is the enhancement of the paint application. A smoothly sanded wall allows paint to adhere better, preventing peeling and reducing the likelihood of needing frequent repainting. So, gear up to tackle sanding head-on and watch your walls transform into a smooth canvas.
Choosing the Right Tools
Aspire to achieve professional results? Then you’ll need the right tools in your arsenal. Whether you’re a DIY enthusiast or new to home improvements, selecting the right equipment can make all the difference.
For starters, a variety of sandpaper grits are essential. You’ll need coarse, medium, and fine grit papers to progressively smooth out imperfections. A sanding block or pole sander is invaluable for reaching high areas without strain. Also, consider investing in a dust mask and goggles to protect against drywall dust.
Preparing the Room for Drywall Sanding
Preparation is half the battle won! Before you start with sanding, it’s important to prepare your space. Begin by removing or covering furniture and sealing off doorways to minimize dust spread. Trust us, drywall dust can get everywhere if you’re not vigilant.
Next, inspect your walls thoroughly. Identify and mark uneven patches or nail holes that need extra attention later. Finally, ensure ample lighting in the room to clearly see all surfaces you’re working on. Now, you’re ready to kickstart the sanding process with confidence.
Basic Sanding Techniques
Now that you’re set up, let’s jump into the basics of sanding. Employing the right technique will save you time and effort. Always start with coarser grits and move towards finer grits to finish off.
Keep your strokes steady and consistent to achieve an even finish. Also, remember to sand lightly to avoid digging into the drywall, which can create dents. By maintaining a consistent pressure and moving methodically, you’ll create those perfectly smooth walls you’ve been dreaming about.
Tackling Corners and Edges
Corners and edges can be tricky, but with some know-how, they don’t have to be. For inner corners, use a sanding sponge to get into tight spaces. It conforms to the angle, providing an even smoothness where larger tools can’t reach.
When it comes to outer edges, a corner sanding tool can prove invaluable. This specialized tool smooths out sharp edges efficiently. With the right technique and tools, you can conquer corners and edges without the frustration.
Common Sanding Mistakes to Avoid
It’s easy to make mistakes during sanding, but being aware of them can save you from unnecessary headaches. Here are some pitfalls to watch out for:
- Over-Sanding: Avoid applying excessive pressure, which can gouge the drywall.
- Skipping Grits: Progressing through grits systematically prevents noticeable scratches.
- Ignoring Wear: Replace worn-out sandpaper to maintain efficiency.
- Rushing: Take your time for a polished result; haste makes waste.
- Neglecting Dust Management: Keep dust under control to avoid mess and health hazards.
Finishing Touches with Fine Grit Sanding
Having tackled the bulk of your smoothening task, it’s time for those finishing touches. Fine grit sandpaper is your best friend now. It’s delicate enough for smoothing out finer imperfections without roughening the surface.
At this stage, feel the wall with your hand to detect any remaining irregularities. Pay close attention to these spots, ensuring they match the rest of your pristine surface. Once this is accomplished, your wall is ready for priming and painting.
Priming and Painting Smooth Walls
Satisfaction lies in seeing your hard work pay off, and priming sets the stage for the final act. Before painting, apply a quality primer to ensure even paint coverage. Primer not only hides sanding marks but also enhances paint adhesion.
Now, you’re ready for that long-anticipated coat of color. Applying multiple thin layers achieves the best results, leaving your walls looking professionally finished. A perfectly primed and painted wall is the crowning glory of your successful sanding mission.
Maintaining the Perfect Wall Finish
After all that effort, you’ll want to maintain that perfect smoothness for as long as possible. Regular maintenance can keep your walls looking fresh and new. Be mindful of scratching or bumping furniture against the walls, and promptly address any damage.
Furthermore, keep a small amount of matching paint on hand for touch-ups. With simple and timely maintenance, your walls will continue to impress for years to come.
Your Partner in Home Improvement
We hope this guide empowers you to achieve perfectly smooth walls with drywall sanding. If you need expert assistance, don’t hesitate to reach out to Utah Drywall & Repair by phone # 801-406-6350 or Request a Free Quote. Your home deserves nothing less than the best!


