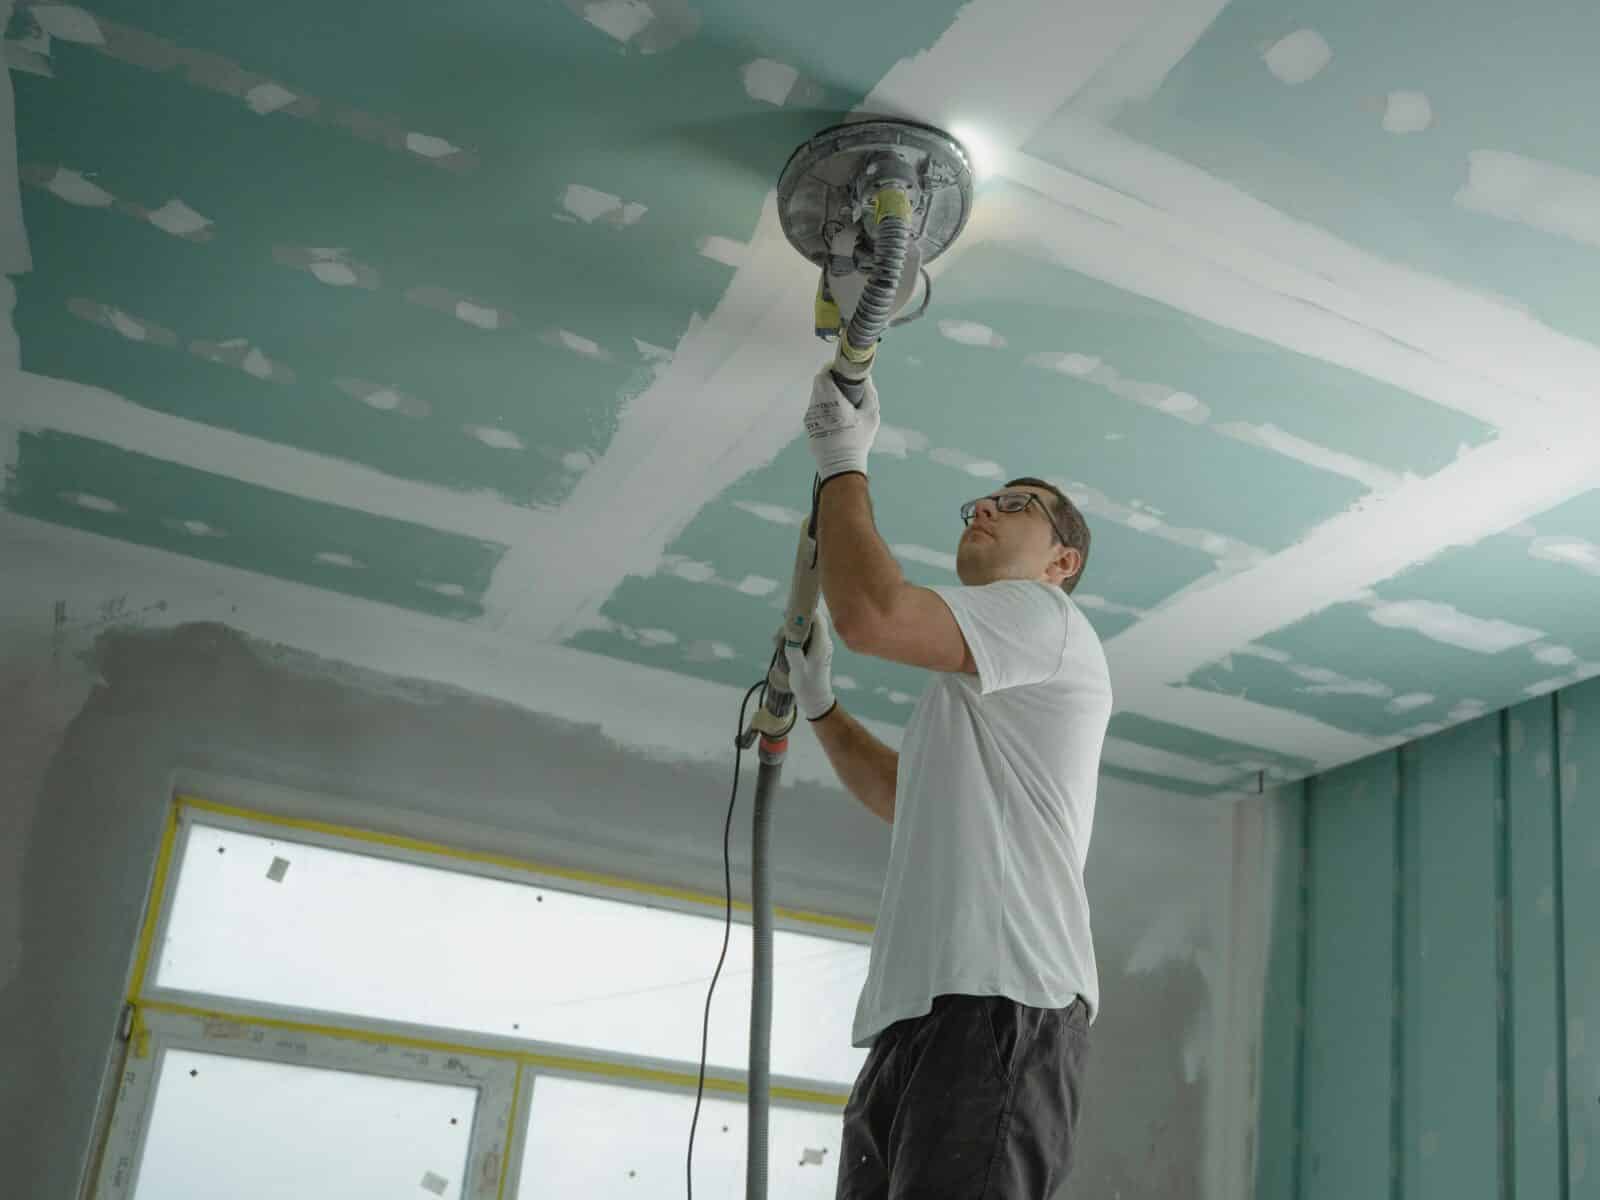
Popcorn ceilings had their moment. If yours still hangs overhead in Salt Lake, Davis, or Utah County, you can make it go away—safely, cleanly, and without wrecking your walls. Here’s a step-by-step tutorial that reads like a field guide, not a lecture, so you can work confidently and know when to bring in a pro.
Contents
- 1 First things first: the asbestos question
- 2 Utah homes, Utah prep
- 3 The safest, cleanest method: wet-scrape in sections
- 4 When water won’t bite: paint-sealed popcorn
- 5 Skim-coating like a finisher (without losing your weekend)
- 6 Prime reveals all; fix what it shows
- 7 Clean containment beats big cleanup
- 8 Finishes that complement Utah light
- 9 Common mistakes—and quick corrections
- 10 Timeline reality check
- 11 When to call a pro
- 12 Quick reference: step sequence you won’t forget
- 13 Ready for help in Salt Lake, Davis, or Utah County?
First things first: the asbestos question
Here’s the thing: some popcorn textures installed before the late 1980s can contain asbestos. That doesn’t mean yours does—but guessing is not a plan.
- Send a small scraped sample to an NVLAP-accredited lab or use a mail-in test kit that includes lab analysis.
- Until you have results, treat the ceiling as if it could be hazardous: no aggressive dry scraping, no sanding clouds, no leaf blower “experiments.”
If the lab says positive, stop. In Utah, asbestos-containing material must be handled by a certified abatement contractor. That’s not a scare tactic; it’s simply the safe, legal route.
Utah homes, Utah prep
Our dry climate speeds evaporation, which matters when you’re wet-scraping. Plan smaller sections and keep surfaces damp—not dripping—so the texture releases without gouging the drywall. Turn off HVAC, cover returns, and protect flooring. You’re building a temporary work zone, not a permanent mess.
What you’ll actually use (real tools that work)
- P100 or half-mask respirator with P100 filters, safety glasses, nitrile gloves
- 12- to 14-inch drywall taping knife and a 6-inch knife
- Pump garden sprayer (clean, adjustable fan spray)
- Painter’s plastic (1–2 mil) for floors and walls, blue tape, and rosin paper for hardwood
- Mud pan, setting-type joint compound (e.g., Easy Sand 45/90), all-purpose joint compound for finishing
- Pole sander or sanding sponge (120–220 grit) and a HEPA shop vacuum with brush head
- Problem-surface sealer (Zinsser® Gardz or equivalent) and quality PVA primer for new drywall
- Good lighting: a raking work light exposes defects you’ll miss under soft room light
The safest, cleanest method: wet-scrape in sections
You know what? Big rooms get easier when you stop thinking “room” and start thinking “grid.” Tape off a 5-by-5 foot square, finish it, move on.
- Mask and stage. Floor to wall plastic, overlapped seams, and a taped “gutter” around the room perimeter to catch slurry. Pull down ceiling fans.
- Mist—not soak. Using the sprayer, apply a light, even mist. Wait 5–10 minutes. Test with the 6-inch knife. If it crumbles cleanly, you’re ready. If it smears, give it another pass and a short wait.
- Scrape shallow. Hold the 12-inch knife at a low angle (about 20–30°). Let the dampened texture collapse into the blade. Don’t pry; glide. If you hit tape joints, ease up.
- Feather as you go. Quick skim with the 6-inch knife on any dents you make in the gypsum paper. Don’t chase perfection now; you’ll skim later.
- Bag it right. Let the sludge settle on the plastic. Fold the plastic toward the center, bag it, and set out a fresh sheet for the next grid.
When water won’t bite: paint-sealed popcorn
Sometimes the texture is sealed under layers of paint and water just beads up. That changes the playbook.
- Score and scarify. A light pass with a drywall rasp or a stiff brush creates tooth so water can penetrate.
- Hot water + a drop of dish soap. Helps the mist wet the paint film more evenly.
- Still no release? Switch strategies: leave the texture, skim-coat the entire ceiling with compound to bury the peaks, then sand and prime. Dry scrape only as needed to knock down high spots—no dust storms.
Skim-coating like a finisher (without losing your weekend)
The contradiction: you want glass-smooth ceilings, but you also want to finish this fast. You can do both by stacking thin, wide coats instead of one heavy pass.
- First skim (cover coat). Mix setting-type compound to creamy peanut-butter consistency. Load a 12-inch knife and spread in long, overlapping pulls. Keep the knife clean.
- Second skim (direction change). After the first coat sets, switch directions (if you pulled north–south, go east–west). That cross-hatch helps level micro-waves.
- Spot fill. Use a raking light to circle flaws. Fill only where needed. This is where patience beats force.
- Sand smart. Pole-sand lightly with 180–220 grit, attached to a HEPA vac if possible. You’re breaking nibs, not carving hills.
Prime reveals all; fix what it shows
Prime with a problem-surface sealer on any exposed paper or patchy areas; then follow with a PVA primer designed for new drywall. Primer doesn’t just prepare for paint—it exposes flaws the naked eye missed. Pencil-mark defects, spot-skim, touch-sand, and re-prime the repairs. It sounds repetitive, but it’s quicker than repainting regret.
Clean containment beats big cleanup
Keep your work zone tight. Fold plastic inward to trap debris. Vacuum walls, trim, and floors with a HEPA filter before removing plastic, not after. Wipe remaining dust with barely damp microfiber. Reinstall fixtures and vents once the paint is dry, not before—ceiling scuffs happen faster than you think.
Finishes that complement Utah light
Natural light along the Wasatch can be unforgiving at shallow angles. A dead-flat ceiling paint hides the most. Want a hint of texture for character? Consider a tight orange peel or soft knockdown applied after priming, especially in hallways with strong side light. It’s not a shortcut; it’s a design choice that can look deliberate and hide minor waves.
Common mistakes—and quick corrections
- Over-wetting. If paper starts to bubble, you’re soaking the gypsum. Pause, let it dry, then skim-coat those spots.
- Gouging the paper. Seal torn paper with Gardz before skimming; otherwise, the compound will blister.
- Skipping primer. Paint alone won’t bind fuzzed paper or equalize porosity. Prime or fight flashing forever.
- Rushing sanding. One calm pass beats three angry ones. Sand less, check more, light low.
Timeline reality check
A single 12×12 room, unpainted popcorn, negative for asbestos: one day to scrape and rough skim, another day to finish skim, sand, prime, and paint. Paint-sealed texture or heavy repairs adds time. Ceiling work is overhead and fatiguing—breaks aren’t laziness; they protect your finish.
When to call a pro
If your lab result is positive for asbestos—call a licensed abatement contractor. If the ceiling shows sagging drywall, failed tape joints, past roof leaks, or major cracking, a drywall crew can remove panels, re-hang, and finish faster and cleaner than a weekend warrior. For full-service help from a local team, see our Popcorn Ceiling Removal service page: safe popcorn ceiling removal in Utah. For other needs like patches, retexturing, or water-damage repair, browse all drywall services.
Quick reference: step sequence you won’t forget
- Test for asbestos; proceed only with a negative result
- Mask floors/walls; kill HVAC and protect vents
- Mist a small grid; wait; shallow-scrape
- Skim-coat as needed; change direction per coat
- Light sand; prime (sealer + PVA); spot-fix; re-prime
- Finish paint in flat; clean, reinstall fixtures
Ready for help in Salt Lake, Davis, or Utah County?
If you want it handled start-to-finish—testing guidance, containment, removal, skim, prime, and paint—book a local crew that treats ceilings like finish carpentry, not demolition. We work clean, we communicate, and we show up with the right gear the first time.
By Phone: 801-406-6350
By Form: https://drywallrepairutah.com/request-estimate/#free


