Are you a homeowner looking to tackle a drywall project? At Utah Drywall & Repair, we understand that priming and Painting drywall can be challenging without the right guidance. Fortunately, we’re here to help! This article will walk you through the do’s and don’ts, ensuring your walls look pristine and professional. Whether you’re a DIY enthusiast or just looking to learn, let’s dive in!
Contents
- 1 Understanding the Importance of Drywall Priming
- 2 Choosing the Right Primer
- 3 Preparing Your Drywall
- 4 The Do’s of Drywall Priming and Painting
- 5 The Don’ts of Drywall Priming and Painting
- 6 Understanding Different Paint Types
- 7 Proper priming technique
- 8 Paint Application Tips
- 9 Common Painting Mistakes
- 10 Final Thoughts
Understanding the Importance of Drywall Priming
Priming is a crucial first step that many homeowners overlook, but it makes a world of difference in the final outcome. At Utah Drywall & Repair, we emphasize that priming not only prepares the wall surface but also ensures the paint adheres effectively. This results in a smoother and longer-lasting finish.
When you skip priming, you risk blemishes and inconsistent coloring, which can detract from the overall appearance. By investing a little time in this step, you can transform your space with a professional look you’ll love.
Choosing the Right Primer
Not all primers are created equal. Selecting the right one can feel like a daunting task, but fear not! We are here to simplify the process. Different walls and paints require different primers, so understanding your specific needs is key.
For instance, if you’re working with new drywall, consider using a high-build primer to cover joints and seams. On the other hand, if you’re repainting, a stain-blocking primer can prevent old stains from bleeding through. The right primer sets the stage for success!
Preparing Your Drywall
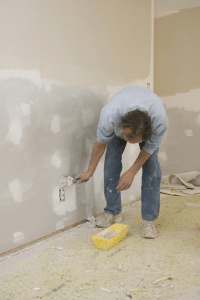
Preparation is everything! Before applying primer, make sure your drywall is in top shape. This means ensuring the surfaces are clean, dry, and free of any imperfections. Taking the time to sand down rough spots and fill in any gaps or holes can make a significant difference.
Remember, a well-prepared surface not only looks better but also helps the primer and paint adhere more strongly. So, grab those tools and get your drywall ready for its makeover.
The Do’s of Drywall Priming and Painting
Ready to prime and paint like a pro? Follow these essential do’s to ensure your project turns out beautifully. Start with the right mindset and a well-organized plan!
- Do proper surface cleaning: Make sure your drywall is free from dust and debris before you start. This improves paint adhesion and ensures a smooth finish.
- Do use quality tools: Invest in good brushes and rollers. Quality tools create a professional finish that lasts longer and looks fabulous.
- Do apply even coats: Applying thin, even coats of primer and paint prevents drips and streaks. Patience is key to achieving a stunning look.
- Do allow ample drying time: Let each coat dry thoroughly before applying the next one. Rushing this step can lead to smudges and imperfections.
- Do ventilate the area: Open windows or use fans to keep the space ventilated. Fresh air helps paint dry faster and reduces inhalation of fumes.
The Don’ts of Drywall Priming and Painting
Learning from mistakes is invaluable, but avoiding them in the first place is even better. Here are some don’ts to keep in mind during your drywall adventure.
First, don’t rush the preparation phase. Skipping steps like cleaning or Sanding can cause poor adhesion and a less appealing finish. Secondly, don’t use the wrong type of primer or paint, as this can lead to cracking and peeling over time.
Understanding Different Paint Types
Knowing your paint is just as important as knowing your primer. Quality and type matter, as they determine both the appearance and durability of your finished walls.
Choose latex or acrylic paint for easy application and quick drying times. If you’re after a more durable finish, consider using oil-based paint. Different rooms might require different types of paint based on moisture levels and usage, so choose wisely!
Proper priming technique
Applying primer might sound straightforward, but there’s more to it than meets the eye. Ensuring that you cover each section thoroughly is vital for a seamless finish.
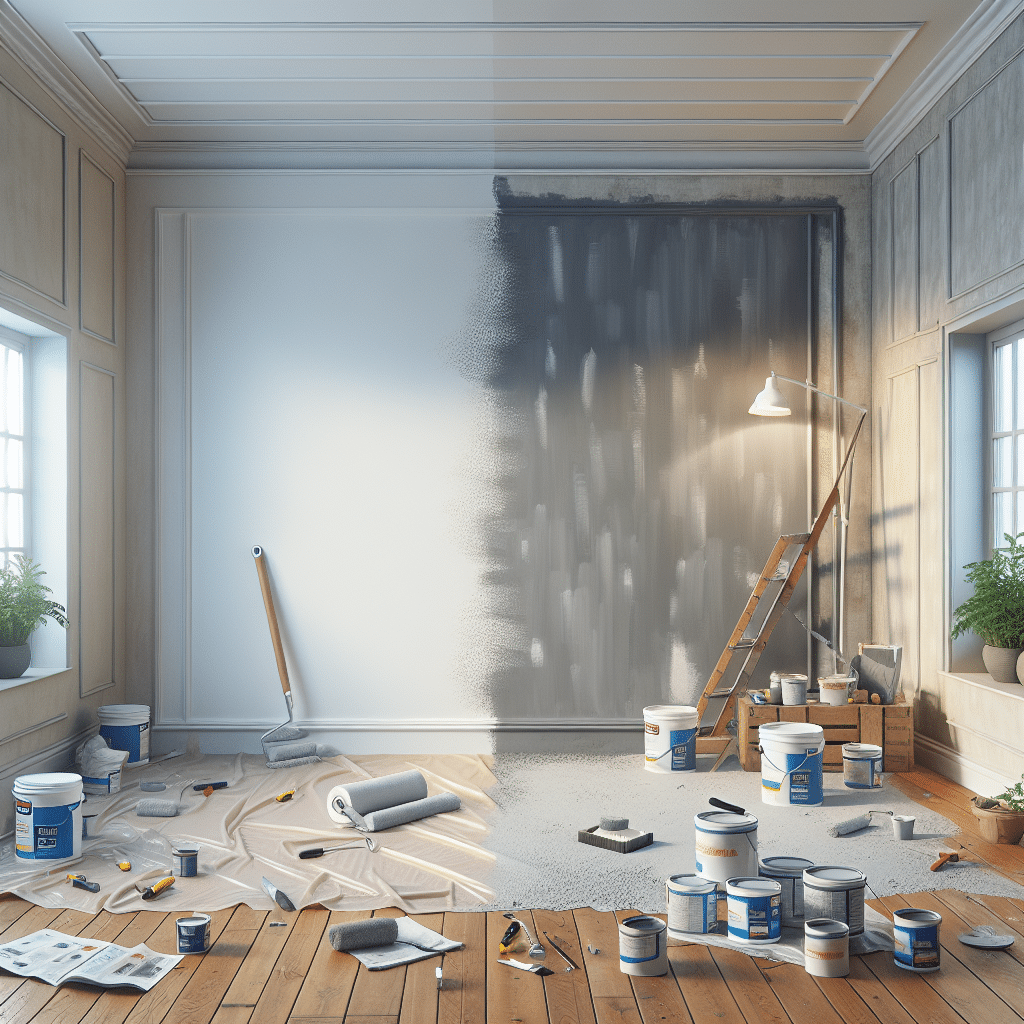
Utilize the “W” technique, where you paint in large W-shaped patterns. This helps in spreading the primer evenly and avoids noticeable strokes, resulting in a clean and uniform look.
Paint Application Tips
Once your primer is dry, it’s time to paint! Make sure your brush or roller is loaded with an appropriate amount of paint, but not too much. Less is more when it comes to achieving a smooth application.
For best results, work in manageable sections and use consistent strokes. Overlapping slightly can prevent patchiness and provides a beautiful, cohesive finish.
Common Painting Mistakes
We all make mistakes, but steering clear of common pitfalls can save you time and frustration. One frequent error is not stirring the paint thoroughly before starting your project, potentially leading to color discrepancies.
Also, be sure not to skimp on primer or paint quality. Bargain options might look tempting, but they often lack the components needed to withstand wear and tear, leading to more frequent touch-ups.
Final Thoughts
Mastering drywall priming and painting can transform your home. By following this guide, you’ll achieve stunning, long-lasting results. For assistance, call us at 801-406-6350 or Request a Free Quote.


