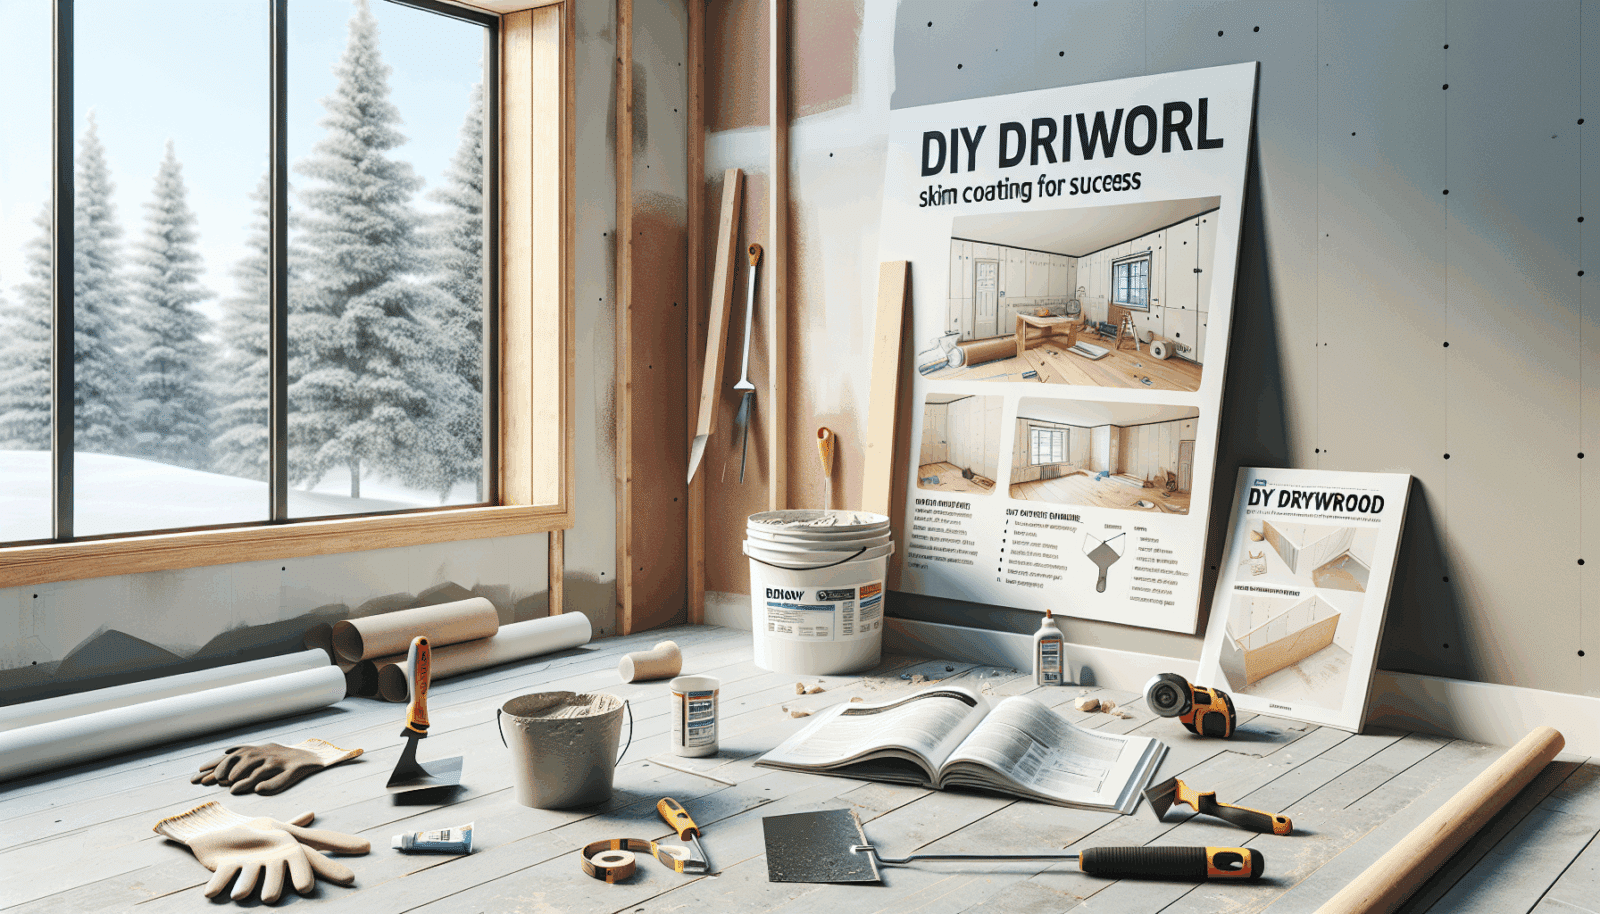
Welcome to Utah Drywall & Repair‘s guide on DIY drywall skim coating! If you’re tired of uneven walls and ready to tackle this on your own, you’re in the right place. In this blog post, we’ll provide you with valuable tips and tricks for mastering the art of skim coating. Let’s dive in and transform your walls from drab to fab!
Contents
What is Skim Coating?
Skim coating is an essential technique for achieving smooth, flawless walls. This process involves applying a thin layer of joint compound over a drywall surface to even out imperfections. Whether you’re repairing a damaged area or preparing walls for Painting, skim coating is the key to professional-looking results.
Using the right tools and techniques is crucial for success. While it might seem daunting, skim coating is achievable with a bit of patience and practice. So, let’s explore how you can become a skim coating pro!
Gathering Your Tools and Materials
Before you start, ensure you have all the necessary tools and materials ready. Proper preparation will set the foundation for a smooth project journey. Standard items you’ll need include joint compound, a mud pan, a trowel, and sandpaper.
Additionally, a drywall knife and a dust mask are must-haves for safety and precision. Gathering these items ahead of time will help you stay focused and on task without unnecessary interruptions.
Preparing Your Workspace
A well-organized workspace makes all the difference. Start by removing any furniture or obstacles from the room. Then, cover flooring and fixtures with drop cloths to protect them from splatters.
Don’t forget to clean the walls thoroughly. Removing dust and debris ensures the joint compound adheres properly, leading to a smoother finish. With your workspace prepared, you’re ready to get skim coating!
Mixing the Joint Compound
Properly mixed joint compound is essential for effective skim coating. Begin by stirring your joint compound to a creamy consistency. This mix should be free of lumps for an even application.
If the compound seems too thick, add a small amount of water to achieve the desired texture. Consistency is key, as it influences how easily the compound spreads across the surface.
The Skim Coating Process
Now comes the fun part: applying the joint compound! Start at the top corner of the wall, using your trowel to spread a thin, even layer. Keep the pressure light to avoid gouging.
Move gradually across the wall, overlapping each stroke for a seamless finish. The goal is to build up the layers slowly, allowing you to achieve a smooth and even surface.
Smoothing Techniques
Achieving a flawless finish requires careful smoothing techniques. Keep your trowel at a consistent angle and use long, overlapping strokes. This not only evens out ridges but also results in a professional appearance.
It’s normal to have some imperfections at first. Don’t worry; we’ll address how to handle those later in this guide.
Drying and Sanding
Once the joint compound is applied, patience is essential. Allow the layer to dry completely before proceeding to the next step. Rushing this process might compromise your results.
After drying, use fine-grit sandpaper to gently smooth out any bumps or ridges. Sanding ensures a polished finish, ready for paint or further decoration.
Common Mistakes to Avoid
Mistakes happen, but knowing what to watch for can minimize them. Here are some common pitfalls and how to avoid them:
- Applying Too Thickly: Excessive compound can lead to an uneven surface. Use thin layers for the best results.
- Skipping Surface Prep: Not cleaning or prepping the wall can affect adhesion and finish quality.
- Inconsistent Pressure: Applying different pressure with your trowel can create unwanted lines. Keep your hand steady.
- Neglecting Drying Time: Impatience can ruin your hard work. Allow each layer to dry fully before sanding or applying another.
- Ignoring Safety: Always wear a dust mask when sanding to protect yourself from harmful particles.
When to Call a Professional
While DIY is satisfying, sometimes it’s best to seek professional help. Complicated projects or extensive damage might be better handled by specialists. Remember, Utah Drywall & Repair is here to support you!
Don’t hesitate to reach out if you find yourself overwhelmed or unsure about moving forward. We’re just a call away and ready to lend our expertise!
Final Thoughts on Skim Coating
Skim coating can elevate your home’s interior by smoothing walls and creating a perfect canvas for painting. With the right tools, preparation, and techniques, your DIY project will shine.
Remember, patience and attention to detail go a long way. Keep these tips in mind, and enjoy the satisfaction of completing a beautiful skim coating project.
Contact Us for Assistance
If you need further guidance or professional help, don’t hesitate to contact us at 801-406-6350 or Request a Free Quote. We’re here to assist with all your drywall needs.


