
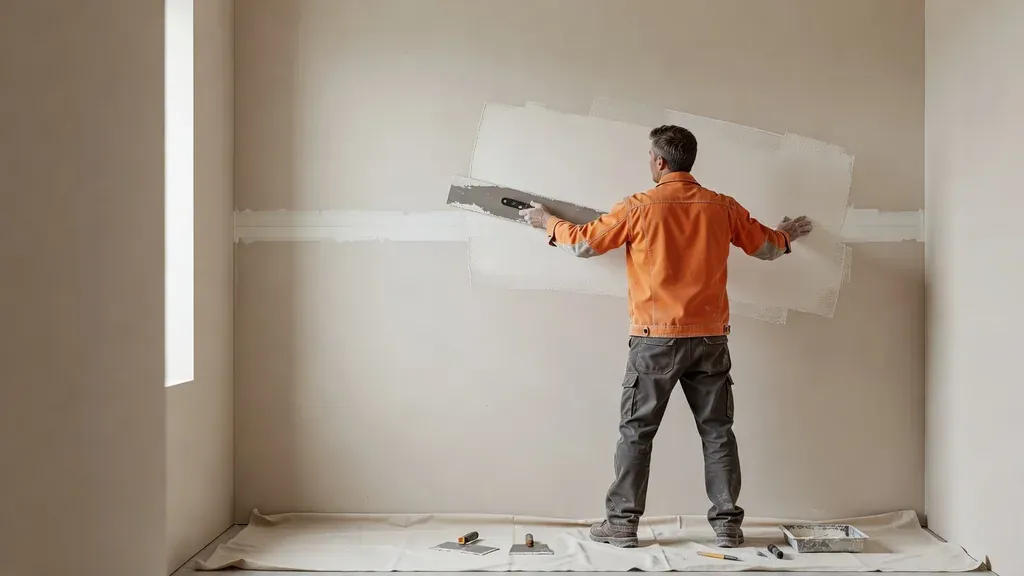
Smooth drywall mudding is mostly a wet-work skill. The goal is not to pile on joint compound and sand the wall flat later. It is to embed the tape without voids, keep each coat controlled, widen the joint gradually, and leave only small tool marks for the sanding stage.
That approach saves labor and dust. It also protects the face paper and joint tape from the damage caused by aggressive sanding. Clean tools, the right compound for the step, and enough drying time matter more than a collection of finishing tricks.
Pro Tip: If a ridge can be removed safely with a clean drywall knife after the compound dries, scrape it before sanding. A knife removes the high spot without filling the room with dust.
Start With the Joint, Not the Mud
Joint compound cannot correct loose board, unsupported edges, proud fasteners, damaged face paper, or a wide gap that needs a proper repair detail. Before opening the pail, inspect the work.
- Panels should be secure and reasonably aligned.
- Fastener heads should sit slightly below the face without breaking the paper.
- Broken or loose gypsum should be removed or repaired.
- Butt joints, tapered joints, inside corners, outside corners, and patches should be planned separately.
- Dust and loose debris should be cleared from the bonding surface.
- Openings and gaps should be treated according to the panel and joint-system instructions.
A finisher can float a small variation over a wide area, but compound is not a substitute for backing or proper panel installation. If the board layout is still in progress, review the gypsum board installation guide before finishing begins.
Choose Compound by Function
Joint compounds are not interchangeable. Product names often indicate the intended role, and the current manufacturer instructions should control mixing, application, working time, drying, and compatible tape.
| Compound category | Typical role | Working characteristics | Watch for |
|---|---|---|---|
| All-purpose drying compound | General taping and fill or finish coats when the product permits | Convenient and versatile | Shrinks as water evaporates; thick fills dry slowly |
| Taping compound | Embedding paper tape where a stronger bond is wanted | Strong bond, usually harder to sand | Not intended as the easiest final coat |
| Topping or lightweight finishing compound | Later coats and surface refinement | Easier application and sanding | Some products are not approved for embedding tape |
| Setting-type compound | Prefill, repairs, time-sensitive work, and compatible tape systems | Hardens chemically with a stated set time | Working time is limited; some formulas become difficult to sand |
Setting time is not the same as full drying. A setting-type compound may harden before excess moisture has left the material. Likewise, a ready-mixed compound that looks pale at the surface may still be damp below. Follow the product instructions before recoating, sanding, priming, or painting.
Mesh tape also changes compound selection. Some manufacturers require a setting-type compound for the first coat over fiberglass mesh. Paper tape is embedded in wet compound. Match the tape and compound as a tested system rather than combining products by habit.
Mix Only as Much as the Product Allows
Ready-mixed compound may need only light remixing. Some products permit a small amount of clean water for a particular application, while others should be used as packaged. Powdered setting compounds require measured water and a clean container. In every case, the label and data sheet should take priority over a generic consistency comparison.
Good mixing practice includes:
- Use clean water, tools, and containers.
- Keep dried crumbs out of the batch. They drag lines through a finish coat.
- Add only the water the manufacturer permits.
- Mix at a speed that does not whip unnecessary air into the compound.
- Scrape the sides and bottom of the container so the batch is uniform.
- For setting compound, mix a batch small enough to place before it stiffens.
- Never try to extend a chemical set by adding water after hardening begins.
A small project can often be worked from a mud pan. For a larger job, transfer only the amount needed for the current area and keep the main pail clean and covered.
Embed Tape Without Starving the Joint
Tape reinforces the joint. It should not float on a thick bed of mud, but it also should not be wiped so hard that almost all compound is removed from beneath it.
Paper tape on a flat joint
- Apply an even bed of compound across the joint.
- Center the tape and hold it lightly in place.
- Draw the knife along the tape with controlled pressure.
- Remove excess compound while leaving continuous contact beneath the tape.
- Check for bubbles, dry spots, wrinkles, and lifted edges before moving on.
- Leave the tape covered as directed by the selected system.
Inside corners require a clean fold and full contact on both sides. Outside corners use an approved corner treatment, such as metal, paper-faced, vinyl, or another specified bead. Do not treat corner bead as a thick ridge to bury in one coat.
Pro Tip: A tape bubble is easier to correct while the embedding coat is wet. Once it dries, the loose area usually needs to be cut out and repaired rather than buried under more compound.
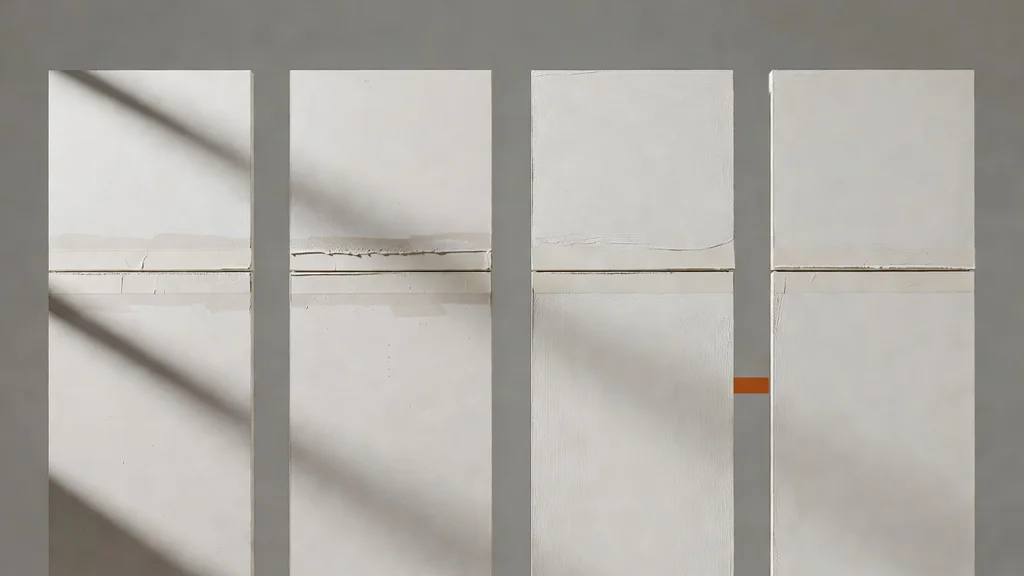
Let the Knife Shape the Coat
A drywall knife is slightly flexible. Controlled pressure changes where the compound remains.
For a flat joint, load the center, then use firmer pressure near the outer edge to leave a thin feather. Keep the blade angle consistent and use long, deliberate passes. Repeated short strokes often introduce more waves than they remove.
Clean the blade frequently. A dry chip on the edge can carve a line through several feet of wet compound. If a line appears, remove the contaminant before making another pass.
Work from narrow to wide
Each coat should do a different job:
- Embedment coat: secures the tape and establishes the joint.
- Fill coat: covers the tape or corner treatment and begins flattening the transition.
- Finish coat: widens and refines the surface with minimal buildup.
Tapered factory edges create a recess for tape and compound. Butt joints do not. Because a butt joint adds material on top of the panel face, it often needs to be feathered much wider to appear flat. Patches and corner beads have their own geometry as well.
There is no universal coat width that suits every joint. Board alignment, knife size, joint type, light direction, texture, and paint sheen all affect how far a transition should extend.
Avoid These High-Labor Mudding Habits
| Habit | What it causes | Better response |
|---|---|---|
| Applying one heavy coat | Slow drying, shrinkage, cracks, and a wide sanding job | Build the joint in controlled coats |
| Reworking compound as it stiffens | Drag marks, torn edges, and a rough surface | Stop, let it dry, then scrape or sand before recoating |
| Using a dirty knife or pan | Repeated scratches and hard crumbs | Clean tools before finish coats |
| Sanding a low spot | Damage to tape or face paper without filling the depression | Add a thin coat and feather it wider |
| Coating over a tape bubble | A raised, weak area that remains visible | Remove and repair the loose section |
| Rushing drying time | Clogged abrasives, gouges, delayed shrinkage, or paint problems | Follow product and environmental guidance |
Control the Room Conditions
Drying-type compound loses water to the room. Temperature, humidity, airflow, coat thickness, and substrate conditions affect how quickly that happens. Cold, damp, or poorly ventilated spaces can hold moisture much longer than expected. Very warm, dry, or drafty conditions can shorten open time and dry edges before a pass is finished.
Use normal, stable conditions within the compound manufacturer’s limits. Do not aim unvented combustion heaters directly at fresh work. They can add moisture and create safety concerns. Avoid force-drying one side of a thick joint while the material underneath remains wet.
A darkened center, cool feel, or soft spot can indicate remaining moisture, but appearance alone is not a complete test. When in doubt, allow more time.
Use Light Before Sandpaper
Room lighting can hide broad waves and sharp ridges. A portable light held at a low angle across the surface makes those defects easier to see. Check from more than one direction because a joint may look acceptable under one light path and show under another.
Mark defects lightly with a pencil:
- ridges to scrape or sand;
- pinholes that need a tight skim;
- shallow edges that need another pass;
- scratches caused by dried debris;
- tape bubbles or cracks that require repair.
Then correct the type of defect you actually have. Sand high spots. Fill low spots. Do not keep sanding simply because a shadow remains.
Sand Lightly and Contain the Dust
Finishing should leave little material to sand. Use the abrasive recommended by the compound manufacturer and light, even pressure. Keep the sanding head flat. Stop before exposing tape or roughening the drywall face paper.
Vacuum-assisted sanding can reduce airborne dust when the equipment is designed and maintained for the task. NIOSH documents substantial dust reductions with evaluated vacuum sanding controls, but no method should be treated as dust-free. Isolate the work area, protect surfaces, manage air returns appropriately, use eye protection, and follow the product safety data sheet for ventilation and respiratory protection.
Safety: Joint-compound formulas vary. Review the current product label and safety data sheet before mixing or sanding. Avoid breathing dust, protect your eyes, and use dust controls appropriate to the product and work area.
For a deeper look at this stage, see drywall sanding mistakes to avoid.
Know What Finish the Room Needs
The Gypsum Association defines Levels 0 through 5 as a common way to specify gypsum panel finish. A utility space receiving no decoration does not need the same treatment as a smooth wall under critical side lighting and glossy or dark paint.
A Level 4 finish is common where flat paints, light textures, or typical wallcoverings are planned under ordinary conditions. Level 5 adds a skim coat over the entire surface and is often specified where critical lighting, non-flat paint, or dark/deep colors make joint photographing more likely. The finish level does not guarantee the final decorated appearance. Primer, paint, sheen, color, application, substrate, and lighting still matter.
Discuss the decoration before the last coat, not after the paint reveals the surface. Utah Drywall & Repair performs drywall finishing, texture work, and paint matching, so the handoff can be planned as one surface rather than isolated steps. See drywall finishing services for professional help.
A Practical Coat-by-Coat Workflow
- Inspect and prepare. Correct loose board, proud fasteners, damaged paper, and unsuitable gaps.
- Prefill where required. Use a compatible product and let it set or dry as directed.
- Embed tape and corner treatments. Keep full contact and remove bubbles while wet.
- Allow the coat to dry. Respect the manufacturer’s conditions and recoat instructions.
- Scrape ridges. Remove high tool marks without damaging the tape.
- Apply the fill coat. Keep the center controlled and feather the edges.
- Widen the finish coat. Use clean compound, clean tools, and long passes.
- Inspect under angled light. Fill lows and remove highs.
- Sand only as needed. Contain dust and avoid exposing paper or tape.
- Prime before evaluating paint. Drywall primer helps equalize porosity between paper and compound.
If the project includes large butt joints, long ceilings, high walls, occupied rooms, or a smooth finish in strong natural light, experience can save significant rework. Use the estimate request to share photos and project details.
Frequently Asked Questions
How many coats of joint compound does drywall need?
There is no single count for every joint. The tape must be embedded, the joint filled, and the transition finished to the required level. Joint type, product, board alignment, corner treatment, texture, and decoration all affect the sequence.
Should I sand between every coat?
Not automatically. Scrape high ridges and sand only enough to keep defects from carrying forward. Excess sanding can damage tape and face paper. The compound manufacturer’s instructions should control.
Why does my drywall tape bubble?
Common causes include an uneven compound bed, dry spots beneath paper tape, too much pressure during embedment, contamination, or movement. A dry bubble should usually be cut out and repaired rather than covered.
Can topping compound be used to embed tape?
Some topping compounds are not approved for tape embedment. Check the product label and data sheet. Use a compatible taping, all-purpose, or setting compound as specified.
Why do my joints show after painting?
Possible causes include a raised or hollow joint, incomplete feathering, sanding scratches, unprimed compound, paint sheen, color, or critical lighting. A flatter wet finish and the correct finish specification reduce the risk, but decoration and lighting still influence the final appearance.