Finishing your drywall with finesse may seem like an art form, elusive to many. But here at Utah Drywall & Repair, we believe everyone should be armed with the right knowledge and tools to make their home improvement projects a breeze. Whether you’re a seasoned pro or a DIY enthusiast eager to tackle your next project, this guide is crafted especially for you. We’re here to demystify the complexity of drywall finishing and arm you with tips and techniques that will elevate your skills.
Contents
Understanding Drywall Finishing
Before diving into the nuts and bolts of drywall finishing, it’s crucial to grasp what it entails. Drywall finishing is the process of smoothing and preparing the surface of drywall panels for Painting or wallpapering. This includes Taping, applying joint compound, and Sanding the seams and screw indentations to a smooth finish. It’s not just about aesthetics; a well-finished drywall also ensures durability and longevity of your walls.
At Utah Drywall & Repair, we emphasize the importance of meticulous attention to detail in this stage. Poorly finished drywall can lead to noticeable seams, bumps, and imperfections that detract from the beauty of your space. It’s these small details that can make all the difference in the final appearance of your room.
Preparation is Key
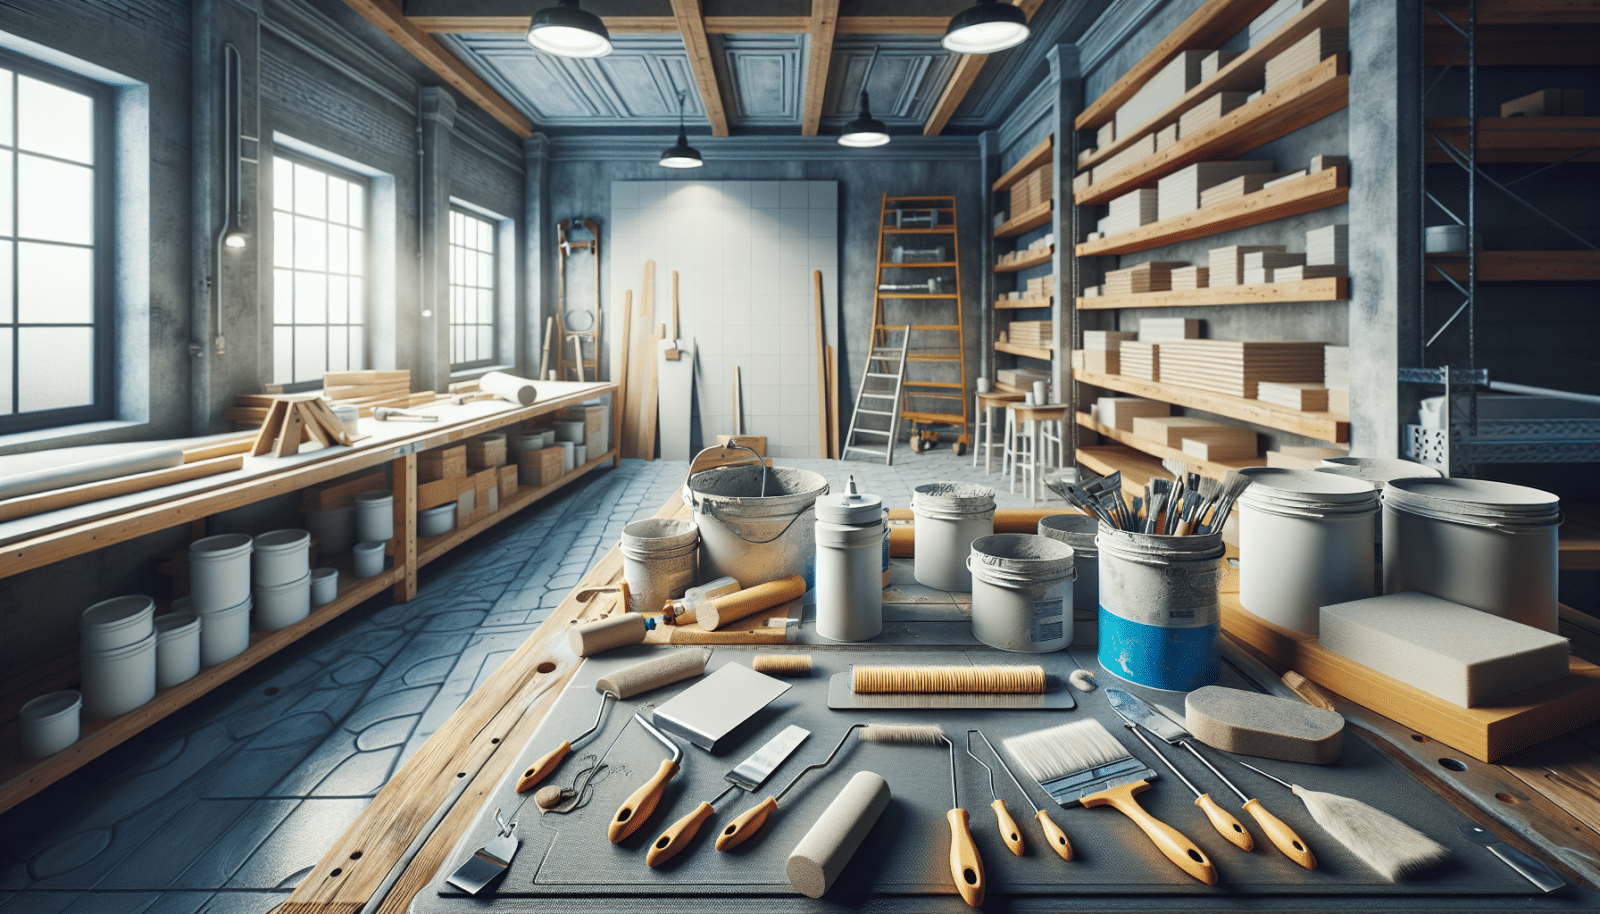
Before embarking on your drywall finishing journey, preparation cannot be overstated. Ensuring your workspace is clean and free from dust and debris will facilitate a smoother process. Cover floors and furniture to protect them from dust and joint compound splatters. Having all necessary tools and materials at hand – including joint compound, drywall Tape, sanding tools, and drywall knives – can save you time and frustration in the middle of the project.
Our team always stresses the importance of wearing the proper safety gear, such as masks and goggles, to protect against dust and other particulates during sanding. Adequate ventilation is also crucial to maintain a safe working environment.
Taping Techniques
Taping drywall seams is a foundational step in achieving a seamless finish. Use drywall tape to cover joints between sheets of drywall, pressing firmly to ensure it adheres well to the fresh joint compound beneath. Whether you choose paper or fiberglass mesh tape, remember that this step is crucial for preventing cracks and ensuring the longevity of your walls.
When applying tape, start from the center and work your way to the ends, smoothing out any bubbles or wrinkles as you go. This technique helps create a strong bond between the tape and the joint compound, which is essential for a durable, crack-free finish.
The Art of Applying Joint Compound
Applying joint compound, or mud, is where the real artistry of drywall finishing comes into play. The key to a smooth finish is applying the mud in thin, even layers. Starting with the seam tape, cover the tape with a thin layer of mud using a drywall knife, smoothing it out as much as possible. Allow each layer to dry thoroughly before sanding and applying the next.
Avoid the temptation to slather on a thick coat in the hopes of speeding up the process. Patience is a virtue in drywall finishing, and thin, carefully applied layers will yield the best results. This not only ensures a smoother surface but also reduces the amount of sanding required later on.
Secrets to Perfect Sanding
Sanding is often the most dreaded part of drywall finishing, but it doesn’t have to be a chore. Using the right tools, such as a fine-grit sanding sponge or sandpaper, can make a significant difference. Sand in gentle, circular motions to avoid creating grooves or indentations in the mud. The goal is to achieve a smooth, even surface that feels seamless to the touch.
Remember, the aim is to smooth out the joint compound without sanding down to the tape. Checking your progress frequently under strong light can help you identify any imperfections or ridges that need more attention.
Tips for a Flawless Finish
- Practice Patience: Drywall finishing isn’t a race. Allowing sufficient drying time between coats and sanding can prevent many common issues.
- Lighting is Crucial: Good lighting can reveal imperfections not visible under normal light. Use a handheld light to inspect your work from different angles.
- Attention to Detail: Pay close attention to corners and edges, as these areas are prone to showing imperfections.
- Invest in Quality Tools: High-quality drywall tools can significantly affect the ease of your work and the quality of your finish.
- Don’t Skip Steps: Each stage in the drywall finishing process builds on the previous one. Cutting corners can lead to less than satisfactory results.
Avoiding Common Mistakes
Even seasoned professionals can run into challenges if they’re not careful. A common mistake is applying too much joint compound in the initial coats, leading to longer drying times and potential cracking. Similarly, inadequate sanding can leave bumps and ridges that will be evident once the walls are painted.
Another pitfall is neglecting to prime the drywall before painting. Primer helps seal the joint compound and provides a uniform surface for painting, ensuring a more professional-looking finish. Taking the time to address these common issues can save you time and frustration in the long run.
Maintaining Your Tools
Maintaining your drywall finishing tools will not only extend their life but also improve the quality of your work. Clean your tools thoroughly after each use to prevent the buildup of dried joint compound, which can cause imperfections in your work. Drywall knives, sanding equipment, and mud pans should be kept clean and free from rust.
Additionally, investing in a good storage solution for your tools can prevent damage and ensure they’re ready for your next project. Well-maintained tools are essential for achieving that perfect finish.
When to Call the Professionals
While DIY drywall finishing can be rewarding, there are instances when calling in the professionals makes more sense. If you’re dealing with extensive repairs, high ceilings, or intricate architectural features, the expertise of a skilled drywall contractor can ensure a top-quality finish without the hassle.
Here at Utah Drywall & Repair, our team of experts is ready to tackle projects of any size. With our experience and attention to detail, we guarantee a finish that will exceed your expectations, leaving your walls looking flawless.
Let’s Get Started
Mastering the art of drywall finishing is within reach, thanks to these tips and techniques. With a little practice, patience, and the right approach, you can achieve professional-looking results that enhance the beauty and value of your home. Remember, every great finish starts with a solid foundation.
Ready to embark on your drywall finishing project but need a little help? Don’t hesitate to reach out to us by phone at 801-406-6350 or Request a Free Quote. Our team at Utah Drywall & Repair is here to support you every step of the way, ensuring your project is a resounding success.


