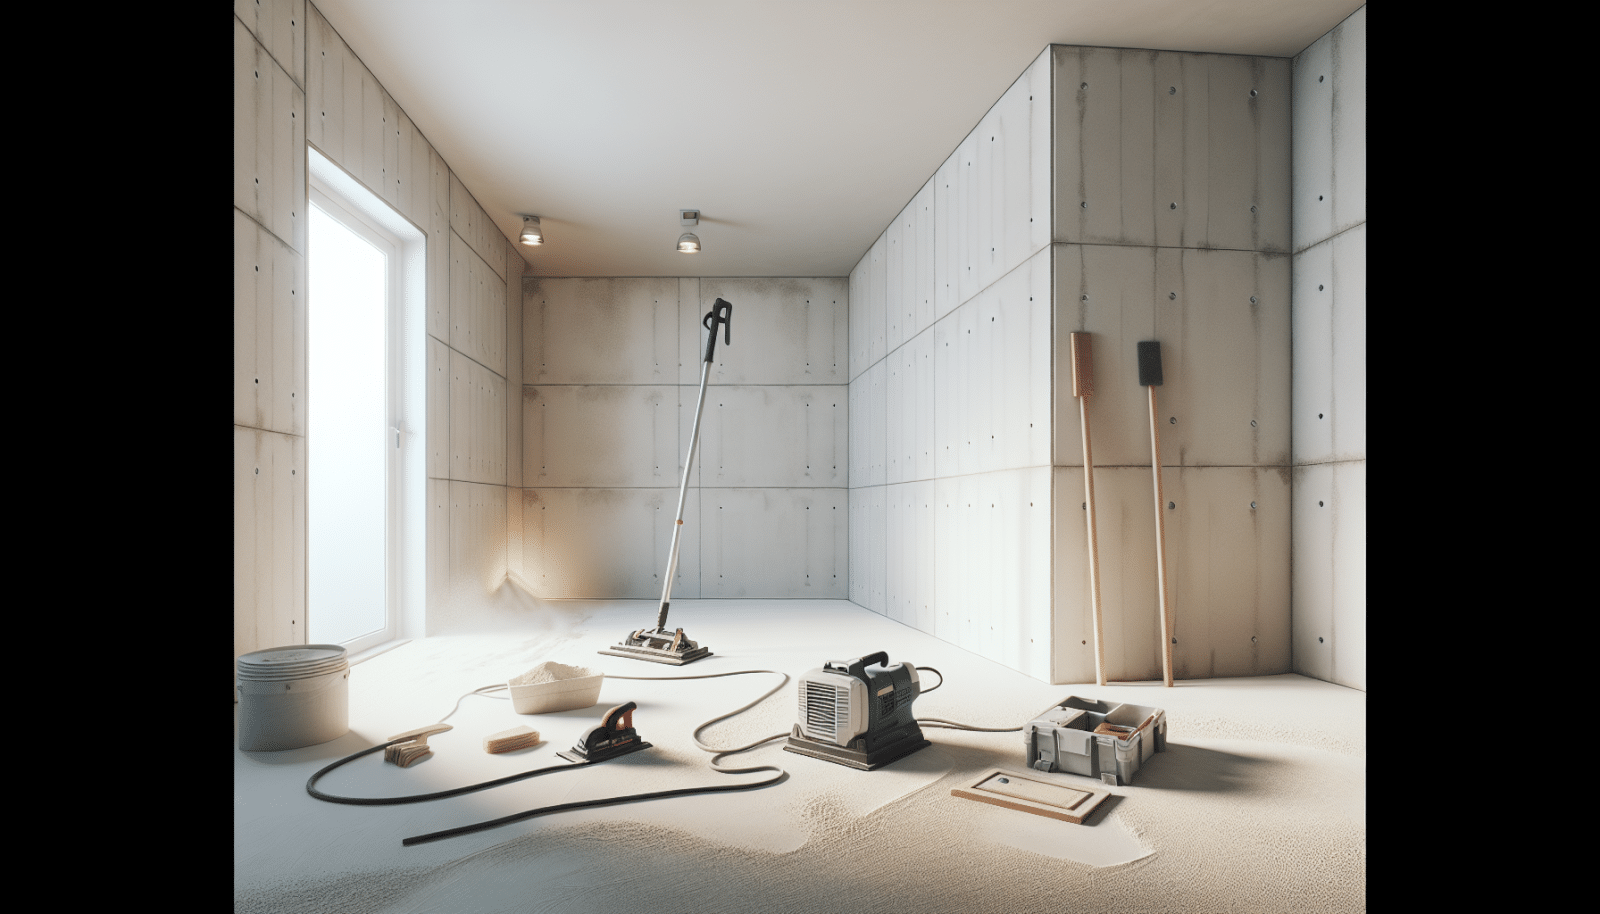
Drywall is a critical component of your home’s comfort and aesthetic appeal, but achieving a flawless finish is no easy feat. Sanding drywall is an essential step toward creating smooth walls that are paint-ready, and it’s a skill that can dramatically transform your space. At Utah Drywall & Repair, we understand the frustrations homeowners face during DIY drywall projects. That’s why we’ve compiled this ultimate guide to drywall sanding, equipped with techniques and tips to ensure your drywall looks professionally done, whether you’re in Salt Lake, Davis, or Utah County.
Contents
Why Proper Drywall Sanding Matters
Before we dive into the how-to, let’s discuss the why. Proper drywall sanding is not just about aesthetics; it’s about integrity. Incorrectly sanded drywall can lead to uneven paint jobs, noticeable imperfections, and even structural weaknesses over time. Moreover, a smooth wall is less likely to collect dust, making your home cleaner and more allergen-free.
From a DIY enthusiast to a seasoned professional, everyone must understand the importance of this step. Accomplishing a smooth finish enhances the look and feel of your rooms and contributes to the overall durability of your walls.
Choosing the Right Tools
Embarking on your drywall sanding journey begins with the right set of tools. You’ll need more than just sandpaper to achieve a smooth finish. Invest in a good quality manual sanding block for corners and tight spaces and consider an orbital sander for larger wall surfaces. Remember, the quality of your tools can significantly impact the outcome of your project.
Additionally, don’t forget about safety equipment. Drywall dust is fine and can irritate your lungs and eyes. Thus, wearing a dust mask, protective glasses, and gloves is non-negotiable. This small investment in the right tools and safety gear can make your sanding process faster, easier, and safer.
Understanding Grit Numbers
- Grit Size: The grit number of sandpaper relates to the size of the abrasive particles on the paper. A lower number means coarser grit, and a higher number indicates a finer grit.
- Choosing Grit: For drywall, start with a coarser grit to remove major imperfections and gradually work your way to finer grits for a smooth finish.
- Recommended Grit Sequence: Begin with a grit as low as 120 for rough areas, moving to 150 or 180 for general sanding, and finishing with 220 for a smooth surface.
- Specialty Sandpapers: Some sandpapers are designed specifically for drywall. Using these can help achieve a better finish and reduce dust.
- Avoid Over-Sanding: Over-sanding can damage the drywall’s surface, leading to more work. Always sand with a light touch and increase pressure gradually as needed.
Pre-Sanding Preparation
Preparation is key in achieving optimal results in any home improvement project, and drywall sanding is no exception. Before starting, ensure your drywall compound is completely dry. This might require patience, but it’s a critical step to avoid damaging your walls.
Next, prepare your workspace. Lay down drop cloths to catch dust and remove furniture if possible. Additionally, consider using plastic sheeting to isolate the work area and minimize dust spreading throughout your home. This prep work not only makes the cleanup easier but also protects your home during the sanding process.
Manual vs. Electric Sanders
When it comes to sanding drywall, you have two primary tools at your disposal: manual and electric sanders. Manual sanding blocks are great for small projects or tight spaces where precision is key. They’re cost-effective and allow you to feel the smoothness of the wall as you work.
Electric sanders, on the other hand, make light work of larger areas. They can significantly reduce the time and effort required, but they also produce a lot of dust. If you opt for an electric sander, look for one with a vacuum attachment to help manage the dust. Weighing the pros and cons of each will help you choose the right tool for your project.
The Sanding Process
Sanding drywall is a balance between removing imperfections and preserving the integrity of the drywall surface. Begin by using a coarse-grit sandpaper to remove any glaring issues, applying gentle, even pressure. Always sand in circular motions to avoid creating grooves in your walls.
As you progress, switch to finer grit sandpapers to achieve a smooth finish. Remember to regularly check your work by lightly running your hand over the sanded surface. This tactile feedback is invaluable in identifying any missed spots or areas that need additional work.
Tackling Corners and Edges
Corners and edges can present a unique challenge during the sanding process. These areas are prone to over-sanding, which can cause visible damage and uneven surfaces. To avoid this, use a sanding sponge or a sanding block designed for corners. These tools provide more control, allowing you to apply even pressure throughout the sanding process.
Be methodical and gentle when sanding corners and edges. It’s better to make multiple light passes than to try and fix everything with one heavy-handed attempt. Patience is your ally in achieving sharp, clean lines.
Achieving Perfection with Wet Sanding
For those seeking an even higher level of finish, wet sanding offers an alternative to traditional sanding techniques. Wet sanding involves using a damp sponge instead of sandpaper, which reduces dust and allows for a smoother finish on your final coat of drywall mud.
This method requires a bit more technique, as too much water can damage the drywall. Practice a light touch and frequently rinse your sponge to achieve the best results. Wet sanding can be especially useful in areas that will receive a lot of scrutiny, like around light fixtures and high-traffic areas.
Post-Sanding Cleanup
Once you’ve achieved the desired smoothness, it’s crucial to thoroughly clean your walls before proceeding to priming or Painting. Any lingering dust can interfere with the adhesion of paint, leading to a less than desirable finish. Use a dry microfiber cloth or a tack cloth to gently wipe down the walls, removing any residual dust.
Additionally, take this opportunity to tidy your workspace. Properly dispose of any used sandpaper or sponges and ensure that your tools are clean and in good condition for next time. A clean workspace and tools not only make future projects easier but also ensure a professional result every time.
Conclusion
Thank you for reading our ultimate guide to drywall sanding. With these techniques and tips, we believe you can achieve professional-quality results on your own. However, if you find yourself needing assistance or simply want the experts to take over, feel free to give us a call at 801-406-6350 or Request a Free Quote. At Utah Drywall & Repair, we’re always here to help make your home improvement projects a success.


