
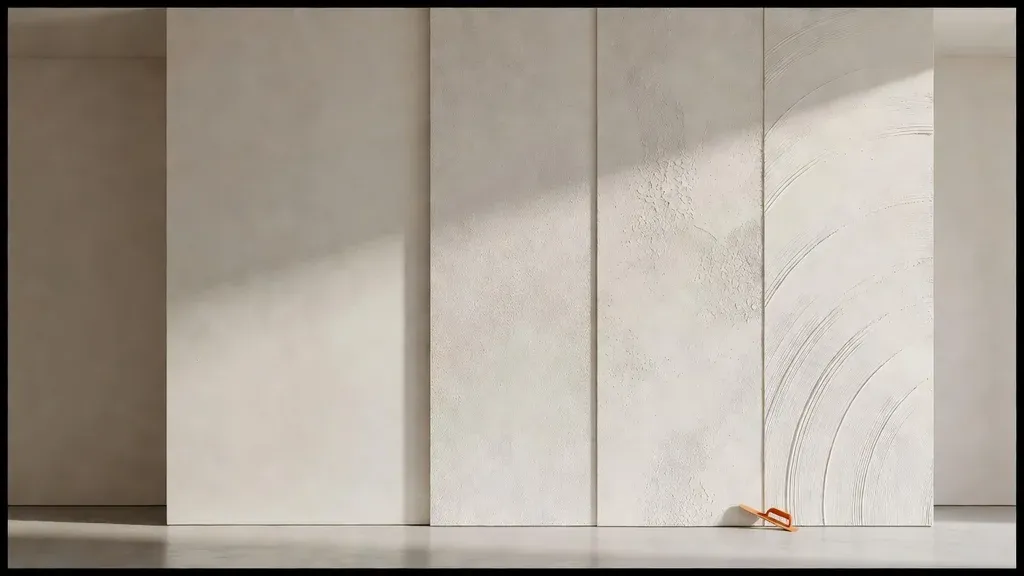
Drywall texture changes how a wall or ceiling catches light, hides minor surface variation, and fits the rest of a room. It also changes the repair plan. A patch that is flat and well taped can still stand out if the droplet size, knockdown timing, hand-tool pattern, paint buildup, or blend width differs from the surrounding finish.
Choosing texture for new work and matching texture on a repair are related but different jobs. New work starts with an intentional sample and a consistent application across a complete surface. Repair matching starts by reading an existing pattern that may have aged, been painted several times, or varied when it was first applied.
Utah Drywall & Repair performs new texture application and texture matching. The practical goal is a controlled transition that reads naturally in the room. An exact invisible match should not be promised before the existing surface, lighting, and coating history are assessed.
Texture is part of the whole finish system
Texture does not replace proper hanging, taping, or joint finishing. It sits over a prepared substrate and under primer and paint. Heavy patterns can reduce the visibility of small surface variations, but they do not correct loose tape, unsupported board, ridges, failed fasteners, moisture damage, or a broad hump.
The Gypsum Association defines finish levels for gypsum panel products. The appropriate finish depends in part on the final decoration and lighting. Manufacturer instructions also define whether a texture product is intended for walls, ceilings, above-grade interiors, or a specific substrate.
Before selecting a pattern, consider:
- whether the surface is new board, an isolated repair, or a full remodel;
- the finish level beneath the texture;
- wall versus ceiling orientation;
- existing texture in adjoining rooms;
- natural and artificial side lighting;
- paint color and sheen;
- cleaning and future repair expectations;
- whether the texture material and coating system are compatible.
Compare common drywall texture styles
| Finish | How it is formed | Visual character | Matching considerations |
|---|---|---|---|
| Smooth wall | Joint compound is finished and sanded without a decorative texture coat | Clean, flat plane | Most sensitive to ridges, low spots, side light, and higher-sheen paint |
| Orange peel | Fine or medium droplets are sprayed and left rounded | Even field of small bumps | Droplet size, density, air pressure, mix consistency, and paint buildup matter |
| Knockdown | A sprayed spatter is allowed to set briefly, then flattened with a knife | Mottled islands with flatter tops | Spatter size, open time, knockdown pressure, blade angle, and direction control the look |
| Skip trowel | Compound is applied by hand so the tool skips and leaves irregular high and low areas | Plaster-like, directional pattern | Individual technique is visible, so sample matching and a wider blend area are important |
| Stomp or slap brush | A patterned brush is pressed or lifted through wet material | Repeating peaks, fans, or floral marks | Brush type, rotation, pressure, spacing, and original applicator rhythm affect the match |
| Popcorn or acoustic texture | An aggregated or formulated texture is sprayed on a ceiling | Coarse, deep texture | Existing material may require asbestos or lead evaluation before disturbance; removal and refinishing are separate scopes |
“Smooth” is commonly grouped with textures because it is a finish choice, but it is not a spray pattern. It usually demands more precise substrate preparation than a textured wall because light travels across an uninterrupted plane.
Orange peel
Orange peel is produced by spraying small droplets and allowing them to dry without flattening. A light orange peel can look almost smooth from a distance. A heavier application creates larger droplets and more shadow. Matching requires more than buying a can labeled orange peel. The applicator must tune material consistency, orifice, air pressure, distance, angle, and pass overlap.
Aerosol repair products can be useful for very small areas, but their pattern may not match a hopper-applied field. Test on scrap board first and compare the dried, primed, and painted sample.
Knockdown
Knockdown begins with a spatter pattern. After the droplets reach the right firmness, a broad knife or knockdown blade lightly flattens their tops. Moving too early can smear the field. Waiting too long can drag or tear the texture. Temperature, humidity, airflow, batch consistency, and the size of the area all affect timing.
On a repair, the new spatter often needs to extend beyond the joint-compound edge. Ending the texture exactly at the patch perimeter creates a picture-frame boundary.
Skip trowel and other hand-applied patterns
Hand textures carry the applicator’s motion. Tool angle, compound loading, pressure, and direction create the pattern. A small sample should be compared with the existing wall from several angles. When the original work is highly variable, refinishing a full wall or ceiling may produce a more intentional result than trying to duplicate one small section.
Popcorn and heavy ceiling texture
Popcorn texture can conceal joint lines and minor plane variation, but it also complicates later repairs. Do not scrape, sand, drill, or sample an older ceiling until asbestos and lead concerns have been addressed through the appropriate process. See the Utah popcorn ceiling removal guide and popcorn ceiling removal service for planning boundaries.
What controls a texture match
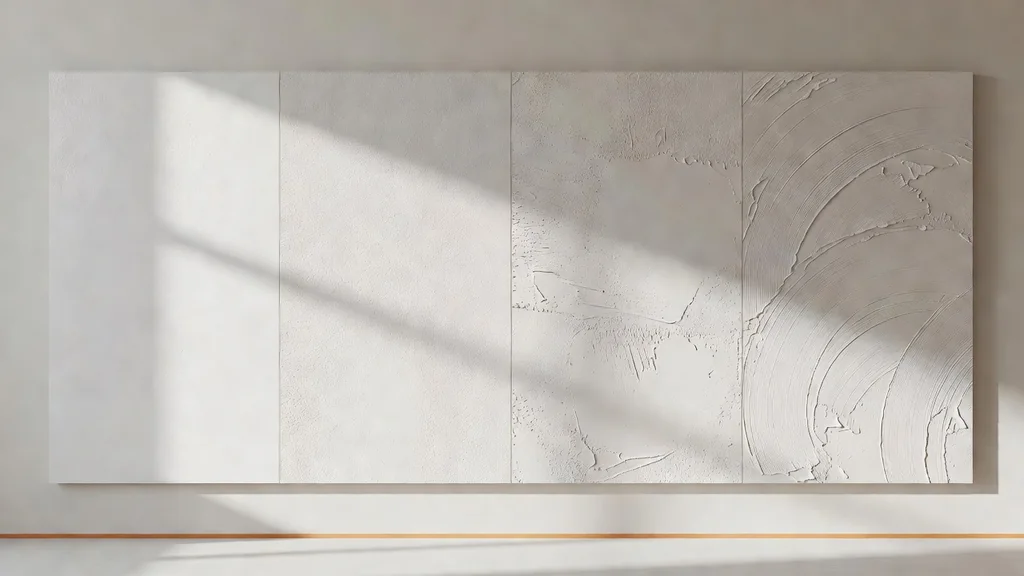
A texture match is the combined result of profile, density, direction, transition, and coating. The following variables often matter more than the product name:
- Pattern scale. Measure the typical droplet, island, ridge, or brush-mark size.
- Coverage density. Compare the amount of open background between texture features.
- Relief. Determine how far the pattern stands proud of the wall.
- Direction. Hand textures and knockdown marks may have a visible movement.
- Existing paint buildup. Several paint coats can round and soften an older pattern.
- Blend width. The transition may need to extend well beyond the repaired board.
- Lighting. A match viewed straight on may separate under a window or ceiling light.
- Final coating. Primer, paint sheen, roller cover, and application pressure alter the apparent texture.
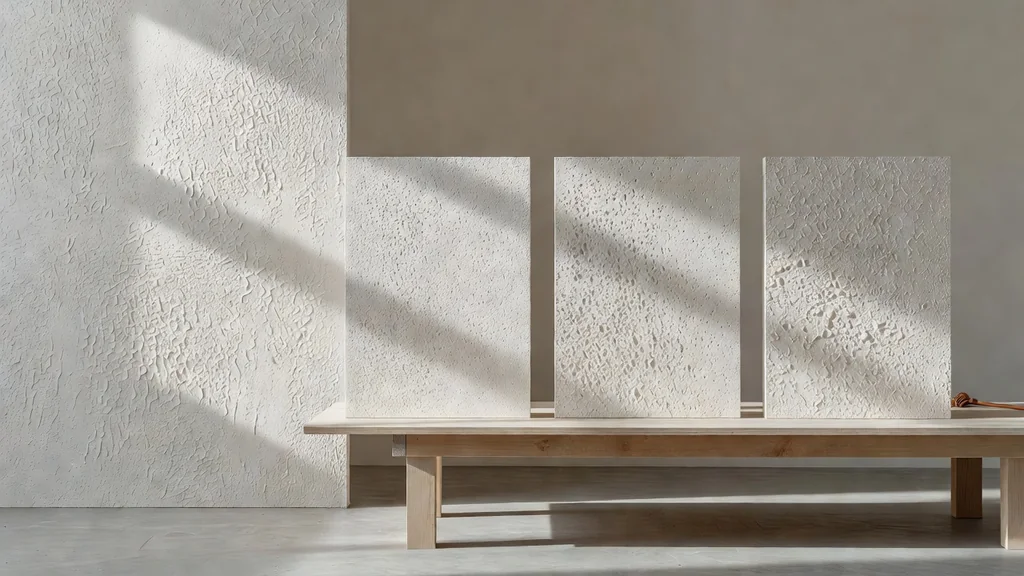
Pro tip: Create the sample on scrap drywall that has been finished and primed similarly to the actual wall. Texture applied to cardboard, bare wood, or a slick sample board may dry and spread differently.
A practical texture-matching process
1. Identify the existing pattern
Photograph the surface straight on and under side light. Include a ruler or familiar reference for scale. Note whether the texture is sprayed, knocked down, brushed, rolled, or hand-troweled. Check adjoining walls and ceilings because the pattern may vary within the room.
2. Stabilize and finish the repair
Complete the backing, board replacement, tape, compound coats, and feathering first. The patch should be sound and at the required finish level before texture. Do not use texture to bridge a moving crack or loose tape.
3. Protect the room
Texture spray and joint compound can travel beyond the immediate work area. Remove or cover furnishings, protect floors and trim, isolate nearby openings as appropriate, and manage HVAC registers. Utah Drywall & Repair uses tarps and appropriate containment when the project requires it.
4. Make and adjust a sample
Start with the texture manufacturer’s directions. Adjust only one variable at a time, such as material consistency, nozzle size, air pressure, distance, or knockdown timing. Let the sample set enough to read the pattern accurately.
5. Apply a controlled blend
Keep the heaviest matching pattern over the repair and reduce density toward the blend edge when the existing finish permits it. Avoid a square or circular outline that follows the patch. Hand patterns should continue the dominant direction already on the wall.
6. Prime and paint consistently
Let the texture dry according to its label. Apply the specified primer before finish paint. Texture can look matched while raw and separate after painting if the new area has different porosity, sheen, or roller stipple. For paint planning, read Painting Patched Drywall for a Uniform Finish.
7. Inspect from normal viewing positions
Use daylight, room lighting, and side light. Stand where occupants normally enter or sit. A transition that requires an extreme flashlight angle to detect is different from one visible across the room in ordinary conditions.
New texture application versus repair matching
| Project type | Main objective | Strongest quality control |
|---|---|---|
| New room or complete wall | Consistent pattern across an uninterrupted plane | Approved sample, stable mix, consistent equipment settings, continuous application |
| Localized repair | Blend with an aged and possibly irregular finish | Existing-pattern assessment, scrap sample, broad transition, coating match |
| Remodel tie-in | Connect new work to several existing surfaces | Decide where to match and where to use a natural break or full-surface retexture |
| Texture conversion | Replace an existing style with smooth or another pattern | Test adhesion, remove or stabilize incompatible material, define skim and finish requirements |
A repair does not always have to preserve the old pattern. When several walls are already being remodeled, the cleaner scope may be a full-wall skim or new texture. That decision should include future maintenance, lighting, paint, and budget rather than trend claims.
Conditions to resolve before texturing
Do not texture over:
- active water intrusion or damp board;
- visible mold or unknown contamination;
- loose or peeling paint;
- dusty, chalky, or greasy surfaces;
- failed tape, moving cracks, or unsupported edges;
- an older popcorn or painted surface that has not been evaluated for hazardous materials;
- compound that has not dried or set as directed.
Safety note: Work on older painted or textured surfaces may disturb lead-based paint or asbestos-containing material. EPA rules apply to paid renovation work that disturbs covered painted surfaces in pre-1978 housing and child-occupied facilities. Utah DEQ provides state-specific asbestos guidance. Stop and use qualified testing or abatement resources when those hazards may be present. Texture matching is not remediation.
When a whole wall or ceiling is the cleaner result
A localized blend becomes less dependable when the repair is large relative to the surface, the existing pattern is highly directional, prior patches have several different textures, or strong side light crosses the transition. Full-surface work may also be appropriate when the owner wants to change from a heavy pattern to smooth wall.
The scope might include broad skim coating, a new texture field, primer, and corner-to-corner paint. It should not be described as necessary until the surface is inspected. For finish planning, compare the skim-coating guide and drywall finishing services.
Utah Drywall & Repair is backed by more than 20 years of drywall repair and texturing experience. Before quoting a blend, the team needs to see the pattern, paint buildup, lighting, and size of the repair. The estimate then defines the blend area and the finish work covered by the company’s workmanship guarantee.
For help with an existing pattern, see drywall texturing services or request an estimate with one close texture photo, one full-surface photo, approximate dimensions, and the wall or ceiling location.
Frequently asked questions
Can texture hide a poorly finished drywall joint?
Texture can reduce the visibility of minor surface variation, but it cannot stabilize a bad joint or reliably hide a broad ridge. Tape, fasteners, and compound should be finished to the level appropriate for the selected texture and lighting before the decorative texture is applied.
How close can a repaired texture match be?
A skilled applicator can tune the pattern and blend zone, but age, paint buildup, original inconsistency, and side light affect the result. The realistic goal is a natural-looking transition, not a pre-inspection promise of an invisible match.
Is orange peel easier to match than knockdown?
Not automatically. Orange peel removes the knockdown-timing step, but droplet size and density still vary with material, nozzle, pressure, and technique. Knockdown adds blade timing and pressure. Either should be sampled against the actual surface.
Does texture need primer before paint?
Follow the texture and coating manufacturers’ instructions. Gypsum-based texture and repaired areas commonly need an appropriate primer to equalize absorption and support a consistent finish coat.
Can you change a textured wall to smooth?
Often, but the method depends on texture height, adhesion, paint layers, substrate condition, and lighting. The work may involve scraping stable high points, repairs, one or more skim coats, sanding with dust control, primer, and full-surface paint. Hazard evaluation comes first on older materials.
Authoritative references
- USG, Sheetrock Brand Wall and Ceiling Spray Textures
- USG, Wall and Ceiling Spray Texture Application Tips
- Gypsum Association, GA-214-2021 Levels of Finish for Gypsum Panel Products
- U.S. EPA, Lead Renovation, Repair and Painting Program
- Utah Department of Environmental Quality, Asbestos Program