Welcome to the ultimate guide on fixing plasterboard like a pro, brought to you by Utah Drywall & Repair. We understand the frustration of looking at a damaged wall and not knowing where to start with repairs. This article is designed to demystify plasterboard repair, ensuring homeowners across our service areas can tackle these tasks with confidence. By the end, you’ll have the knowledge needed to make your walls look as good as new.
Contents
- 1 Understanding Plasterboard
- 2 Identifying Common Plasterboard Damage
- 3 Tools and Materials You’ll Need
- 4 Preparation is Key
- 5 Fixing Small Cracks and Dents
- 6 Repairing Large Holes
- 7 Dealing with Water Damage
- 8 The Finishing Touches
- 9 Maintenance Tips to Prevent Future Damage
- 10 Utah Drywall & Repair – Here to Help
Understanding Plasterboard
Before we dive into the repair process, it’s important to understand what plasterboard is. Plasterboard, also known as drywall or gypsum board, is a panel made of calcium sulfate dihydrate, encased between thick sheets of facer and backer paper. It is commonly used in the construction of interior walls and ceilings because of its efficient installation process and excellent fire resistance properties.
Knowing the type of plasterboard you have is crucial because it determines the repair methods and materials needed. Common types include standard, moisture-resistant, and fire-resistant. Each type has its specific use and repairing them may require slightly different approaches.
Identifying Common Plasterboard Damage
The first step in repairing plasterboard like a pro is identifying the type of damage you’re dealing with. Common issues include cracks, holes, dents, and water damage. Each type of damage has its unique causes, from settling of the building to accidental impact.
Identifying the extent of the damage is equally important. Minor damage like small cracks or dents can be easily fixed with some DIY know-how. More significant damage, such as large holes or extensive water damage, might require more complex repair strategies or even professional assistance.
Tools and Materials You’ll Need
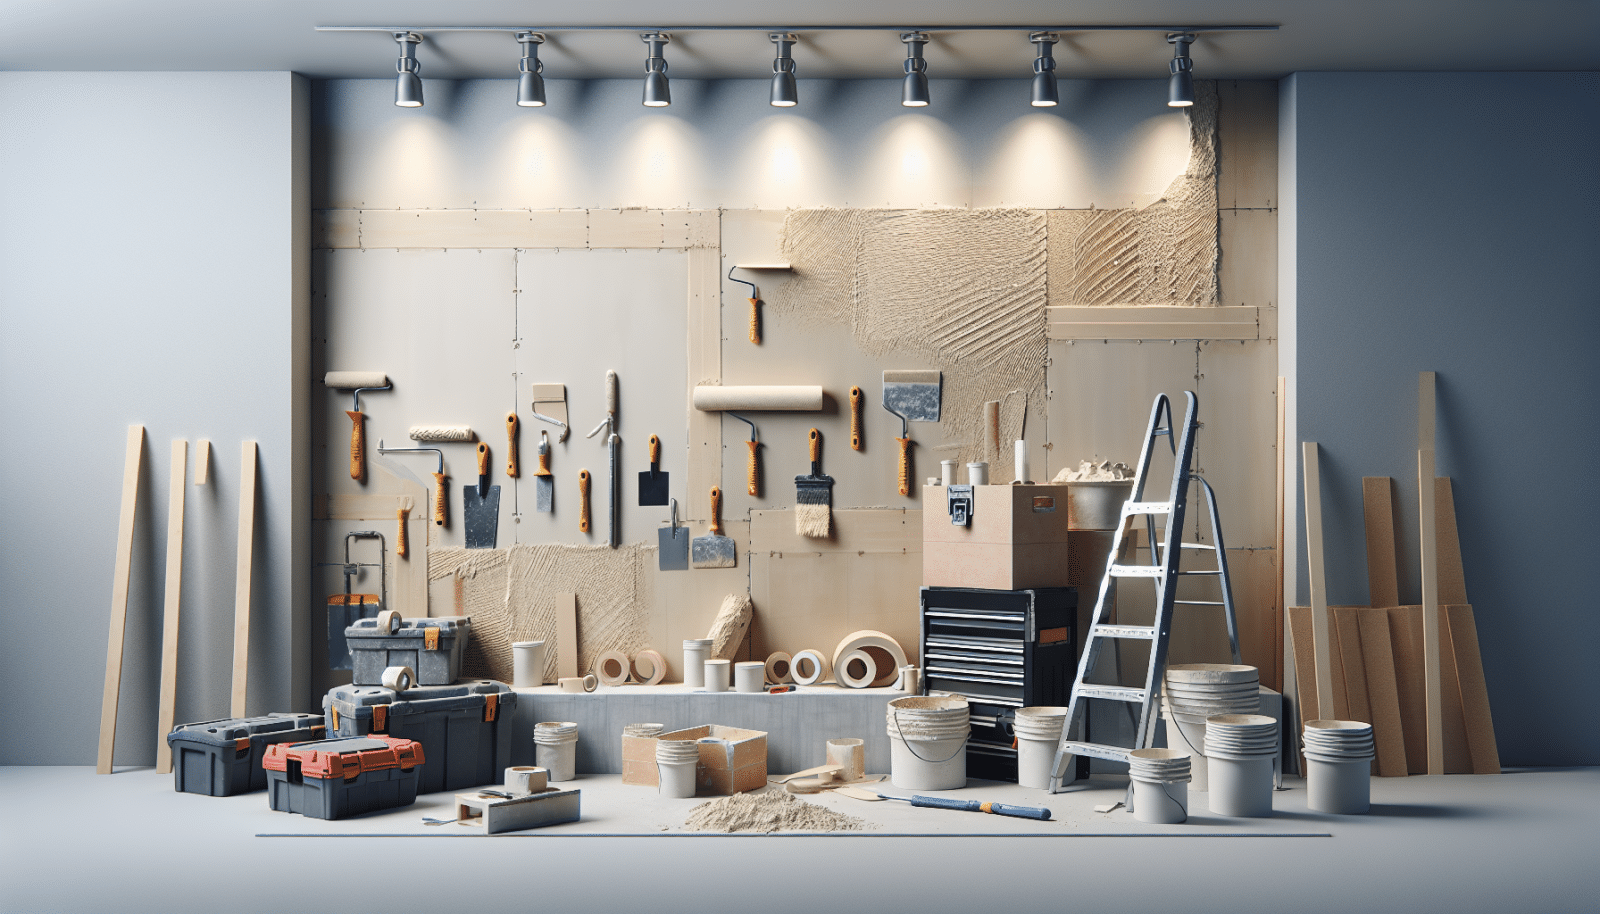
- Joint Compound: Also known as drywall mud, this is used to fill cracks and holes in plasterboard.
- Drywall Knife: Used for applying and smoothing the joint compound.
- Sanding Block: After the joint compound dries, you’ll need this to sand the area smooth.
- Patch Kit: For holes larger than a few inches, a patch kit can provide the necessary support for the repair.
- Primer and Paint: Once you’ve repaired the wall, you’ll need to prime and paint the area to match the rest of your wall.
Preparation is Key
The success of your plasterboard repair heavily depends on how well you prepare the area. Start by removing any loose debris from the damage site. If you’re dealing with a hole, be sure to cut around the damaged area to create a clean, easily repairable shape.
Next, ensure the area around the repair site is clean and free of dust. This will help the joint compound adhere better, creating a smoother, more durable repair. Covering the surrounding area with a drop cloth or plastic sheeting can also protect your floors and furniture from spills and dust during the repair process.
Fixing Small Cracks and Dents
Small cracks and dents are among the easiest plasterboard issues to fix. For cracks, apply a thin layer of joint compound using your drywall knife, and press paper Tape into the wet compound over the crack. Once dry, add another layer of compound and smooth it out.
For dents, the process is similar, but you might not need the paper tape. Simply fill the dent with joint compound, smooth it out, and let it dry. Both types of repairs will need to be sanded smooth before priming and Painting.
Repairing Large Holes
Large holes in plasterboard require a bit more effort to fix but are still within the capability of most DIY enthusiasts. Start by cutting a piece of drywall slightly larger than the hole. Then, trace around this patch onto your wall and cut out the damaged section to match.
After applying joint compound around the edges of the hole, place your new patch into the opening and secure it with drywall tape. Cover the entire patch and surrounding area with joint compound, smooth it out, and let it dry before sanding smooth.
Dealing with Water Damage
Water damage can compromise the structural integrity of plasterboard, making it a bit trickier to repair. First, you’ll need to address the source of the water damage to prevent further issues. After that, remove the damaged section of plasterboard and allow the area to thoroughly dry out.
Replace the damaged section with new plasterboard, using the same method as repairing large holes. Keep in mind that water damage can sometimes lead to mold issues, so it’s important to ensure everything is completely dry and mold-free before closing up the wall.
The Finishing Touches
Once your plasterboard repair is complete, the next step is to make it blend seamlessly with the rest of your wall. Start by applying a primer over the repaired area. This will help ensure the paint adheres properly and provides a uniform appearance.
After the primer has dried, paint the area to match the surrounding wall. It might take a couple of coats to get the color and finish to match perfectly, especially if the existing paint has faded or discolored over time.
Maintenance Tips to Prevent Future Damage
Maintaining your plasterboard walls can help prevent future damage and keep them looking great. Try to control humidity levels in your home, as excessive moisture can lead to water damage and mold growth. Regularly inspecting your walls for signs of damage can also help you address issues before they become bigger problems.
Finally, be mindful of how you treat your walls. Avoid Hanging heavy objects without proper support and educate family members about the importance of careful handling to prevent accidental knocks and bumps.
Utah Drywall & Repair – Here to Help
If you’re feeling overwhelmed or if the damage seems too extensive for a DIY project, Utah Drywall & Repair is always here to help. Our team of experts is equipped to handle any plasterboard repair, big or small, ensuring professional results every time.
Remember, whether you decide to tackle plasterboard repairs yourself or enlist the help of professionals, the key is not to ignore damaged walls. Taking action can protect your home’s integrity and aesthetics, ensuring a comfortable living environment for years to come.
For any plasterboard repair needs or for more information, don’t hesitate to get in touch. Call us today at 801-406-6350 or Request a Free Quote. Repairing plasterboard may seem daunting at first, but with the right tools, preparation, and knowledge, you can fix most issues with ease. Whether you’re dealing with small cracks or larger holes, our guide is designed to provide you with the confidence and skills needed to tackle plasterboard repairs like a pro. At Utah Drywall & Repair, we’re committed to helping homeowners maintain beautiful, durable walls.


