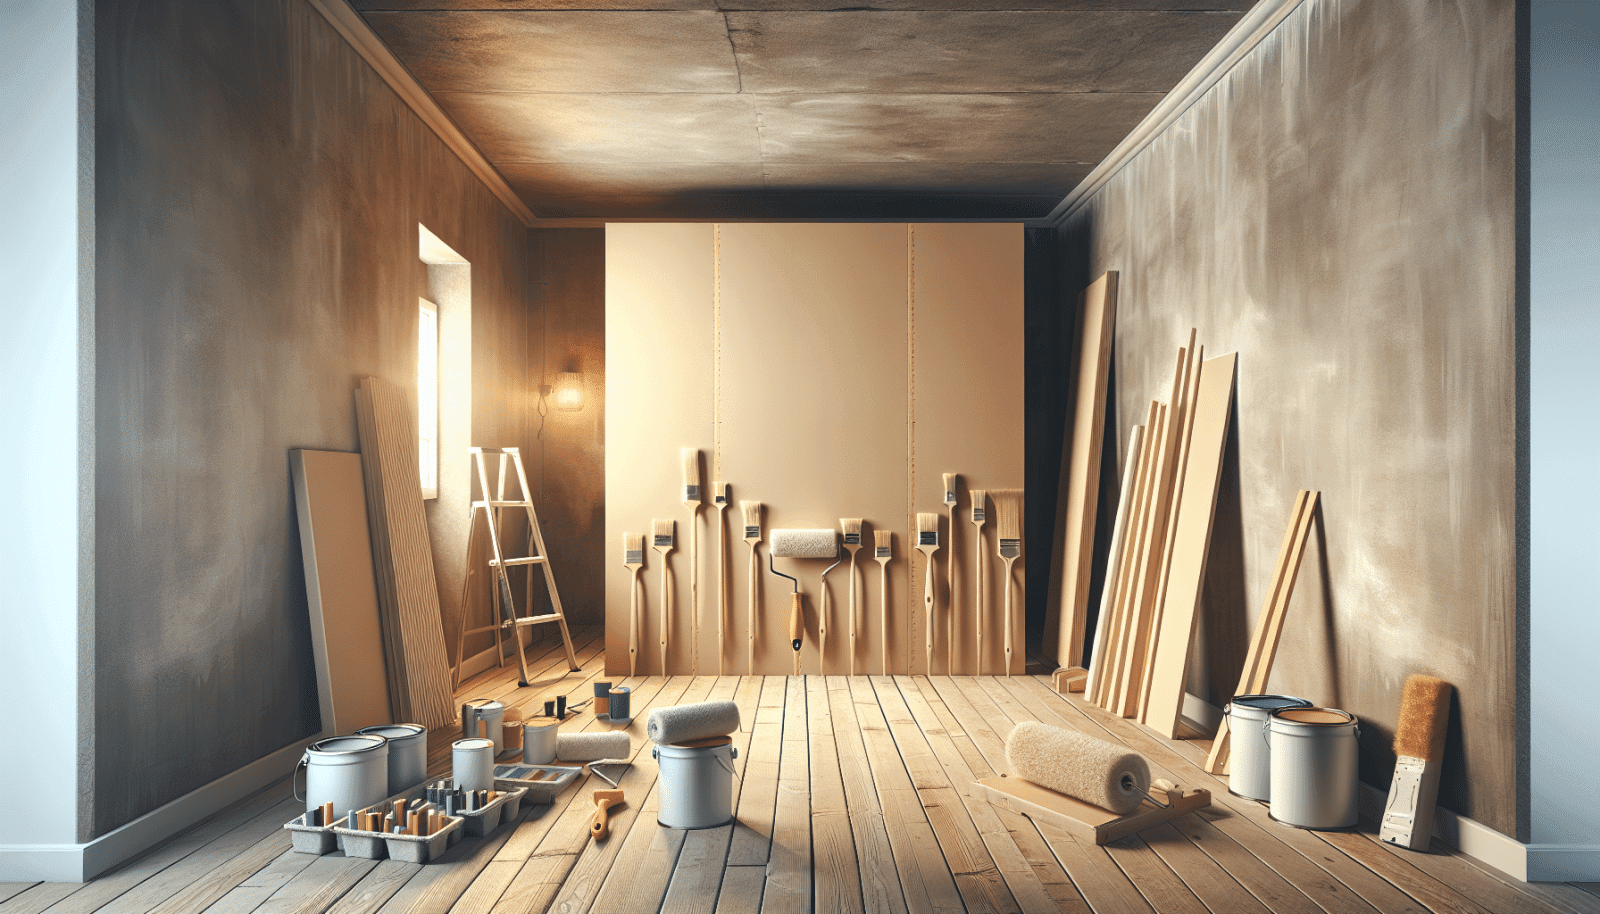
Priming and Painting your drywall can seem like a daunting task, but fear not! We, at Utah Drywall & Repair, have crafted the ultimate guide to make this process as smooth and easy as possible. This article is tailored to educate homeowners, guiding you through each step with insider tips from our vast experience. Whether you’re a first-timer or looking to refine your skills, this guide is your go-to resource for achieving flawless walls.
Contents
Why Priming Your Drywall is Essential
Priming your drywall is a step you don’t want to skip, and here’s why. It serves as the perfect foundation, ensuring your paint adheres well and lasts longer. Think of primer as a preparatory layer that addresses any surface imperfections, leading to a more uniform and smoother finish. Without priming, you risk ending up with walls that look uneven in color and texture, not to mention the potential for peeling paint down the line.
Moreover, priming can significantly improve paint coverage, meaning you’ll likely use less paint in the long run. It’s a cost-effective trick that not only saves you money but also enhances the overall appearance and durability of your walls. So, before you reach for that paintbrush, make priming your first priority.
The Right Primer for Your Project
Choosing the right primer is crucial for achieving optimum results. Not all primers are created equal, and selecting the wrong one can lead to less than desirable outcomes. For drywall, look for a drywall sealer or a high-quality latex primer. These options are specifically designed to fill in the porous surface of drywall, ensuring a smooth and even coat.
For areas with high humidity or those previously plagued by mildew, consider using a primer with anti-mildew properties. It’s an extra step that can save you a headache in the future. Ultimately, the right primer sets the tone for your painting project, creating the ideal canvas for a beautiful finish.
Prepping Your Walls for Primer
Preparation is key when it comes to priming and painting your drywall. Start by ensuring your walls are clean, dry, and free from any dust or debris. A simple wipe down with a damp cloth can do the trick. Next, inspect your walls for any holes or imperfections that need filling. Using a joint compound or spackle, fill these in and sand the area smooth once dry.
It’s also important to protect your flooring and furniture by laying down drop cloths or plastic sheeting. Masking off trim, windows, and door frames with painter’s Tape will result in clean, sharp paint lines. Taking the time to prep your space properly will not only make the painting process easier but also lead to professional-looking results.
Applying Primer Like a Pro
When it comes to applying primer, technique matters. Begin by stirring your primer thoroughly to ensure a consistent mixture. Using a high-quality roller or brush, start from the top of the wall and work your way down in smooth, even strokes. Be sure to cover every inch of the wall, paying extra attention to any filled holes or patched areas — they may require a bit more product to achieve uniform coverage.
Avoid the temptation to overload your roller or brush. A heavy hand can lead to drips and sags, detracting from the smooth finish you’re aiming for. If you’re dealing with a particularly porous surface or covering a dark color, a second coat of primer may be necessary. Allow the first coat to dry completely before applying the next, following the manufacturer’s recommended drying times.
Choosing the Right Paint for Your Walls
Now that your walls are primed and ready, choosing the right paint becomes the next crucial step. Not all paints are suitable for every room, so consider the function of the space you’re painting. Kitchens, bathrooms, and other high-moisture areas benefit from semi-gloss or gloss finishes, which are more resistant to humidity and easier to clean.
For living rooms and bedrooms, many homeowners prefer a matte or eggshell finish for its subtle sheen and ability to hide minor surface imperfections. Regardless of the finish, always opt for high-quality paint. It may cost a bit more upfront, but the superior coverage, durability, and beautiful finish will be well worth the investment in the long run.
Tips for a Flawless Paint Job
- Start with a Plan – Before you dip that brush into the paint, have a clear plan of attack. Decide on the order in which you’ll paint the room, starting with ceilings, then moving to walls, and finally, any trim or doors. This strategy helps avoid any unnecessary mess and makes for a more efficient process.
- Invest in Quality Tools – The importance of using high-quality brushes and rollers cannot be overstated. They not only make the job easier but also ensure a smoother, more professional finish. Don’t skimp on this step; it can make all the difference.
- Edge Like a Pro – For crisp, clean edges around trim and at corners, take your time and use a small, angled brush. Precision here adds to the overall professional look of your paint job.
- Keep a Wet Edge – To avoid lap marks, always work from a wet edge. This means painting over the edge of the last stroke before it has a chance to dry, ensuring a seamless transition between strokes.
- Allow Proper Drying Time – Impatience can ruin a good paint job. Follow the manufacturer’s recommended drying times between coats to ensure the best finish. Rushing this process can lead to tacky paint or visible brush strokes.
Maintenance and Touch-Ups
Once your painting project is complete, maintaining the beauty of your walls is key. Wash them gently with a soft sponge and mild detergent to remove any marks or fingerprints. For touch-ups, always keep a small amount of the paint used on hand. A quick dab on any imperfections can keep your walls looking fresh and new.
Remember, the durability of your paint job also depends on the quality of the products used and the thoroughness of your prep work. By following the steps outlined in this guide, you’ll ensure your walls stay beautiful for years to come.
When to Call in the Professionals
While DIY painting can be fulfilling, there are times when calling in the professionals is the best course of action. Complex spaces, high ceilings, or the need for specialty finishes can make a project more challenging than initially anticipated. If you find yourself in over your head, we’re here to help.
Our team at Utah Drywall & Repair has the skills and experience to tackle any project, big or small. From initial prep work to the final coat, we ensure a flawless finish every time. Don’t hesitate to reach out for a professional touch on your next painting project.
Wrap Up
We hope this ultimate guide to priming and painting your drywall has been insightful and helpful. Painting your walls doesn’t have to be intimidating; with the right preparation, tools, and techniques, you can achieve professional-looking results.
Should you need professional help or have questions about your painting project, our team is just a phone call away at 801-406-6350 or you can Request a Free Quote. Let us help you make your vision a reality with our expert painting Services.


