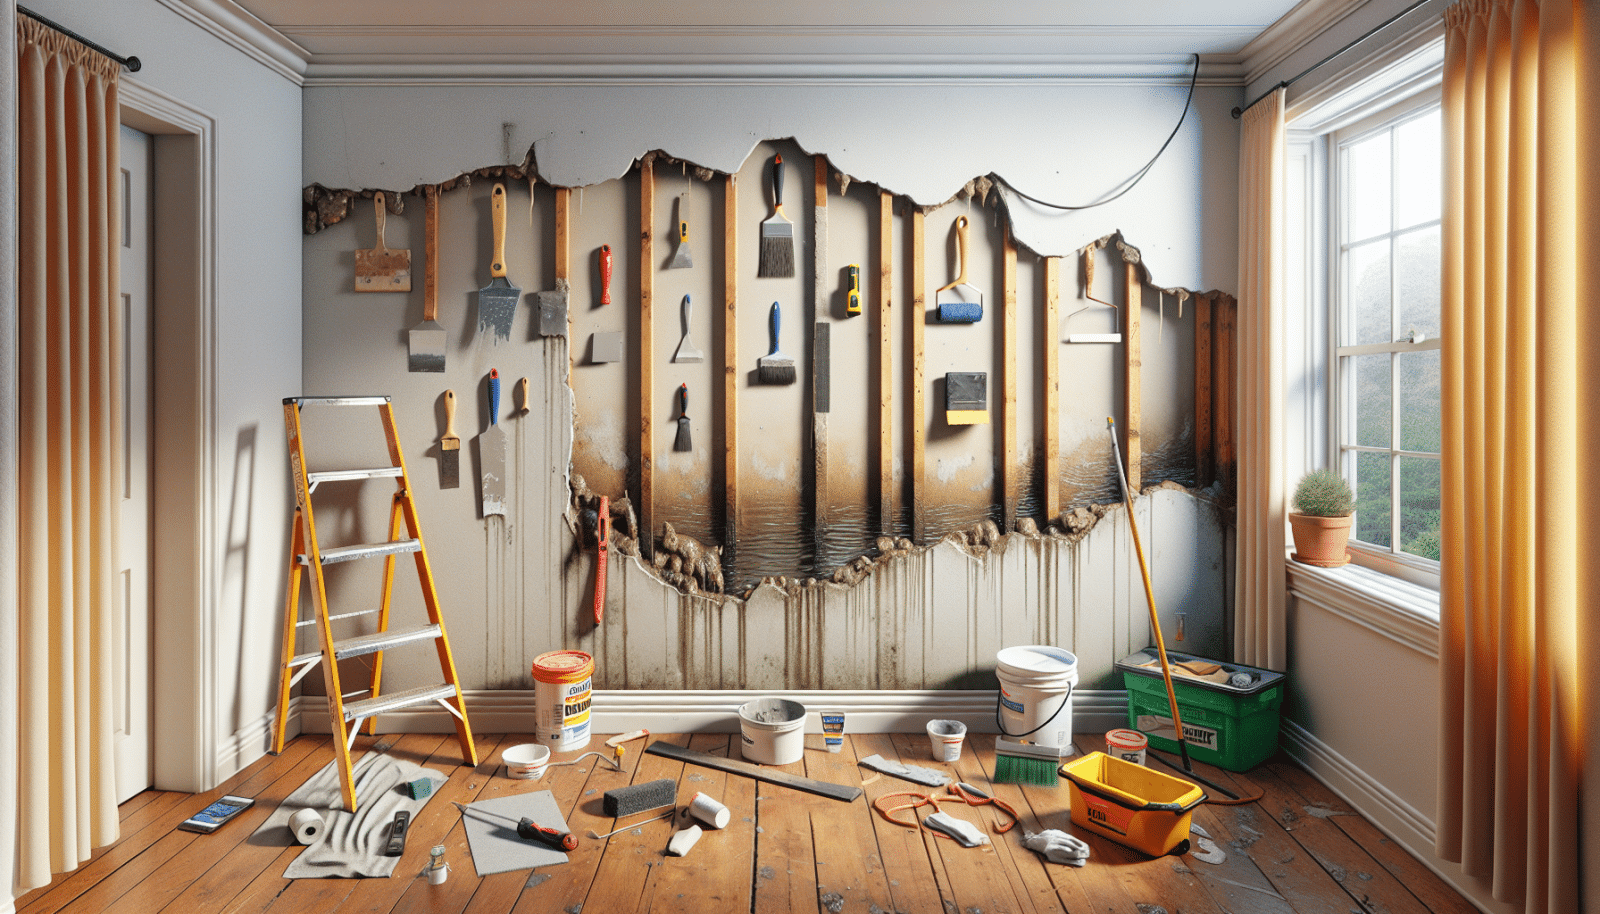
Water damage to your drywall can be a homeowner’s nightmare, leading to unsightly stains, structural issues, and potential mold problems. At Utah Drywall & Repair, we are here to guide you through fixing this common issue so you can get your home looking great again. In this detailed guide, you will learn how to identify and repair drywall water damage effectively. Homeowners looking for clear, actionable steps will find this tutorial particularly helpful.
Contents
Understanding the Extent of Damage
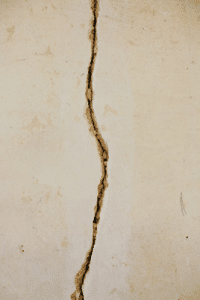
Before diving into repairs, it’s crucial to assess how severe the water damage is. Are there minor stains or significant cracks and sagging? Identifying the extent of the damage will help you determine the needed materials and the best approach to take. We recommend checking the area thoroughly for any potential hidden damage that may require additional work.
Inspect your drywall carefully and note any discoloration or texture changes. Water damage can sometimes seep into deeper layers, making it necessary to remove a section of the wall.
This initial step will save you time and effort in the long run, ensuring that your repair is thorough and effective.
Gather Necessary Tools and Materials
Having the right tools and materials on hand will make the repair process smoother and more efficient. Here is a list of what you will need:
- Drywall Saw: For cutting out the damaged section of drywall.
- Utility Knife: Useful for smaller cuts and detailed work.
- New Drywall: To replace the sections you cut out.
- Joint Compound: For sealing seams and preparing for Painting.
- Sandpaper: Essential for smoothing out the surface after applying the joint compound.
Keep these tools organized and within reach to make the repair process as seamless as possible.
Safety First
Before starting any repair work, prioritize safety. Water-damaged drywall can cause health hazards, especially if mold has developed. Wear protective gear such as gloves, safety goggles, and a mask.
Avoid breathing in any dust or mold spores, which can be harmful to your respiratory system. Proper ventilation in the area where you are working is also essential to ensure you are not inhaling any harmful substances.
If the damage is extensive or involves electrical components, consider consulting a professional to avoid potential risks.
Removing the Damaged Drywall
Now that you are prepared and protected, it’s time to remove the damaged drywall. Using your drywall saw and utility knife, carefully cut out the affected area. Make sure to remove any loose debris and clean the edges of the remaining drywall.
Always cut slightly larger than the damaged area to ensure that you are removing all compromised material. This will create a solid foundation for your repair.
Dispose of the damaged drywall safely, and inspect the underlying structure for any additional issues that might need addressing before proceeding.
Installing the New Drywall
Measure the cut-out section and cut a new piece of drywall to fit snugly into the hole. Secure the new drywall using Screws, ensuring it is flush with the existing wall.
Double-check that the new piece is secure and level. Any gaps or misalignments can cause issues later on, so take your time with this step.
Align the new drywall so that it matches seamlessly with the existing wall surface. This will help in achieving a smooth and professional finish once the repair is complete.
Applying Joint Compound
Next, apply joint compound over the seams where the new drywall meets the existing wall. Use a putty knife to spread the compound evenly, covering all seams and screw holes.
Apply the joint compound in thin layers, allowing each layer to dry before adding the next. This process may seem time-consuming, but it ensures a smooth finish with no visible seams.
Once the final layer is dry, use sandpaper to smooth out the surface, preparing it for painting.
Priming and Painting
Before painting, apply a primer to the repaired area. This will help the paint adhere better and provide a more uniform finish. Once the primer is dry, paint the area to match the rest of the wall.
Using quality paint and primer will ensure that your repair blends seamlessly with the surrounding area. Consider applying multiple coats of paint for a durable finish.
Allow the paint to dry completely between coats to avoid any smudging or unevenness.
Preventing Future Water Damage
To avoid dealing with water-damaged drywall again, take preventive measures. Fix any leaks in your plumbing or roof promptly and control indoor humidity levels.
Consider installing a dehumidifier in damp areas like basements to reduce the risk of water damage. Regularly inspect your home for signs of leaks and address them immediately.
By taking these proactive steps, you can protect your drywall and maintain the integrity of your home.
When to Call Professionals
While many repairs can be handled by a savvy homeowner, some situations call for professional intervention. If the damage is extensive or involves hazardous materials like mold, don’t hesitate to call the experts at Utah Drywall & Repair.
We offer specialized Services to ensure your home is safe and sound, saving you time and potential headaches down the line.
Our team has the experience and tools to handle even the most challenging drywall repairs with ease.
Conclusion
Fixing drywall water damage doesn’t have to be daunting. With this step-by-step guide, you can tackle the repairs confidently and effectively. If you need professional assistance, Contact Us at Utah Drywall & Repair by phone 801-406-6350 or Request a Free Quote.


