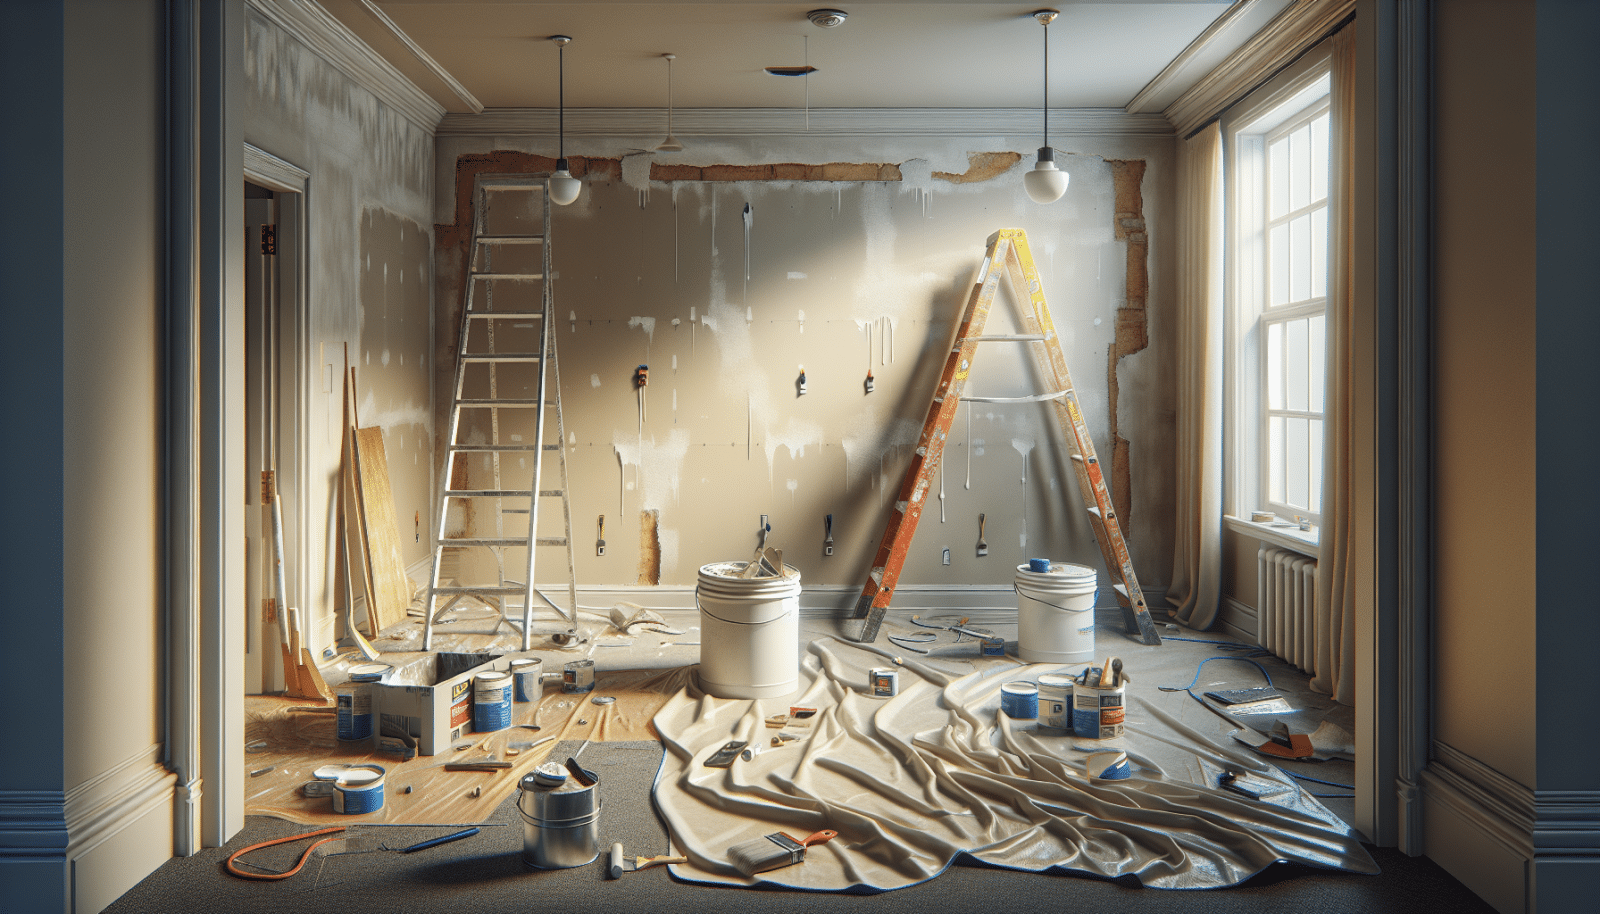
At Utah Drywall & Repair, we understand that achieving a flawless paint job on your walls can sometimes feel like a daunting task. Many homeowners struggle with ensuring their drywall is prepped for that perfect coat of paint, often ending up with less than satisfactory results. But fret not, because this article will guide you through essential steps for priming your drywall, making the entire process easier and much more effective. If you’re a homeowner looking to enhance the appearance of your interior walls, read on to discover how professional priming can make all the difference!
Contents
- 1 Understanding the Importance of Drywall Priming
- 2 Choosing the Right Primer for Your Drywall
- 3 Preparing Your Drywall Surface
- 4 Gathering the Necessary Tools and Materials
- 5 Applying the Primer Correctly
- 6 Priming Techniques for Different Drywall Conditions
- 7 Ensuring Adequate Ventilation
- 8 Evaluating Your Work
- 9 Conclusion
Understanding the Importance of Drywall Priming
Primer acts as a bridge between your drywall and the paint. Without it, the final result can be uneven, less vibrant, and more susceptible to wear and tear. A good primer seals the drywall, creating a smooth and uniform surface for paint to adhere effectively. Applying primer is crucial as it prevents the drywall from soaking up multiple coats of paint, saving you time and money in the long run. Additionally, primer covers blemishes and imperfections, ensuring that your walls achieve a professional look after Painting.
Primer isn’t just about aesthetics, though; it also helps extend the life of your paint job. When correctly applied, primer can protect your walls from moisture, stains, and even minor nicks and scuffs. By taking the time to prime your drywall properly, you ensure that your paint job will last for years to come, maintaining its beauty and durability.
Choosing the Right Primer for Your Drywall
Selecting the appropriate primer for your specific needs is essential. There are various types of primers available, each designed to tackle different issues and achieve specific results. Latex primers, for instance, are perfect for new drywall or painting over previous paint jobs. They dry quickly and are easy to clean, making them a homeowner favorite.
On the other hand, oil-based primers are more suitable for covering up stains, such as smoke or water damage, since they provide a powerful seal. If your drywall has been repaired or resurfaced, you might also consider a high-build primer, designed specifically to create a level painting surface. By choosing the right primer, you set the stage for a seamless and successful painting process.
Preparing Your Drywall Surface
Before delving into priming, it’s essential to prepare your drywall surface properly. Begin by inspecting the walls for any damage or imperfections. Look for holes, cracks, or bumps that may disrupt the smooth application of primer.
After identifying required repairs, use a drywall joint compound to fix these areas. Allow the compound to dry thoroughly before Sanding it down and wiping away any dust with a damp cloth. Ensuring that your drywall surface is perfectly smooth and clean will help the primer adhere properly, promoting an even finish when it’s time to paint.
Gathering the Necessary Tools and Materials
Now that your drywall is prepped, it’s time to gather the necessary tools and materials for the priming process. Having everything within reach will streamline your work and make the entire task more efficient. Here’s what you’ll need:
- Quality Primer: Choose the right type of primer for your drywall needs, such as latex or oil-based.
- Paint Roller and Brushes: Use a roller for large wall sections and brushes for edges and corners.
- Sandpaper and Spackling Paste: Perfect for smoothing out any remaining imperfections on your walls.
- Drop Cloths and Masking Tape: Protect your floors and any areas you don’t want to get primer on.
- Protective Gear: Ensure safety by wearing goggles, gloves, and a mask when applying primer.
Applying the Primer Correctly
Once your materials are ready, it’s time to apply the primer. Start with one section of your wall to avoid missing spots. Ensure that the primer is evenly distributed by using a smooth rolling motion with your roller. For corners and edges, use a smaller brush to ensure precision.
Apply a thin coat of primer and allow it to dry completely before adding a second coat. Applying too much primer in one go can cause drips and an uneven application, so patience is key. Remember, the goal is to achieve full coverage without over-application.
Priming Techniques for Different Drywall Conditions
Different drywall conditions call for different priming techniques. For newly installed drywall, a single coat of primer is usually sufficient. However, if your drywall has been previously painted, you might need to sand the surface lightly before priming.
If your walls have sustained any smoke or water damage, using a stain-blocking primer is essential. This type of primer will provide the extra barrier needed to prevent these unsightly blemishes from seeping through your paint. By tailoring your priming technique to the condition of your drywall, you set the stage for a successful painting experience.
Ensuring Adequate Ventilation
Proper ventilation is often an overlooked element in the priming process but is vitally important. Good air circulation helps the primer dry faster and reduces the accumulation of fumes in the workspace, making it safer for you and anyone else in the area.
Open windows and use fans during and after priming to enhance air flow. This will promote not only a quicker drying process but also a more comfortable work environment. Never underestimate the simple yet impactful role of adequate ventilation.
Evaluating Your Work
After the primer has completely dried, take a moment to evaluate your work. Examine your walls from different angles to ensure there are no missed spots or uneven coverage. Good lighting can help highlight any areas requiring additional attention.
If you find any areas that need touching up, apply another light coat of primer and let it dry. Patience and thoroughness here will pay off in the final stages of your painting project, so don’t skip this essential step.
Conclusion
Priming your drywall correctly is an integral step towards achieving that flawless paint job you’ve been dreaming of. By following these detailed steps, you’re not just preparing your walls; you’re laying the foundation for a durable and aesthetically pleasing finish. So go ahead, start priming, and watch as your walls transform effortlessly!
Happy with our tips? If you’re seeking professional help, don’t hesitate to Contact Us at 801-406-6350 or Request a Free Quote today!


