A perfectly smooth wall looks simple — but you know what? It’s usually the result of a lot of small choices, careful technique, and a few trade secrets that pros don’t shout about from the rooftops. Whether you’re fixing a dinged-up living room in Sandy, finishing a Basement in Layton, or prepping a rental in Provo, these tips will help you get close to that invisible joint look. This piece is for homeowners in Salt Lake County, Davis County, and Utah County who want clear, practical advice about drywall and who appreciate when work looks effortless (even if it isn’t).
Contents
- 1 Why a smooth wall matters — more than you think
- 2 Tools and materials pros swear by (and why)
- 3 Prep: the unsung hero
- 4 Taping and first coat: get it right early
- 5 Feathering, sanding, and the secret to invisible joints
- 6 Priming, Painting, and finishing touches that sell the space
- 7 Common mistakes homeowners make (and how we fix them fast)
- 8 How professionals handle repairs vs DIY
Why a smooth wall matters — more than you think
Sure, smooth walls look nice. But they also influence how light plays in a room, how paint color reads, and even how buyers or guests feel about the space. A tiny ridge or a shadow line tells the brain something’s off — you notice it, even if you can’t name it. Let me explain: human eyes are brilliant at spotting irregularities, so one small seam can steal attention from well-chosen furniture or a great paint color.
There’s also the practical side: poorly finished drywall collects dirt along seams, cracks sooner with seasonal movement, and makes future repairs harder. Honest truth — a little extra care up front saves headaches (and money) later.
Tools and materials pros swear by (and why)
Here’s the thing: the right tool makes a good finisher great. The wrong tool doesn’t just slow you down — it can ruin a finish. Below is a quick checklist of staples you’ll see in a pro’s truck.
| Tool | Why pros use it | Pro tip |
|---|---|---|
| Taping knife (6″, 10″, 12″) | Control and feathering for different coat sizes | Use a fresh blade and clean compound — less dragging, fewer ridges |
| Setting compound (e.g., Durabond) | Faster drying, stronger bond for deep fills | Mix by weight for consistency; small batch is safer |
| 3M Sanding mesh / vacuum sander | Less dust; cleaner finish | Vacuum while sanding — your lungs will thank you |
Brands like Sheetrock and ProForm are common — not because of marketing, but because they’re reliable. Tools from DeWalt and Milwaukee feel better in the hand and last longer; that matters after a long day doing finish work.
Prep: the unsung hero
Prep is about three things: inspection, environment, and patience. Don’t skip any of them. Check studs and backing, locate high-humidity spots, and look for hairline cracks caused by settling or framing movement. A quick moisture test in basements is worth the five minutes. You’d be surprised how often a “mystery stain” is a slow leak waiting to ruin your new paint.
Here’s a mild contradiction: sometimes doing less is better. If a seam is fine structurally, heavy-handed scraping can create a worse surface. The trick is to know when to repair, and when to feather and finish.
Taping and first coat: get it right early
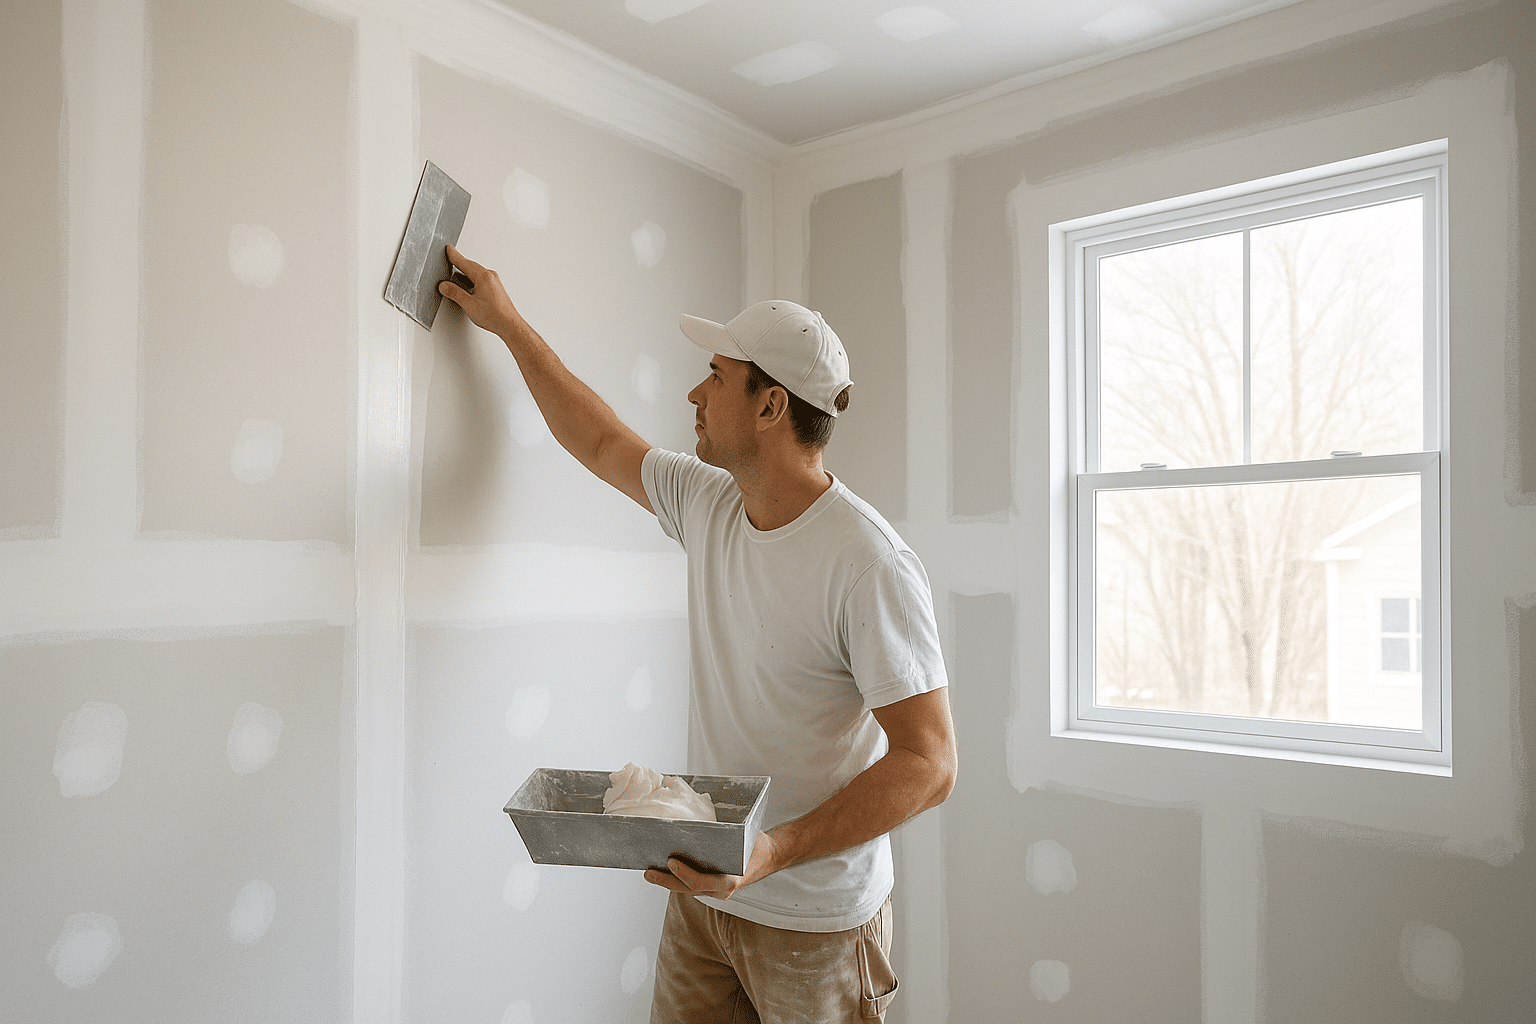
Let’s talk Tape. Paper tape gives a slightly stronger joint for most interior walls; fiberglass mesh is quicker for patchwork and small repairs. Pro tip: embed tape in a smooth, thin layer of compound — don’t glob it on. Too much compound trapped under tape equals bubbles and bulging later.
There are two types of compounds you’ll hear about: setting compounds (fast, hard) and drying compounds (easy to sand). Pros use both. Why? Setting compound lets you build fill without sagging; drying compound feather-sands nicer for finish coats. Mix thin, work deliberately, and let each coat cure before the next. Patience — again — plays a big role.
Feathering, sanding, and the secret to invisible joints
Feathering is where the magic happens. You extend each coat further than the last, thinning the edge until it disappears under paint. That gradual thinning is why you’ll often see three coats on a joint: fill, build, finish.
Sanding is controversial. You’ll hear pros say “don’t sand” and then watch them sand carefully. The reason for the contradiction: sanding creates smooth texture but can remove too much if done wrong. Use a soft block for localized spots; use a vacuum sander for big areas. 3M mesh screens reduce clogging and keep the surface consistent.
Priming, Painting, and finishing touches that sell the space
Primer is non-negotiable. Even if the wall looks great, paint soaks differently over joints and patches. A quality PVA primer seals and evens out porosity so your finish coat goes on smoothly and the color reads true.
When it comes to paint, latex is the go-to for most living spaces; choose eggshell or satin for walls because they hide tiny imperfections. One small seasonal tip for Utah homeowners: winter humidity drops and paint can flash or cure faster, while summer humidity slows things down. Adjust drying times and ventilate accordingly.
Common mistakes homeowners make (and how we fix them fast)
- Too much compound at once: leads to cracking — we remove the bulge, reset the seam, and feather again.
- Skipping primer: leads to blotchy color — we spot-prime and often prime the whole surface for uniformity.
- Using the wrong tape: causes bubbles — we swap to paper tape and set it properly.
- Sanding without dust control: creates a mess and health risks — we use vacuums and HEPA filters.
Fixing these usually takes skill more than time. You can often see an improvement after a single professional visit.
How professionals handle repairs vs DIY
DIY can be rewarding and cheaper for tiny patches, but repairs that affect light reflection, room resale value, or structural integrity are best left to pros. Professionals read walls the way a mechanic reads an engine — subtle signs tell them what’s beneath the surface. And honestly, a pro finish saves time and avoids repeating the same fix next season.
Also, we bring insurance and a warranty — that matters if something shifts after seasonal temperature swings or a landlord needs a reliable finish for renting. You’re paying for less worry as much as you’re paying for skill.
Ready to make your walls disappear into perfection? If you’re in Salt Lake County, Davis County, or Utah County and want a reliable, local team, call Utah Drywall & Repair. We’ll assess the job, explain the timeline, and give you a clear estimate — no surprise fees, no fluff. Call us at 801-406-6350 or click Request a Free Quote to schedule a visit. Fast, clean, and honest — that’s how we like to work, and that’s how homeowners sleep better at night.


