
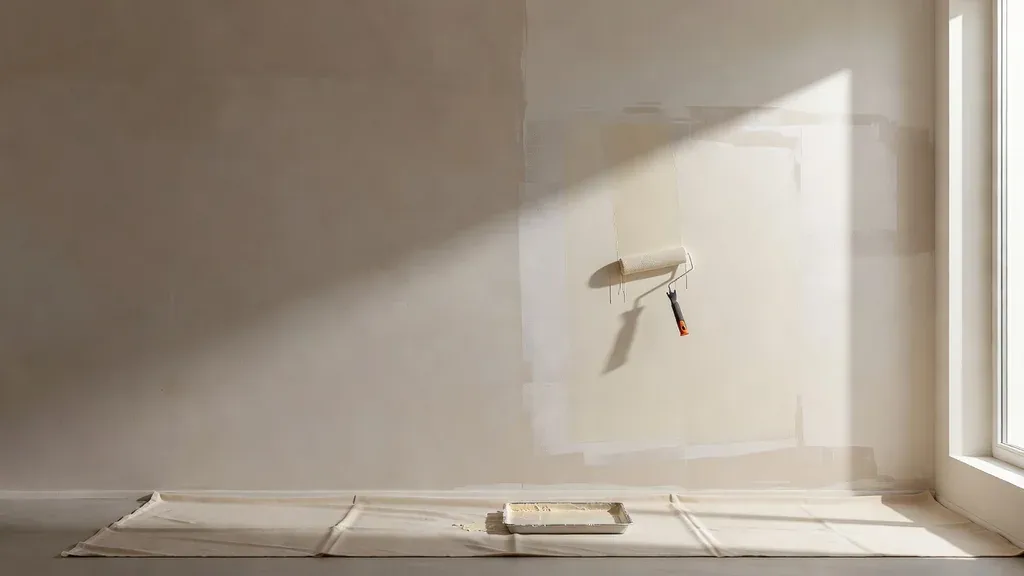
A repaired wall can be structurally sound and still show after paint. The usual causes are not just color. Joint compound and drywall face paper absorb paint differently. A repaired area may also have a different texture, roller stipple, sheen, or surface profile from the surrounding wall. Side light makes those differences easier to see.
A uniform result starts before the paint can opens. The repair must be dry, flat, clean, textured as needed, and primed with a product suitable for gypsum board. Then the paint color, sheen, tool, and application area have to work with the existing finish.
Utah Drywall & Repair performs drywall finishing, texture matching and application, paint matching, and proper finish handoff. Paint matching can improve color continuity, but no responsible contractor should promise that a localized repaint will disappear under every light angle. Paint age, sheen loss, fading, and earlier coatings can make a corner-to-corner repaint the cleaner choice.
Why a drywall patch flashes through paint
“Flashing” is the visible change in color, gloss, or texture over a repaired area. It commonly happens when paint sits differently over porous joint compound than it does over the previously painted wall.
| What changes at the patch | What you may see after painting | Practical response |
|---|---|---|
| Surface porosity | Dull or uneven sheen | Prime the repaired area with a gypsum-compatible primer |
| Patch profile | A hump, hollow, ridge, or hard edge | Correct the finish before priming rather than trying to hide it with paint |
| Texture | A smooth island inside orange peel or knockdown | Match the texture and create a controlled blend zone before paint |
| Paint color | A warmer, cooler, lighter, or darker spot | Use a current color match or the original verified paint formula |
| Paint sheen | A shiny or dull patch | Match the product and sheen, then consider painting the full wall plane |
| Applicator texture | Brush marks or a different roller stipple | Use the same application method and a comparable roller cover |
| Lighting | A repair visible only from one angle | Inspect with normal daylight and room lighting before final acceptance |
A can labeled “paint and primer” does not automatically equalize a porous drywall repair. The Gypsum Association and USG both distinguish surface preparation and priming from the decorative paint coats. Follow the repair-material, primer, and paint manufacturers’ instructions.
Check the repair before you paint
Paint magnifies finish defects rather than repairing them. Inspect the patch under a bright work light held nearly parallel to the wall. This is called raking light. It reveals ridges, scratches, pinholes, torn paper, and abrupt feather edges that overhead lighting may hide.
The surface should be:
- dry through the full compound build, not just dry on top;
- firmly bonded, with no loose tape, paper, or crumbly edge;
- feathered gradually into the existing wall;
- free of sanding scratches and tool ridges;
- matched to the surrounding texture before primer;
- clean enough that primer will bond without trapping dust.
Do not over-sand the drywall face paper or polish the joint compound. Both can create new absorption and texture differences. Remove high spots with controlled sanding or careful scraping, then repair exposed or damaged paper according to the product manufacturer’s instructions.
Safety note: Sanding old painted surfaces can create hazardous dust. For homes built before 1978, EPA lead-safe guidance applies to contractors who disturb covered painted surfaces, and EPA recommends lead-safe practices for homeowners. If the age or coating history is uncertain, pause before dry sanding. Drywall sanding itself also creates substantial dust, so use source-capture sanding and appropriate protection rather than spreading dust through the home.
Choose primer, paint, sheen, and tools as one system
Primer
A drywall primer or surface equalizer is formulated to reduce the absorption difference between joint compound and drywall paper. For a small repair on a sound painted wall, spot-priming the fully prepared patch is common. For broad skim work, extensive new drywall, or a wall with many repairs, priming the full wall can produce a more consistent base.
Use a stain-blocking primer only when the surface condition calls for it, such as a resolved water stain, and verify that it is compatible with the finish coat. Primer does not fix an active leak, loose material, or contamination.
Paint color and product
The most reliable starting point is the exact paint brand, product line, color formula, base, and sheen already on the wall. Even then, an older wall may have faded, yellowed, been cleaned unevenly, or lost sheen. A store scan or professional paint match can get close to the current color, but it cannot recreate the age and wear of the surrounding coating.
Test the match on a prepared sample or an inconspicuous area and let it dry. Wet paint can look different from its cured color.
Sheen
Flat and matte coatings tend to reveal fewer surface variations than higher-sheen coatings, but the room’s use and cleaning needs still matter. Eggshell, satin, semi-gloss, and gloss reflect progressively more light and can emphasize ridges, texture changes, and roller lap marks. Do not select a sheen only because the wall was repaired. Match the existing coating or repaint the complete wall in a new, intentional finish.
Roller and brush
A roller cover leaves a repeatable texture called stipple. A different nap, loading method, pressure, or rolling direction can make the patch visible even when the color is accurate. Use a brush for cut-in areas and a roller suited to the wall texture and coating. Avoid building a thick paint edge around the patch.
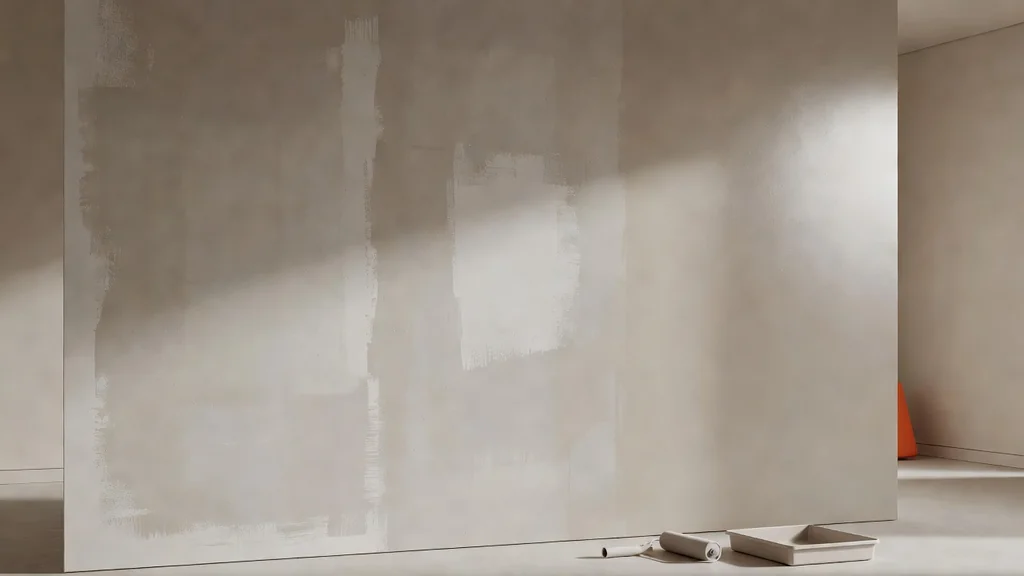
Step-by-step: paint a finished drywall repair
- Confirm the cause is resolved. Do not coat over active moisture, recurring cracking, loose tape, or soft drywall. A cosmetic finish cannot stabilize an ongoing problem.
- Read the surface under raking light. Mark ridges, pinholes, scratches, and texture changes. Correct them with the appropriate finishing material and let it dry.
- Control the dust. Protect nearby floors and furnishings. Use vacuum-assisted sanding where practical, then remove remaining dust without saturating the drywall.
- Restore the texture. Match orange peel, knockdown, skip trowel, or another existing pattern before primer. Let the texture dry as directed.
- Prime the repair. Apply a full, even coat over the prepared compound and affected paper. Feather the primer edge without leaving a heavy ridge. Prime the whole wall when the repair area or substrate variation makes that more sensible.
- Evaluate after primer. Primer often reveals defects. Correct and re-prime those areas rather than hoping the finish paint will hide them.
- Apply the finish paint consistently. Maintain a wet edge, avoid dry rolling, and use the same tool pattern as the surrounding wall. Follow label directions for spread rate, temperature, humidity, and recoat time.
- Decide whether to paint the full wall. If the color, sheen, or stipple still changes at the repair, coat the wall from corner to corner. Natural breaks at inside corners are less noticeable than a blend ending in the middle of a wall.
- Inspect after drying. Check from normal viewing positions in daylight and with the room’s usual lights. Do not judge sheen while the coating is still wet.
Spot painting versus painting the full wall
Spot painting is most likely to work when the existing paint is relatively new, the exact product is available, the sheen is low, the repair is small, and the wall has forgiving texture and light. It is less reliable on sunlit walls, long hallways, smooth finishes, dark colors, higher sheens, or walls with years of cleaning and fading.
A full-wall coat does not mean the drywall repair failed. It is often the correct painting decision because it moves the transition to natural boundaries. Ceilings may require an even broader repaint because light travels across the plane and exposes sheen differences.
Pro tip: Keep a labeled record of the paint brand, product, color code, base, sheen, room, and purchase date. A photo of the can lid and formula label is more useful than a handwritten color name alone.
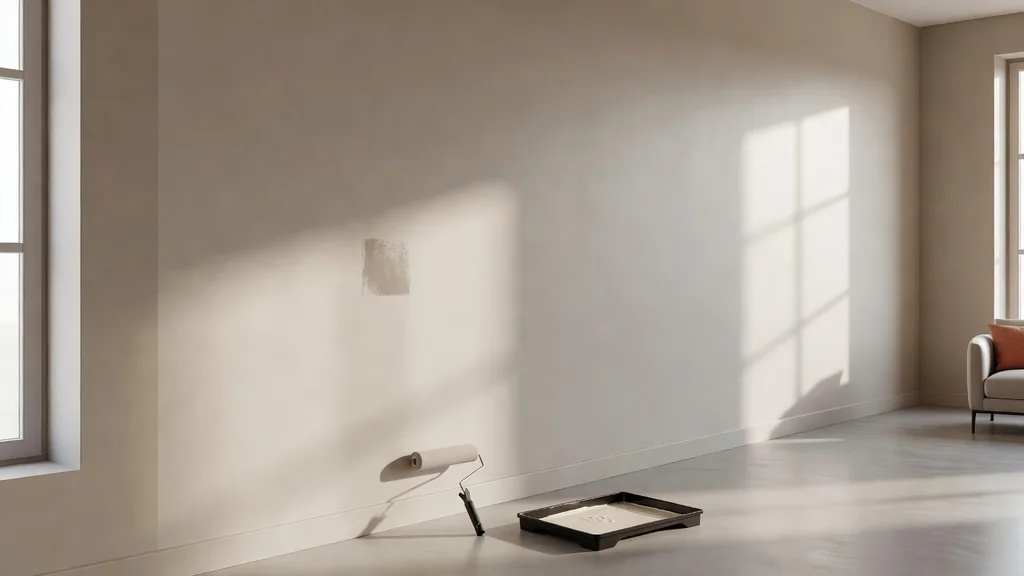
Common mistakes that make a patch more visible
- Painting before the compound or texture is fully dry.
- Skipping primer over porous joint compound.
- Trying to fill scratches or pinholes with paint.
- Sanding through the drywall paper.
- Matching color but not sheen or roller texture.
- Brushing a large center-wall patch instead of matching the rolled finish.
- Applying one heavy coat that leaves a raised edge.
- Evaluating only under a work light rather than the room’s normal lighting.
- Assuming leftover paint will be unchanged after years of storage.
When professional repair and paint matching make sense
Consider professional help when the repair crosses several seams, the wall has a difficult hand-applied texture, a ceiling patch sits in strong side light, the existing coating is hard to identify, or previous patch layers have left a broad hump. A contractor can also define whether the right scope is a localized repair, a larger blend zone, skim coating, or a full-wall finish.
The team can carry a repair through texture, primer, paint matching, and final paint when those steps are included in the estimate. That matters on older walls where a good patch can still flash because the surrounding paint has faded or lost sheen.
For related planning, see drywall repair services, drywall finishing services, the guide to smooth drywall mudding, or request an estimate with photos of the repair and the full wall.
Frequently asked questions
Do I always need to prime a drywall patch?
A prepared joint-compound repair should be primed before decorative paint so the porous patch and surrounding surface accept the finish more consistently. Use a product compatible with gypsum board and the selected paint. Large skim-coated areas may call for full-surface priming rather than a small spot.
Can a paint store match the wall exactly?
A scan can produce a useful color match, but it cannot fully account for fading, accumulated cleaning, sheen loss, roller stipple, or lighting. Test the dried match. If the transition remains visible, repainting the full wall plane is often more dependable.
Should I sand between paint coats?
Not automatically. Follow the coating manufacturer’s directions. Sand only to correct a specific defect or improve adhesion when the product calls for it, and control the dust. Sanding an older painted surface without first considering lead risk can be unsafe.
Why does the patch look dull even though the color matches?
Joint compound can absorb paint differently from the existing coated wall. Inadequate priming, a sheen mismatch, or a different applicator texture can all create a dull spot. The fix starts with substrate equalization and consistent application, not simply another thick spot coat.
Can Utah Drywall & Repair handle the paint after a patch?
Yes. The team’s related finish work includes paint matching and proper finish handoff after drywall repair. The scope should still define whether paint is localized or extends across the full wall or ceiling, since an exact invisible blend cannot be promised on every aged coating.
Authoritative references
- Gypsum Association, Repair and Painting of Gypsum Board
- Gypsum Association, GA-214-2021 Levels of Finish for Gypsum Panel Products
- USG, Sheetrock Brand First Coat Primer
- U.S. EPA, Lead-Safe Renovations for DIYers
- NIOSH, Control of Drywall Sanding Dust Exposures