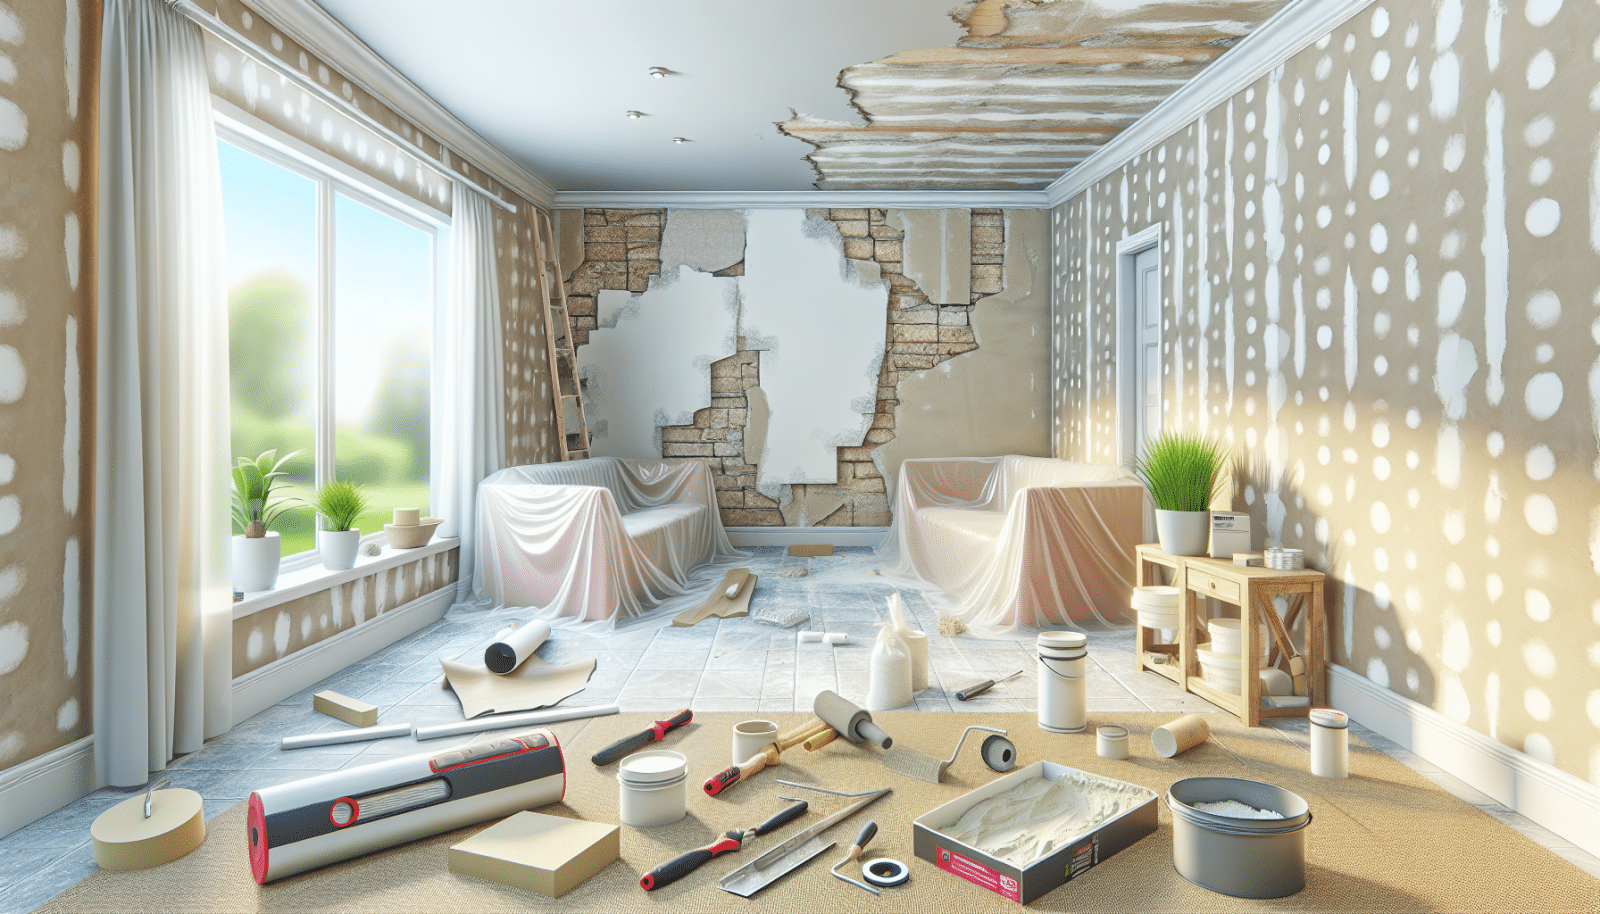
Cracked drywall can dampen the aesthetics of your beautiful home, but fear not, as we at Utah Drywall & Repair have got you covered. In this guide, we’ll walk you through step-by-step techniques to repair drywall cracks like a pro. Whether you’re a seasoned DIY enthusiast or a first-time home repairer, this article is designed to equip you with the knowledge and skills needed to tackle Drywall Repair confidently. Let’s dive in and get those walls looking flawless again.
Contents
Understanding Drywall Cracks
Before you start mixing spackle, it’s crucial to understand what causes drywall cracks. Typically, cracks can occur due to moisture, temperature fluctuations, or settling of the house. Another common culprit is improper installation. Identifying the cause of the cracks is the first step in ensuring a lasting repair. By addressing the root of the problem, you can prevent future cracks from forming.
Recognizing different types of cracks will guide you in choosing the appropriate repair method. Hairline cracks may require a simple fix, while larger, more structural cracks could call for a more extensive approach. Understanding the nature of the crack you’re dealing with is essential for a successful repair.
Tools and Materials You’ll Need
- Joint Compound: This is used to fill in the cracks and make the surface smooth.
- Drywall Tape: It reinforces the joint compound, preventing the cracks from reappearing.
- Putty Knife: A crucial tool for applying and smoothing the joint compound.
- Sanding Sponge: Used for smoothing out the joint compound once it dries.
- Primer and Paint: For covering up the repair work and making it blend with the existing wall.
Preparation is Key
Begin by clearing the area around the crack. Remove any dust, furniture, or wall hangings to ensure a clean workspace. Preparing the crack itself is also crucial; use a utility knife to slightly widen the crack, creating a “V” shape. This allows the joint compound to better adhere, ensuring a more durable repair.
After the initial prep, clean out any dust or debris from the crack. This step ensures that the joint compound will have a clean surface to adhere to. Skipping this preparation could result in a less effective repair, so take your time to do it properly.
Applying the Joint Compound
With your putty knife, apply a layer of joint compound into the crack, making sure to press it in firmly. The goal is to fill the crack entirely, leaving no air pockets. After the initial application, place a piece of drywall tape over the wet compound, pressing it firmly into place.
Once the tape is applied, add another layer of the joint compound over the tape, smoothing it out with your putty knife. This step might require some patience to achieve a smooth, flat surface. Allow the compound to dry completely, which could take several hours, depending on humidity and temperature.
The Art of Sanding
After the joint compound has dried, it’s time to sand the area smooth. Using a sanding sponge, lightly sand over the joint compound, making sure not to press too hard and damage the drywall beneath. Your goal is to create a smooth, flat surface that blends seamlessly with the rest of the wall.
Sanding might produce a lot of dust, so it’s advisable to wear a dust mask during this step. Take your time to achieve a smooth finish, as rushing through this process could lead to an uneven repair that stands out from the wall.
Priming and Painting
Once you’re satisfied with the smoothness of the repaired area, it’s time to prime and paint. Applying a coat of primer before painting ensures better adhesion of the paint and a more uniform finish. Allow the primer to dry as instructed by the manufacturer.
Finally, paint over the primed area with a matching wall colour. It might be necessary to paint the entire wall to ensure the repair blends in perfectly. With the right colour match and application, the repair should become nearly invisible, leaving you with a beautifully smooth wall.
Avoiding Common Mistakes
One of the keys to a successful drywall repair is avoiding common pitfalls. Not allowing the joint compound to dry fully before sanding can ruin your hard work, so patience is crucial. Similarly, skimping on the quality of your tools and materials can lead to subpar results. Investing in good-quality drywall tape and joint compound is essential for a lasting repair.
Another mistake to avoid is not applying enough pressure when filling the crack with joint compound. Ensuring that the compound fully occupies the space within the crack is vital for preventing future cracks from forming. A bit of extra effort during the application can save you from having to redo the repair later.
When to Call the Professionals
While many drywall cracks can be effectively repaired with a bit of DIY effort, there are situations when calling in the professionals is the best course of action. If you’re dealing with large structural cracks or if the drywall is severely damaged, it might be time to seek expert help. Professionals can assess the damage and perform repairs that are both safe and aesthetically pleasing.
Professional drywall repairers can also address the underlying causes of the cracks, such as moisture issues or foundation problems. If you’re unsure of the severity of the crack or how to proceed, consulting with a professional can provide peace of mind and guarantee a successful repair.
Maintaining Your Drywall
Maintenance is key to preventing future drywall cracks. Regularly inspecting your walls for early signs of cracks and addressing them promptly can save you from more extensive repairs down the line. Additionally, controlling humidity levels in your home can prevent moisture-related cracking.
Simple steps, like using a dehumidifier or ensuring proper ventilation, can make a significant difference in maintaining the integrity of your drywall. Keeping your walls in good condition not only enhances the aesthetic appeal of your home but also contributes to its overall value.
Conclusion
Repairing drywall cracks might seem daunting at first, but with the right tools, materials, and techniques, you can achieve professional-level results. Remember, taking the time to properly prepare and perform the repair will pay off with a smooth, unblemished wall that looks as good as new. Should you need professional assistance, don’t hesitate to reach out to us by phone at 801-406-6350 or Request a Free Quote. We’re here to help you keep your home looking its best.


