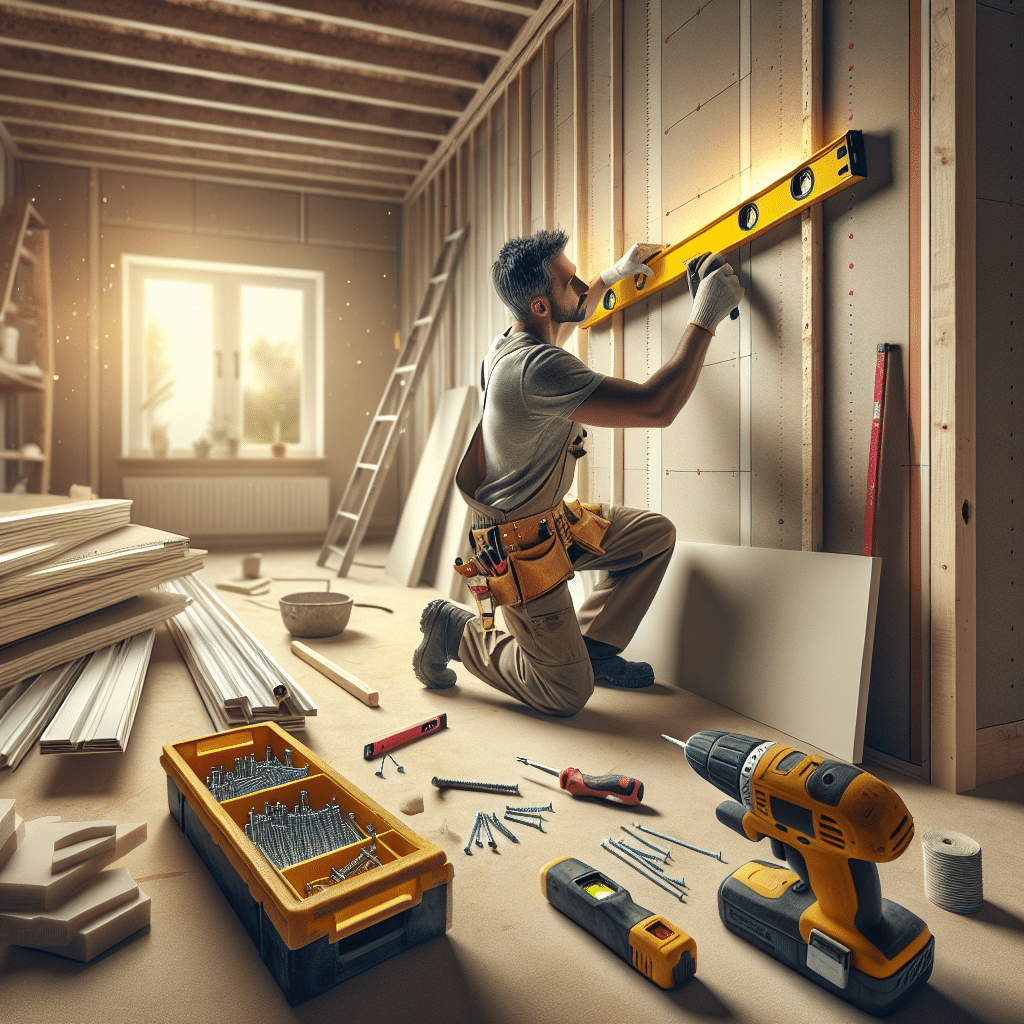
At Utah Drywall & Repair, we know that plasterboard fixing can be tricky if you’re not familiar with the process. Many homeowners struggle with common mistakes that can compromise the quality of their walls and ceilings. But fear not, because we’re here to guide you through these potential pitfalls. With our expertise, you’ll gain the confidence to achieve flawless results in your home improvement projects.
Contents
Understanding the Basics of Plasterboard
Plasterboard, commonly referred to as drywall, is a popular choice for interior walls and ceilings. It’s lightweight, versatile, and relatively easy to work with. However, proper installation is crucial to ensure long-lasting results.
When fixing plasterboard, consider its thickness and the type of room it will be used in. Bedrooms might require a different thickness compared to kitchens or bathrooms due to humidity and usage levels. Choosing the right plasterboard for your specific needs sets the foundation for success.
Avoiding Incorrect Measurements
Inaccurate measurements are a common mistake that can lead to unnecessary waste and poor installation. Therefore, taking precise measurements ensures that you cut the plasterboard to the right size and shape.
Always double-check your measurements before making any cuts. Measure twice, cut once, as the saying goes. This simple practice saves you time, money, and a lot of hassle in the long run.
Choosing the Right Tools
The tools you use can make or break your plasterboard project. Having the proper equipment ensures clean cuts and secure installations, leading to a more professional finish.
Use a utility knife or a drywall saw for precision cutting. Additionally, a T-square and a measuring Tape are essential for accurate measurement and alignment. Don’t underestimate the power of a good set of tools in achieving excellence.
Securing the Plasterboard Properly
Failing to secure plasterboard correctly is another common mistake. This can lead to loose sections that could become problematic over time. Proper nailing or Screwing ensures stability and prevents future issues.
Make sure to use Screws or nails specifically designed for plasterboard. Space them evenly to distribute the weight uniformly, which keeps the board in place and prevents bowing or buckling.
Implementing Proper Joint Techniques
Joints are often the weakest point in plasterboard installations. With incorrect handling, these can become visible and unsightly. But fear not, as some simple techniques can help you get it right.
Apply joint tape over any seams and cover with joint compound. This creates a smooth surface ready for Painting or wallpapering. Sand the compound until it’s flush with the rest of the plasterboard, ensuring a seamless finish.
Avoiding Over-Sanding
While sanding is essential for a smooth finish, over-sanding can lead to reduced plasterboard thickness and compromised integrity. It’s important to find the right balance.
Use fine-grit sandpaper and apply gentle pressure. Check your progress frequently to avoid removing more material than necessary. A light touch is often all that’s needed to achieve that perfect finish.
Managing Moisture Levels
Plasterboard is susceptible to moisture, which can lead to warping or mold growth if not managed properly. Understanding the environment in which it’s installed is vital for durability.
Consider using moisture-resistant plasterboard in areas prone to humidity, such as bathrooms. This proactive approach can save you from costly repairs in the future and ensure your walls remain in pristine condition.
Inspecting for Flaws
Before you finish your plasterboard project, it’s essential to inspect for any flaws. Small cracks or uneven surfaces can detract from the overall appearance and might require additional attention.
Walk through your project with a critical eye. Fix any imperfections immediately to avoid them becoming a larger issue later on. Quality inspections ensure the longevity and beauty of your plasterboard.
Top Tips for Maintenance
After installation, proper maintenance keeps your plasterboard looking great for years. Here are some tips to help you maintain it.
- Regular Cleaning: Use a damp cloth to wipe down the surface and remove any dust or dirt. This simple routine can keep your plasterboard looking fresh.
- Early Repairs: Address any minor cracks or damage as soon as they appear. Early intervention prevents further deterioration.
- Repainting: A fresh coat of paint can do wonders for maintaining the appearance of your plasterboard. Choose durable paint for best results.
- Avoid Excessive Moisture: In high-humidity areas, be vigilant about moisture levels. Use exhaust fans or dehumidifiers to control the environment.
- Professional Inspections: Consider regular inspections from experts like Utah Drywall & Repair to catch potential issues early.
Conclusion
Avoiding these common mistakes ensures your plasterboard installation is smooth and flawless. For expert assistance, call us at 801-406-6350 or Request a Free Quote today!


