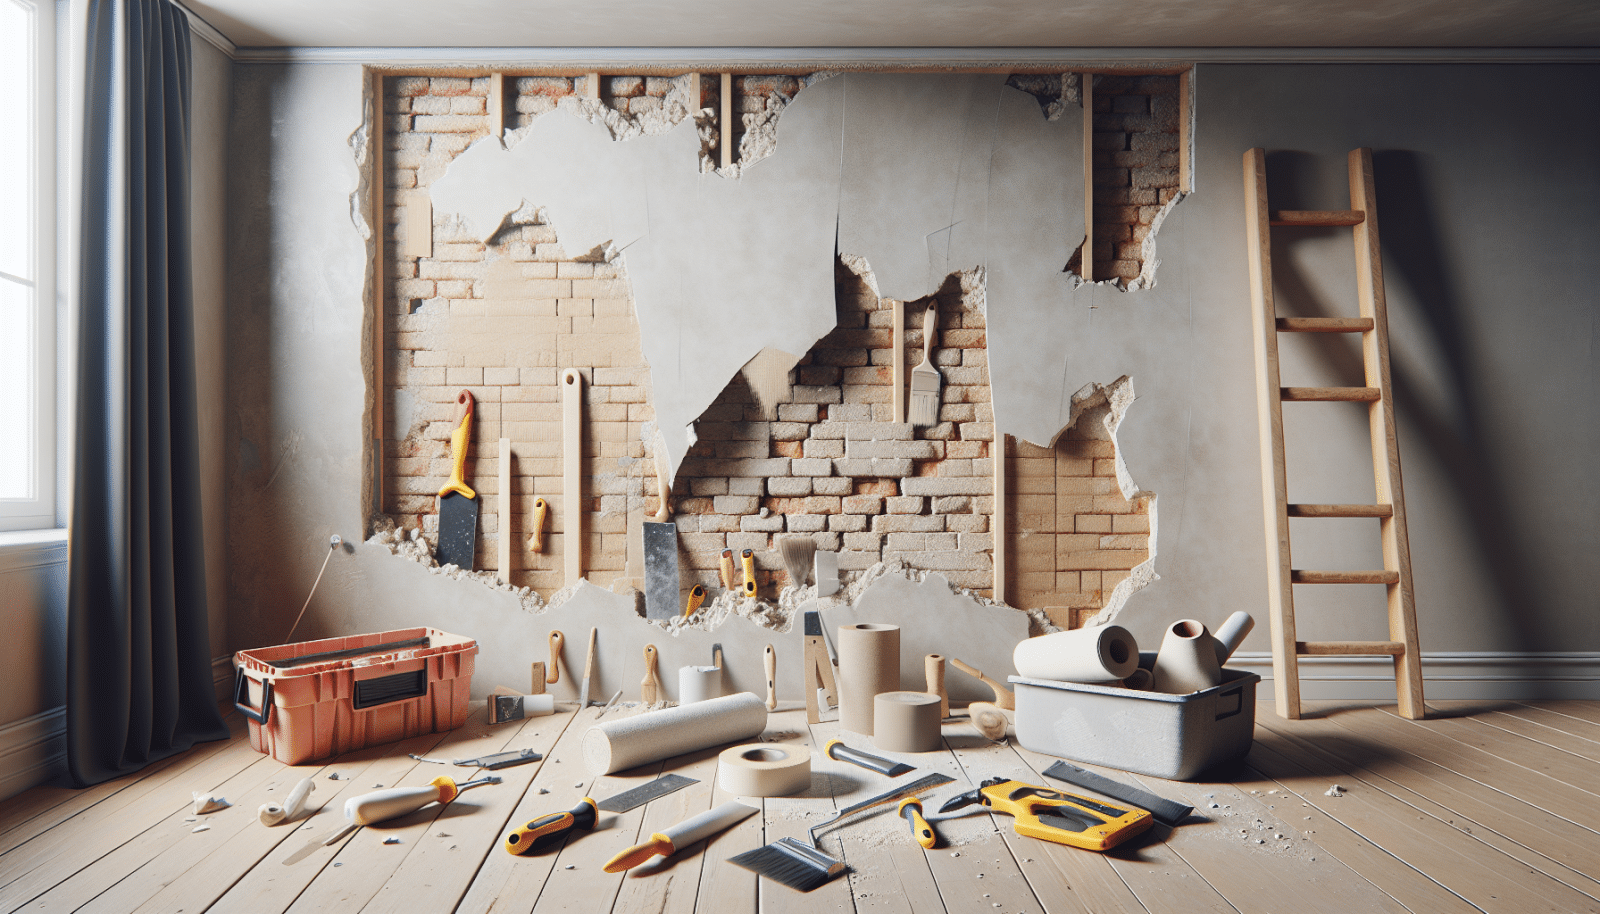
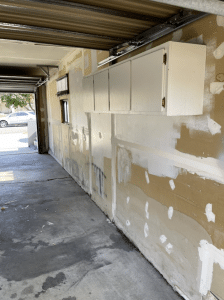
Is your wallboard looking a little worse for wear? At Utah Drywall & Repair, we often hear homeowners groaning about those unsightly dings and dents. Luckily, DIY wallboard repair is easier than it seems! In this article, we’ll walk you through practical tips and tricks to mend your walls like a pro. So grab your toolkit, and let’s get started!
Contents
Assess the Damage
Before diving in, it’s essential to assess the extent of the damage. Is it just a small pinhole, or are you dealing with something more substantial like a crack? By identifying the scope, you can gather the right materials and plan accordingly. Remember, different damages require different approaches. A small indentation won’t need the same treatment as a larger crack.
Understanding the problem helps you choose the right repair method and products. This saves you time and ensures a smooth and efficient process.
Gather Your Materials
Having the proper tools and materials on hand can make all the difference. Here’s a quick guide to what you might need. These include lightweight spackle, drywall Tape, utility knife, sandpaper, and a putty knife.
Once you have everything ready, lay down some drop cloths to protect your flooring and furniture. Now, you’re all set to begin!
Fixing Small Holes
Small holes are typically straightforward to fix. Begin by cleaning the hole and removing any loose debris. A damp cloth should suffice. Next, use a putty knife to apply a small amount of spackle over the hole.
Smooth it out and let it dry completely. Once it’s dry, sand it down until it’s flush with the wall. Finally, apply a coat of primer and paint to match the rest of your wall.
Addressing Medium-Sized Holes
When dealing with medium-sized holes, you’ll need a wallboard repair patch. Clean the area around the hole and gently sand to create a smooth surface.
Adhere the patch over the hole, then apply a generous amount of spackle or joint compound over the patch. Smooth it out, making sure it blends seamlessly with the surrounding wall. Allow it to dry thoroughly, sand it smooth, and finish with primer and paint.
Repairing Large Holes
Large holes might seem daunting, but they’re manageable with a bit of patience. Start by cutting out a square or rectangular piece around the damaged area. Make sure it’s evenly shaped.
Then, cut a piece of new drywall to fit into the cut-out section. Secure it in place, using drywall tape to cover the seams. Apply joint compound over the tape and smooth it out. Once dry, sand it smooth and apply primer and paint.
Dealing with Cracks
Cracks can be a sign of underlying issues, but minor ones can be easily fixed. First, widen the crack slightly with a utility knife to help the joint compound adhere better.
Fill the crack with joint compound, smoothing it over with a putty knife. Apply drywall tape over the compound and then add another layer of joint compound. Let it dry, sand it smooth, and paint over it.
Sanding for a Smooth Finish
Proper sanding is crucial for an invisible repair. Always use fine-grit sandpaper for the best results. Sand in a circular motion, applying gentle pressure.
Your goal is to ensure that the repaired spot is level with the rest of the wall. Once you have a smooth surface, wipe away any dust with a damp cloth before Painting.
Priming and Painting
Priming is a step you don’t want to skip. It ensures that your paint adheres properly and provides a consistent finish. Use a quality primer suitable for wallboard.
Once the primer is dry, apply your chosen paint color. Using a paint roller can provide a more even finish. Let it dry completely before inspecting for any touch-up needs.
Common Mistakes to Avoid
To help you succeed, here are some common pitfalls to dodge:
- Using the wrong materials – Make sure you use spackle for small repairs and joint compound for larger ones.
- Skipping primer – Don’t skip the primer stage; it ensures better paint adhesion.
- Rushing the dry time – Always allow adequate drying time between each step to achieve the best results.
- Over-sanding – Be gentle with your sanding to avoid creating more damage.
- Ignoring safety – Wear a mask to avoid inhaling dust.
Final Checks
Once you’ve finished the job, take a step back and inspect your work. Check for any uneven surfaces or missed spots. It’s easier to fix these issues now before you consider the project complete.
Invite a friend or family member to give it a quick look. Fresh eyes can often spot areas you’ve overlooked.
Contact Us for Professional Help
DIY wallboard repair can be satisfying, but sometimes it’s best to call in the experts. At Utah Drywall & Repair, we offer comprehensive Services to ensure your walls look flawless. Whether the job is big or small, our team is prepared to handle it with precision and care.
If you need professional help, don’t hesitate to reach out to us!
Need help with your wallboard repair? Contact Utah Drywall & Repair by phone at 801-406-6350 or Request a Free Quote.


