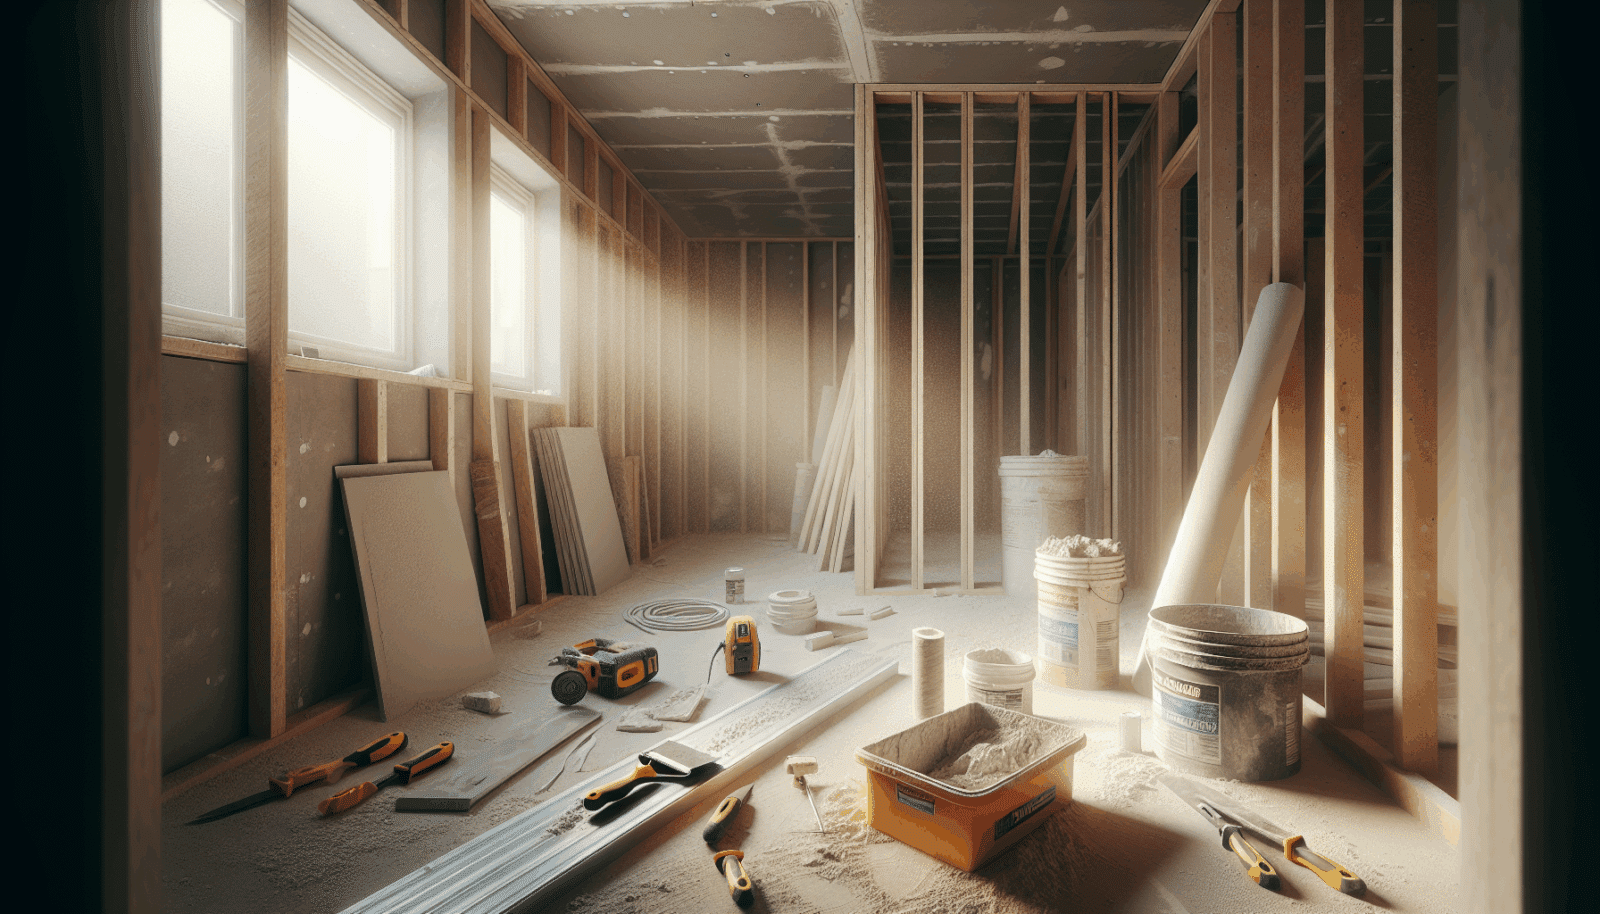
Welcome to Utah Drywall & Repair! If you’re a homeowner struggling with drywall finishing, you’ve come to the right place. This step-by-step guide will empower you with everything you need to know about achieving seamless walls. We understand that tackling drywall can seem daunting, which is why we’re here to simplify the process for you.
Contents
Understanding Drywall Finishing
Drywall finishing isn’t just about slapping on some compound and calling it a day. It involves smoothing, covering Screws, and avoiding those pesky visible seams. Our guide will break down each step, ensuring you achieve a professional look in every room.
Using mud, Tape, and various tools, you will transform bare drywall into a beautiful canvas. The right techniques will make all the difference in your home’s aesthetic.
Gather Your Tools and Materials
Before you start, gather the essential tools to make your job easier. Having everything ready will make the process smoother and more enjoyable.
Tools you’ll need include a Taping knife, sandpaper, and a drywall sander. Don’t forget the joint compound and drywall tape, as these are vital for a flawless finish.
The Importance of Joint Compound
The joint compound, also known as mud, is your best friend for drywall finishing. It fills in gaps and smooths over joints, providing a seamless surface.
There are different types of joint compounds available. Choose wisely based on your speed of application and the drying time that suits your project schedule.
Applying the First Coat
Now, let’s dive into the practical part. Applying the first coat takes patience and skill. Spread the joint compound over screw heads and seams using your taping knife.
Keep the pressure even as you move along. This ensures uniform thickness and prevents lumps or bumps from forming under the surface.
Understanding and Using Drywall Tape
Drywall tape is crucial for reinforcing joints. It helps prevent cracks from forming in the drywall.
- Select Tape: Choose between paper or mesh tape based on your project needs. Paper tape is ideal for flat seams, while mesh tape works well for awkward angles.
- Apply Tape: Carefully place the tape over joints after your initial coat of compound. Ensure it’s centered to cover the seam evenly.
- Embed Tape: Use a taping knife to press the tape into the compound. This secures it and removes any air bubbles underneath.
- Cover with Compound: Apply another thin coat of compound over the tape. This prepares it for Sanding and smooths out the surface.
- Ensure No Bubbles: Press firmly to avoid any air pockets which can weaken the joint. Your walls will thank you later.
Smoothing Out with Sanding
Once everything is dry, it’s time to sand. Sanding creates the smoothness necessary for a flawless finish. Choose a fine-grit sandpaper for the best results.
Remember to wear a mask to avoid inhaling dust. Sand carefully to avoid over-smoothing and thinning the drywall compound.
Applying Additional Coats
For perfection, multiple coats of compound may be necessary. Each layer brings you closer to that smooth, impeccable wall.
Apply the second and possibly third coats as needed, with sanding in between. Patience and precision during this step will yield professional results.
Addressing Common Mistakes
Mistakes happen, but they’re easy to fix once you know how. From bubbles in the tape to uneven surfaces, we’ve got solutions.
Identifying these issues early allows you to take corrective actions without compromising your overall finish. Practice makes perfect, so don’t be discouraged.
Final Touches
You’ve reached the finishing line, but there are still a few steps left. Inspect your work for any imperfections or areas needing extra attention.
A fresh coat of primer and paint will enhance your hard work. This process not only beautifies but also protects the drywall.
Conclusion
By now, drywall finishing should feel less intimidating. Remember, practice makes perfect, and we’re always here to help. Contact Us at 801-406-6350 or Request a Free Quote to get expert assistance with your drywall projects.


