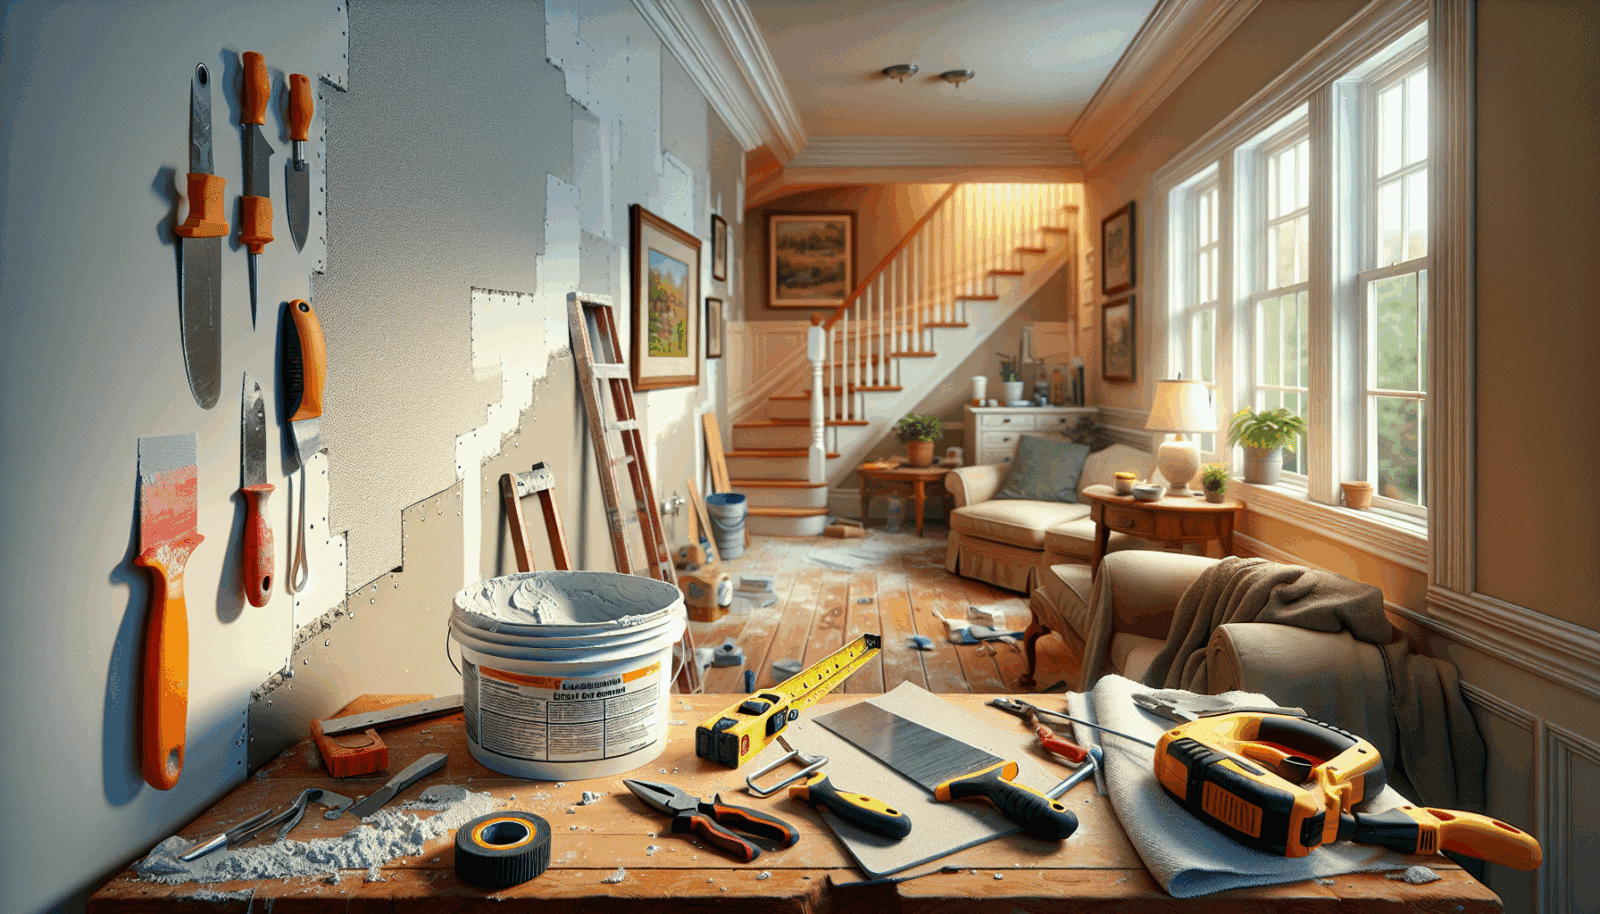
Welcome to Utah Drywall & Repair, where we know that keeping your home in top shape is important. Have you noticed any unsightly holes or dents on your walls? Worry not! This guide will walk through the drywall Patching process, helping homeowners like you become DIY pros. Let’s dive in.
Contents
Understanding Drywall
Drywall, also known as gypsum board, is used in constructing interior walls. It’s popular because of its affordability and ease of use. However, over time, it can suffer damage from various sources, such as nails, impacts, or moisture.
The good news is drywall can be repaired quickly with the right tools and knowledge. Understanding the basics is the first step toward making your walls look fresh and new.
Identifying the Damage
Before getting into the repair process, it’s crucial to identify the extent of the damage. Is it just a small dent, or are you dealing with something more significant? Small holes, typically from nails or Screws, require a different approach than larger holes caused by accidents.
Identifying the type of damage will help determine the materials and techniques you’ll need. By accurately assessing the damage, you make the repair process much smoother.
Tools and Materials You’ll Need
Having the right tools on hand is half the battle. Let’s explore what’s necessary for this task. Although it might sound daunting, most of these items are readily available and easy to use.
- Drywall Compound: This is essential for filling holes and smoothing surfaces. Make sure to choose a compound that’s appropriate for your repair scope.
- Putty Knife: A putty knife will help you apply the drywall compound evenly. Consider having various sizes for different tasks.
- Sandpaper: Sandpaper ensures your repair blends seamlessly with the surrounding wall. A fine grit will give you the best finish.
- Drywall Patch: For larger holes, patches provide a sturdy backing. Self-adhesive patches are particularly user-friendly.
- Primer and Paint: Once repairs are complete, matching your paint color will make everything look uniform and polished.
Preparing Your Workspace
Before you start, ensure your workspace is ready. First, clear the area of furniture or decor that might get in the way. Place a drop cloth underneath the work area to catch any dust or debris.
Proper preparation prevents messes and allows you to concentrate on the task. You’ll find the process smoother with an organized space, making repairs quicker and less stressful.
Patching Small Holes
Small holes are common and relatively easy to fix. Start by cleaning the area around the hole to remove any dust or loose debris. Use your putty knife to apply a small amount of drywall compound over the hole, pressing it in firmly.
Then, smooth the surface with the knife to ensure it’s level with the surrounding wall. Allow it to dry completely before Sanding it down. This method quickly restores your wall’s appearance without much hassle.
Fixing Larger Holes
Larger holes require a more strategic approach. Begin by placing a drywall patch over the hole. Self-adhesive patches simplify the process by sticking directly onto the wall.
After securing the patch, apply a layer of drywall compound over it, feathering the edges to blend it with the existing wall. Let the compound dry, and then sand it down for a smooth finish. This method reinforces the hole while maintaining visual continuity.
Sanding for a Smooth Finish
Sanding is critical to achieving a seamless look. Once the compound is dry, use fine-grit sandpaper to gently sand the area. The goal is to smooth any bumps or uneven spots.
Sanding will ensure that the repaired area matches the wall’s texture, preparing it for Painting. Take your time with this step to achieve professional-looking results.
Priming and Painting
With the surface smoothed, it’s time to prime and paint. Begin by applying a primer to seal the repaired spot. Priming helps the paint adhere better and ensures consistent color.
After the primer dries, paint over the area with a matching color. Several thin layers will often look better than one thick coat, providing a flawless finish.
Maintenance Tips
Now that your walls are looking great again, it’s essential to maintain them. Regular inspections can help catch any new issues early. Additionally, keeping surplus paint for touch-ups can be helpful.
By addressing small damages promptly, you prevent them from becoming significant problems. Consistent maintenance keeps your walls pristine, enhancing your home’s beauty.
Conclusion
We hope this guide has empowered you to tackle drywall repairs confidently. Should you need professional assistance, don’t hesitate to reach out by phone at 801-406-6350 or Request a Free Quote.


