Drywall Sanding is a crucial step in achieving smooth and flawless walls. Many homeowners find themselves confused about how to properly sand drywall without making a mess. At Utah Drywall & Repair, we understand this challenge and are here to help. Our comprehensive guide will walk you through everything you need to know, so you can tackle this task like a pro.
Contents
- 1 Understanding the Importance of Drywall Sanding
- 2 Essential Tools for Drywall Sanding
- 3 Choosing the Right Sandpaper
- 4 Prepping the Room for Sanding
- 5 Sanding Techniques and Tips
- 6 Tackling Common Sanding Mistakes
- 7 Maintaining a Clean Workspace
- 8 Finishing Touches for a Polished Look
- 9 When to Call in Professionals
- 10 Get Started with Utah Drywall & Repair
Understanding the Importance of Drywall Sanding
Drywall sanding might seem like a small part of the process, but it plays a significant role in the final finish of your walls. It helps create an even surface, free from bumps and imperfections, ensuring that your paint or wallpaper looks perfect. By sanding properly, you lay the groundwork for a professional-looking result.
Moreover, when done correctly, drywall sanding can save you time, money, and frustration. It prevents the need for excessive touch-ups or start-overs, giving you confidence in your home improvement abilities.
Essential Tools for Drywall Sanding
Before you begin sanding, it’s crucial to gather the right tools. Having the proper equipment can make the difference between a smooth surface and a rough finish. The good news is that most tools required are readily available at hardware stores.
You’ll need items such as a sanding block, sandpaper, and a dust mask. Additionally, tools like a pole sander or a vacuum sander system can enhance efficiency and reduce airborne dust, ensuring a cleaner workspace.
Choosing the Right Sandpaper
Not all sandpapers are created equal, and selecting the correct type is vital for effective sanding. Drywall sanding typically requires sandpaper with a grit ranging from 100 to 220, depending on the stage of the project. A finer grit is ideal for finishing touches.
When choosing sandpaper, consider the balance between grit and durability. Using a high-quality sandpaper designed specifically for drywall can make your task more efficient and yield better results.
Prepping the Room for Sanding
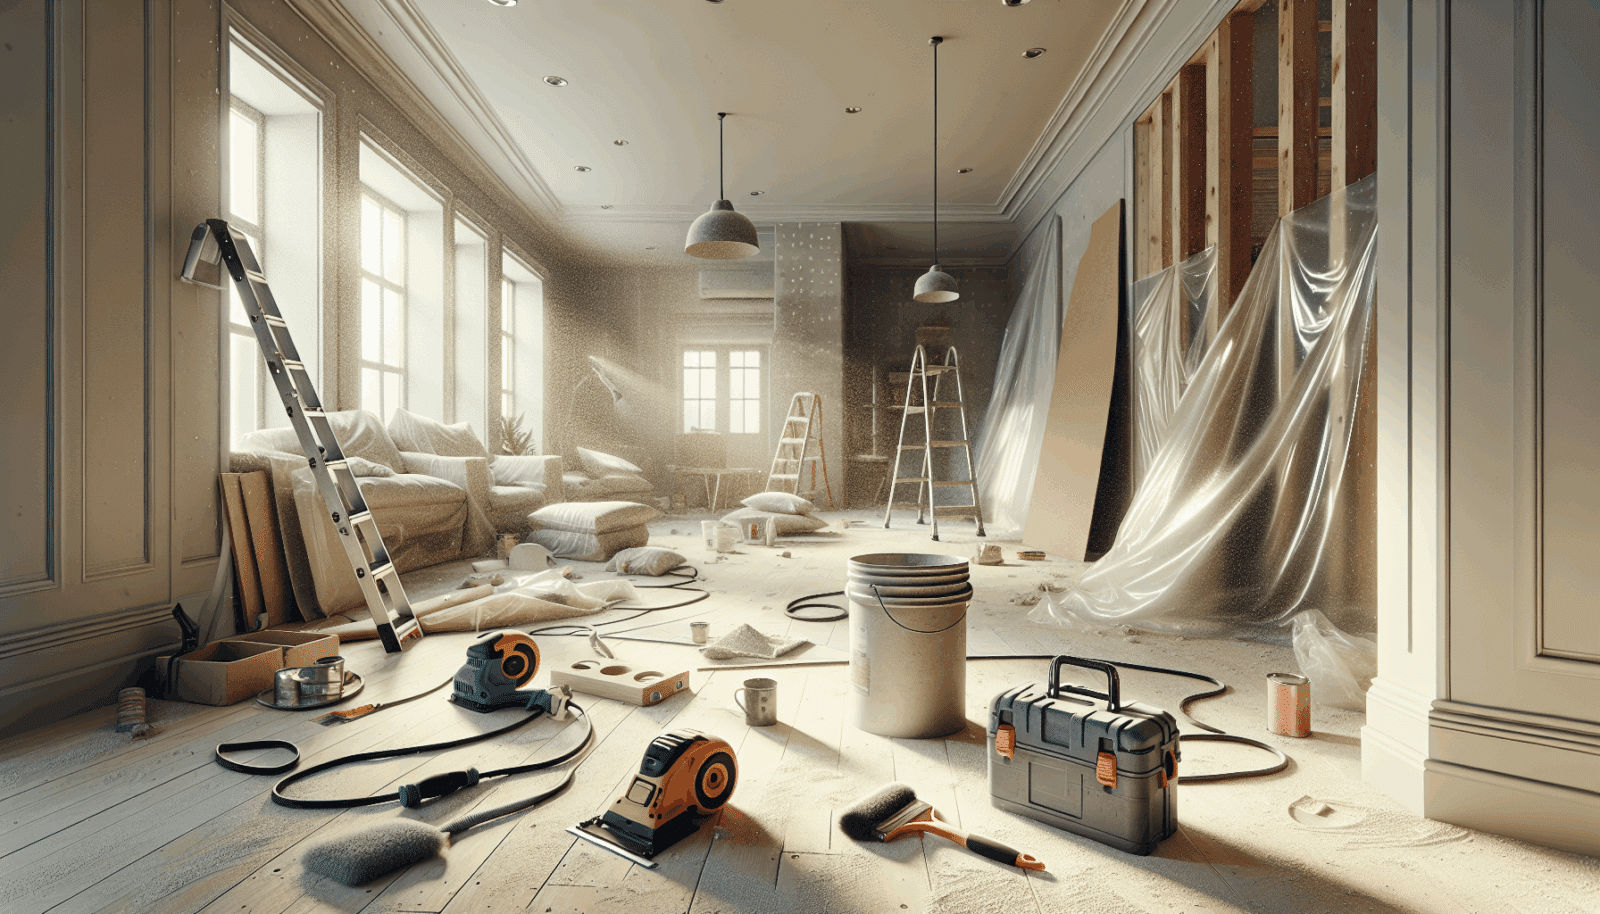
Preparation is key to a successful sanding project. Before you start, make sure to cover furniture and floors with plastic sheets or drop cloths to protect them from dust. Taping off electrical outlets and switches will also prevent dust from entering.
Ventilating the room will further ensure that you work in a safe environment. Open windows and use fans to minimize dust buildup and keep the air circulating while you work.
Sanding Techniques and Tips
- Begin with a Coarse Grit: Start with coarser sandpaper to remove larger imperfections and level the surface quickly. Progress to finer grits for a smooth finish.
- Sand in Circles: Use circular motions while sanding to achieve a more even result. This technique helps avoid creating grooves or uneven spots.
- Check Your Work: Regularly wipe away dust with a damp sponge to inspect the surface. This allows you to spot areas needing more attention.
- Mind the Edges: Be gentle around edges and corners to prevent removing too much material, which can lead to imperfections.
- Avoid Over-sanding: Excessive sanding can damage the drywall surface. Stop once the wall feels smooth and uniform to the touch.
Tackling Common Sanding Mistakes
Everyone makes mistakes, especially the first few times around. However, knowing what common errors to avoid can save you a lot of hassle. One frequent mistake is using too much pressure, which can create depressions in the drywall. Instead, let the sandpaper do the work for you.
Another frequent issue is neglecting the importance of proper lighting. Insufficient lighting can lead to uneven sanding as important areas might be missed. Always ensure you work with ample light to see the details clearly.
Maintaining a Clean Workspace
Keeping a tidy working area during sanding can be challenging, but it’s essential for your efficiency and safety. Using a vacuum sander can significantly reduce dust, keeping the space cleaner.
Regularly sweeping or vacuuming accumulated dust will also help maintain visibility on your work progress and reduce potential respiratory risks.
Finishing Touches for a Polished Look
Once sanding is complete, use a damp cloth to remove any remaining dust. This step is crucial before applying paint or wallpaper. Any residual dust can interfere with how these materials adhere to the surface.
With the surface clean and smooth, you can confidently move on to Painting or adding wallpaper. Enjoy the satisfaction of seeing your walls transform with a professional touch!
When to Call in Professionals
Sometimes, DIY projects can become overwhelming. If you find yourself unsure or the project is too large or complicated, don’t hesitate to call for professional assistance. Expert Drywall Contractors like us can ensure the job is done efficiently and flawlessly.
Our team is here to provide expert advice, support, or take over the task entirely if needed, ensuring your home looks its best without the stress.
Get Started with Utah Drywall & Repair
Ready to transform your walls? Contact Us for professional drywall sanding and repair Services. Reach out by phone at 801-406-6350 or Request a Free Quote today!


