Looking to tackle a drywall project but unsure how to apply and sand drywall joint compound like a pro? At Utah Drywall & Repair, we know these tasks can be tricky for homeowners. That’s why we’ve compiled this comprehensive guide to help you every step of the way. We’ll share our expert tips so you can achieve smooth, flawless walls that look professionally done. Whether you’re a seasoned DIY-er or trying your first Drywall Repair, by the end of this article, you’ll have the confidence to make your walls picture-perfect.
Contents
- 1 Understanding the Basics of Drywall Joint Compound
- 2 Gathering Your Tools and Materials
- 3 Preparing the Drywall Surface
- 4 Mixing and Preparing the Joint Compound
- 5 Applying the Compound: First Coat
- 6 Allowing Proper Dry Time
- 7 Applying the Second and Third Coats
- 8 The Art of Sanding Drywall
- 9 Maintaining the Workspace
- 10 Final Tips for Homeowners
- 11 For Professional Help
Understanding the Basics of Drywall Joint Compound
Before diving in, it’s essential to understand what drywall joint compound is and its purpose. Often referred to as “mud,” this compound is used to fill joints between drywall panels. It provides a seamless surface for Painting and decorating. Knowing the types available—like lightweight or all-purpose—is essential for choosing the right one for your project. While it might sound simple, using the right type can make a significant difference in your drywall work’s success and finish.
When we know the product’s nuances, applying joint compound becomes much more manageable. Perfect for covering seams, embedding Tape, and concealing corners, this underappreciated DIY tool transforms raw drywall into a canvas ready for creativity. Understanding the basics allows you to not only select what fits your needs best but also empowers you to take the helm of your project with confidence.
Gathering Your Tools and Materials
Preparation is key to any successful drywall project. You’ll need a few essential tools to get started: a good-quality drywall knife, Sanding block or electric sander, and of course, the joint compound. Don’t forget items like mixing paddles and trays for an efficient and smooth process from start to finish.
When using the right tools, you can get that smooth finish you’re aiming for. Our professional recommendation includes investing in a strong drywall knife and a blade with flexibility. These tools will help smooth out any unevenness, while a handy sandpaper or electric sander will provide that final touch to eliminate any imperfections. Remember, good prep work leads to polished results!
Preparing the Drywall Surface
Before applying joint compound, make sure your drywall surface is clean and dry. This step is crucial. Dust, debris, and moisture can interfere with the adhesion of the compound, leading to unsightly bumps and blemishes on your finished wall. Take your time to inspect and address any surface imperfections you find.
Consider using a damp sponge or cloth to wipe down each panel’s surface lightly. Taking the time to create a clean base ensures the compound will spread evenly and bond well with the drywall. For best results, ensure no remaining residue and allow the surface to dry thoroughly before proceeding with application.
Mixing and Preparing the Joint Compound
Now that your drywall is prepped, it’s time to mix the compound. If you’re using a premixed version, give it a good stir. For powder varieties, follow the manufacturer’s instructions for water ratios and mix until smooth. Be mindful of achieving the right consistency—not too thick or too runny—to avoid post-application issues.
When prepared properly, the compound should resemble cake batter—smooth and creamy, without lumps. Use a drill with a mixing paddle for even consistency, and if necessary, add a little water gradually. Properly mixed mud will adhere better to surfaces, making the application process more manageable and efficient.
Applying the Compound: First Coat
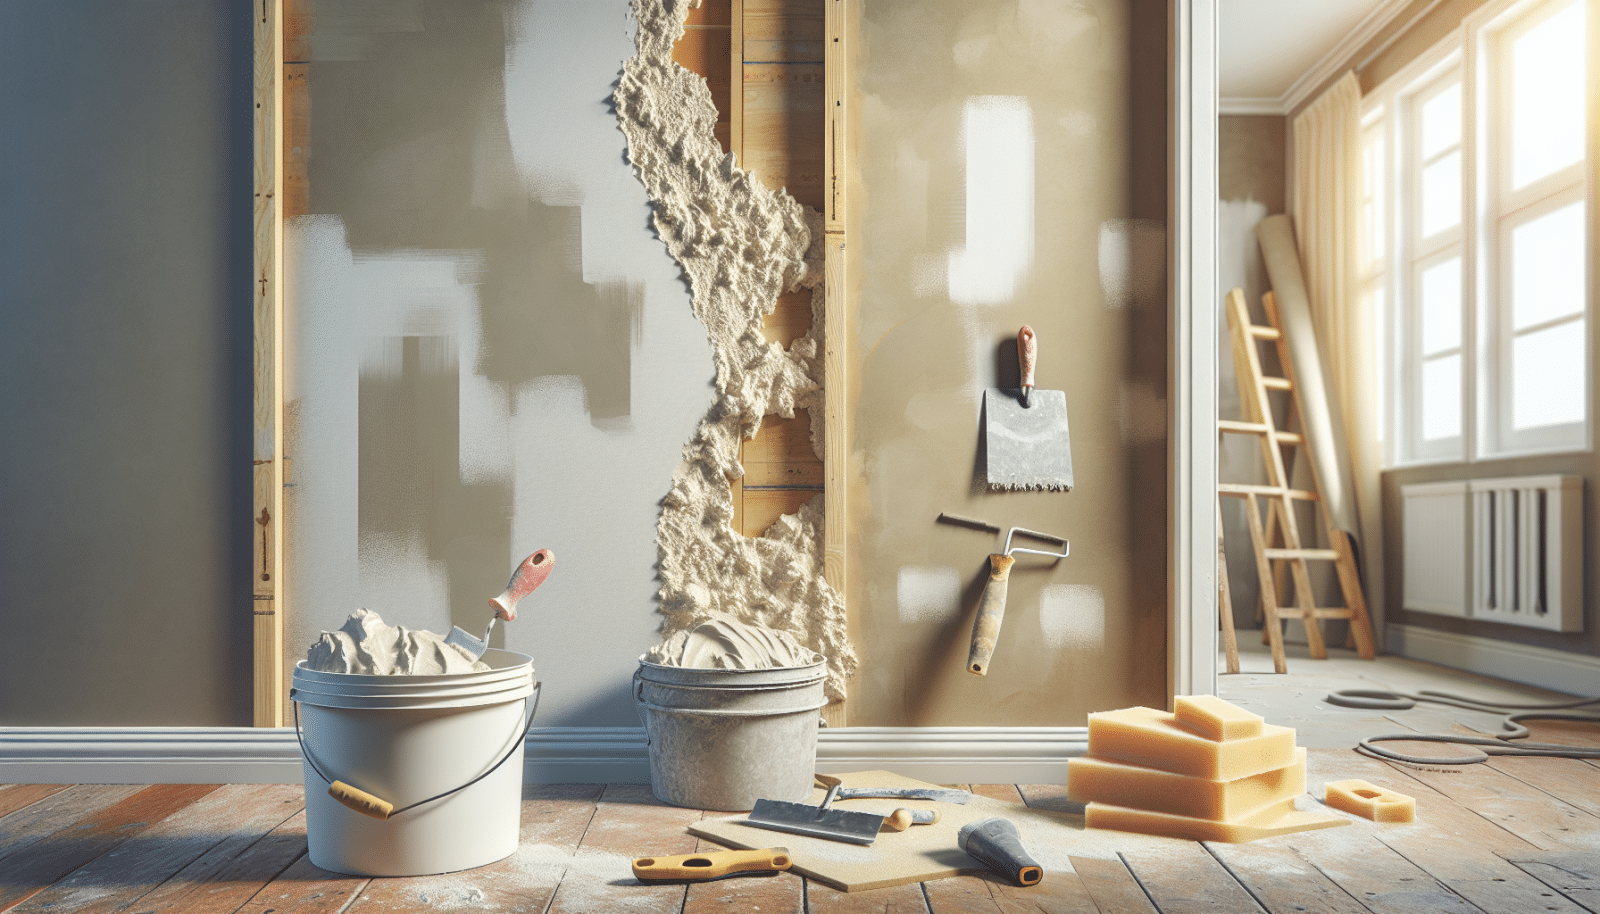
With a prepared compound, you’re ready to start the application. Begin with the first coat; using a 4 to 6-inch drywall knife, apply a thin layer over the seams. This coat is essential for embedding drywall tape, which reinforces and reduces cracking.
As you apply, use gentle pressure to avoid building up too much compound, which can lead to more sanding later on. Once applied, press the tape into the mud while it’s still wet, smoothing carefully to ensure no bubbles form. This foundational layer ensures that the drywall panels bond with minimal seams or edges showing.
Allowing Proper Dry Time
Dry time is critical after each compound layer application. Depending on the humidity and temperature in your home, drying can take anywhere from several hours to a full day. Patience is key—rushing this process can lead to an uneven, lumpy surface.
Consider using fans or dehumidifiers to facilitate better air circulation and faster drying. However, remember, forcing things through excessive heat can cause compound shrinkage or cracking. A fully dried compound settles perfectly, ready for the next coat or sanding.
Applying the Second and Third Coats
Once the first coat is dry, it’s time for additional layers. Each subsequent layer should be wider than the last, blending the seams into the drywall seamlessly. Use a larger knife—like a 10 to 12-inch—for broader coverage and a smoother finish.
These extra coats improve durability and enhance the overall wall aesthetic by covering imperfections or tape lines from the first layer. Smooth over any visible imperfections, maintain consistency, and let each coat dry completely before applying the next one. This multi-layer approach ensures depth, strength, and a flawless finish ready for sanding.
The Art of Sanding Drywall
After applying your coats, it’s time to sand. Start with a medium-grit sanding block or electric sander to smooth any ridges or uneven spots. Progress slowly and carefully to avoid removing too much material or damaging the drywall surface.
Switch to a fine-grit sandpaper for the final pass, which ensures an ultra-smooth finish. Always wear a dust mask and goggles during this dusty process. A good-sanding job is pivotal for a perfect wall, prepared for paint without visible defects or inconsistencies.
Maintaining the Workspace
Keeping your workspace tidy is crucial throughout your drywall journey. A clutter-free area allows for easier access to tools and materials, reducing the potential for mistakes or accidents. Moreover, a clean area helps with airflow and drying efficiency.
Regularly clean your tools and remove debris from the floor to maintain focus and precision. Proper organization and cleanliness reflect directly in your work quality, assuring a professional result once everything is completed. Plus, a clean space caters to an enjoyable working experience!
Final Tips for Homeowners
This project can seem daunting, but breaking it down into manageable steps helps tremendously. Consider these tips as you undertake your venture:
- Patience Pays Off: Take your time at each step, ensuring every layer is dry and correctly applied before moving forward.
- Use Proper Safety Gear: Equip yourself with a dust mask, goggles, and gloves, especially during sanding.
- Inspect Your Work: Regular inspection at each stage helps catch issues early, saving time and effort.
- Don’t Hesitate to Reapply: If imperfections remain, apply another thin coat to achieve the desired finish.
- Practice Makes Perfect: If you’re new, practice on a smaller section or scrap pieces before tackling larger areas.
For Professional Help
We understand not everyone has the time or patience for DIY projects. If you prefer professional help, Contact Us at Utah Drywall & Repair. We offer expert Services to ensure your drywall project is completed to perfection, alleviating the stress of DIY.
Feel free to reach out to us anytime by phone at 801-406-6350 or Request a Free Quote. We’re here to help bring your drywall visions to life!


