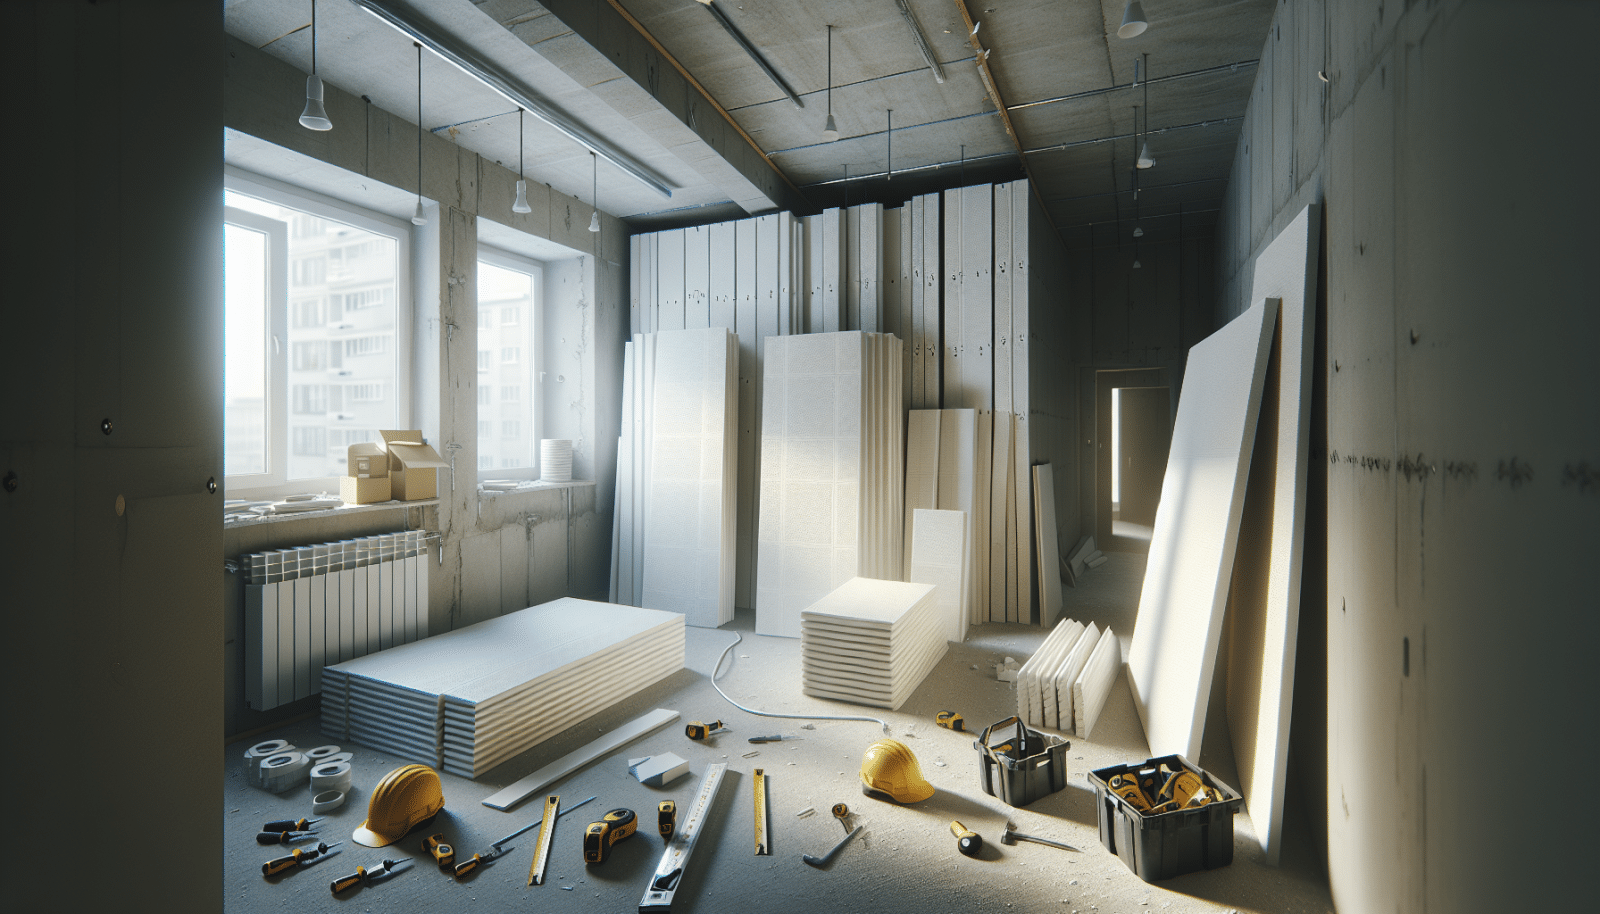
Gypsum board installation can seem daunting, especially for first-time homeowners. At Utah Drywall & Repair, we understand that tackling these projects can be overwhelming. That’s why we’re here to walk you through the process step-by-step, making it as simple and stress-free as possible. This guide will help you take your drywall skills to the next level with ease and confidence.
Contents
Gathering Your Materials
Before diving into your gypsum board installation, it’s crucial to have all necessary materials on hand. You’ll need sheets of gypsum board, joint Tape, joint compound, Screws, and tools like a utility knife and a drill. Having everything ready means you won’t have to stop mid-project to hunt for missing items.
Besides the essentials, you might also need items like Sanding blocks and corner beads for finishing touches. Ensuring you have these on standby will save you time and help the project run smoothly.
Preparing the Work Area
A well-prepared work area is half the battle. Start by removing any furniture or decor that could be in the way. This gives you the space to move around freely, making the installation process much easier.
Next, make sure walls are clean and free from debris. A clean surface ensures the gypsum board will adhere properly and stay in place for years to come.
Measuring and Cutting the Gypsum Board
Measure your wall space accurately before cutting your gypsum board. Precise measurements are essential for a professional finish. Use a measuring tape to determine the dimensions and a utility knife to cut the board accordingly.
Double-check your measurements before making any cuts. This will avoid wastage of materials and ensure everything fits perfectly.
Installing the Gypsum Board
With measurements and cuts done, it’s time for the actual installation. Start at the top corner of the wall and work your way down. Secure each piece of gypsum board to the studs using drywall screws.
Make sure each board is level and properly aligned with the adjacent boards. This keeps the wall smooth and will make the finishing process much easier.
Securing the Board with Screws
Screwing the gypsum board into place is a critical step. This ensures the board is firmly attached to the wall studs, providing stability and longevity.
Use a drill for this task, ensuring that screws are evenly spaced apart to avoid any weak spots. Every board should be tight against the studs.
Taping the Joints
Applying joint tape is an essential part of creating a seamless look. Cover each joint where the gypsum boards meet to prepare the surface for joint compound.
Make sure the tape is flat and securely attached. This step prevents cracking and helps create a smooth, continuous surface.
Applying Joint Compound
Once the tape is in place, it’s time to apply joint compound. This helps conceal the joints and screws, giving the wall a clean, uniform finish.
Spread the compound evenly over the taped joints and screw heads using a trowel. Let it dry completely before moving on to the next step.
Sanding the Surface
Sanding is crucial for achieving a smooth finish. Use sanding blocks to lightly sand the dried joint compound, focusing on creating an even surface.
Be patient during this step; rushing could result in imperfections. A smooth surface is essential for the final appearance of your wall.
Applying the Final Touches
Once sanding is complete, apply any final touches like corner beads or additional joint compound as needed. This helps create crisp, clean lines for a polished look.
After all the touch-ups, a final sanding may be required to ensure everything is smooth and ready for paint or wallpaper.
Painting the Gypsum Board
Finally, it’s time to paint your new wall. Choose a high-quality primer to coat the surface first. This prepares the gypsum board for the final paint color, ensuring a flawless finish.
After priming, apply your chosen paint color. The result is a professional-looking wall that transforms your space.
For all your gypsum board installation needs, contact Utah Drywall & Repair by phone # 801-406-6350 or Request a Free Quote. We’re here to help you every step of the way.


