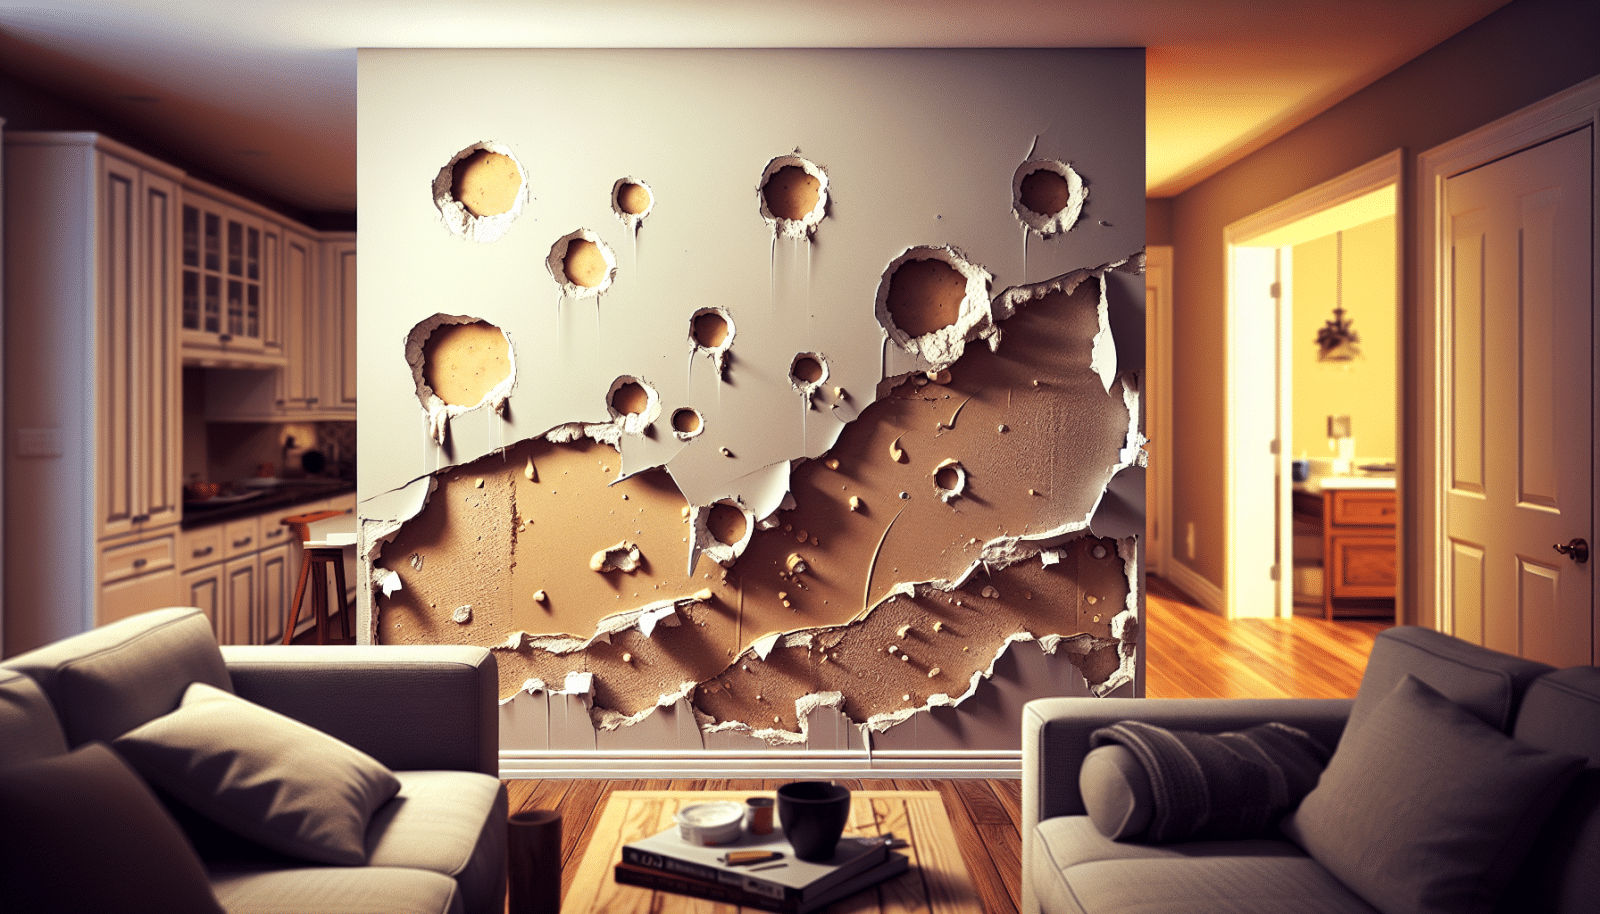
Have you ever accidentally created a hole in your drywall and had no idea how to fix it yourself? You’re not alone. At Utah Drywall & Repair, we know these accidents happen, and they can be incredibly frustrating for homeowners. That’s why we’ve put together this expert guide to help you easily patch those pesky holes. Follow along, and you’ll have your walls looking as good as new in no time.
Contents
Understanding the Basics of Drywall
Drywall, also known as gypsum board, is a popular building material used for interior walls and ceilings. It’s sturdy yet easy to cut and shape, which makes it ideal for any home improvement project you might have. However, it can also be susceptible to damage from everyday activities.
If you’re unfamiliar with drywall, don’t worry. We’ll walk you through everything you need to know to get started. From understanding the materials to knowing the tools required, we’ve got you covered.
Assessing the Damage
Before diving into the repair process, it’s crucial to evaluate the extent of the damage. Is it a small dent or a larger hole? The size will determine the method you need to use for the repair.
For minor dings, you may only need a bit of spackle. However, larger holes may require more extensive work and materials. Thus, knowing what you’re dealing with is the first step in making an effective repair.
Gathering Your Supplies
Preparation is key when it comes to repairing drywall. Before you start, make sure you have all the necessary supplies ready. You’ll need:
- Spackle or Joint Compound: Essential for filling in holes and creating a smooth surface.
- Drywall Patch Kit: Useful for larger holes, these kits usually include a mesh patch and compound.
- Utility Knife: Handy for cutting away damaged drywall and shaping new pieces.
- Sandpaper: Important for smoothing out the surface after the compound dries.
- Paint: To match the rest of your wall and make the repair seamless.
Small Hole Repairs
For holes smaller than an inch in diameter, a quick spackle job should do the trick. First, clean the area to ensure there’s no loose debris. Then, apply a small amount of spackle into the hole using a putty knife.
Spread it evenly and make sure it fills the entire hole. After it dries, sand the area down until it’s smooth and flush with the wall. Finally, you can paint over it to match the rest of the wall.
Medium Hole Repairs
If you’re dealing with a hole that’s between one and six inches, the process is a bit more involved. Start by clearing out any damaged pieces of drywall. Next, you’ll need to use a drywall patch kit, which usually comes with a self-adhesive mesh patch.
Place the patch over the hole and then cover it with joint compound. Make sure to apply the compound evenly and feather the edges so it blends well with your wall. Once it’s dry, sand it down, and then paint over it.
Large Hole Repairs
For holes larger than six inches, you’ll need to create a drywall patch to fit in the hole. Cut a piece of new drywall that’s slightly larger than the hole. Hold it up to the wall and trace its outline.
Using a utility knife, cut along the traced lines and remove the damaged drywall. Secure the new piece into the hole with drywall Screws. Then cover the seams with joint Tape and apply joint compound over it. Once dried, sand it smooth and paint it to match.
Finishing Touches
After the repaired area is dry and sanded smooth, it’s time for the finishing touches. Painting over the patched area is essential to blend it seamlessly with the rest of the wall.
Use a primer first to ensure the paint adheres well, then apply your wall color. This way, your repair job will be virtually undetectable.
Common Mistakes to Avoid
Even the best DIY enthusiasts can make mistakes. Here are some common pitfalls to watch out for:
- Over-Sanding: Removing too much drywall can leave dips in your wall, which are difficult to fix.
- Using Too Much Compound: It can create a bulge and will require more sanding.
- Not Letting Compound Dry: Rushing this step can mess up your entire repair.
- Skipping Primer: This leads to uneven paint and an obvious repair spot.
- Improper Patch Size: If the patch doesn’t fit well, the repair will be weak and noticeable.
When to Call the Professionals
Sometimes, despite your best efforts, a repair job might be too extensive for a DIY fix. If the damage involves water or mold, or if it’s part of a larger structural issue, it’s best to call us in.
At Utah Drywall & Repair, we’re equipped to handle even the toughest drywall problems, ensuring that your home remains safe and beautiful.
Conclusion
Now that you know how to tackle drywall repairs confidently, you’re well on your way to enjoying flawless walls once more. Whether the damage is small or large, following these steps will make the process easy and efficient.
If you feel uncertain or the job seems daunting, remember that you can always reach out to us by phone at 801-406-6350 or Request a Free Quote.


