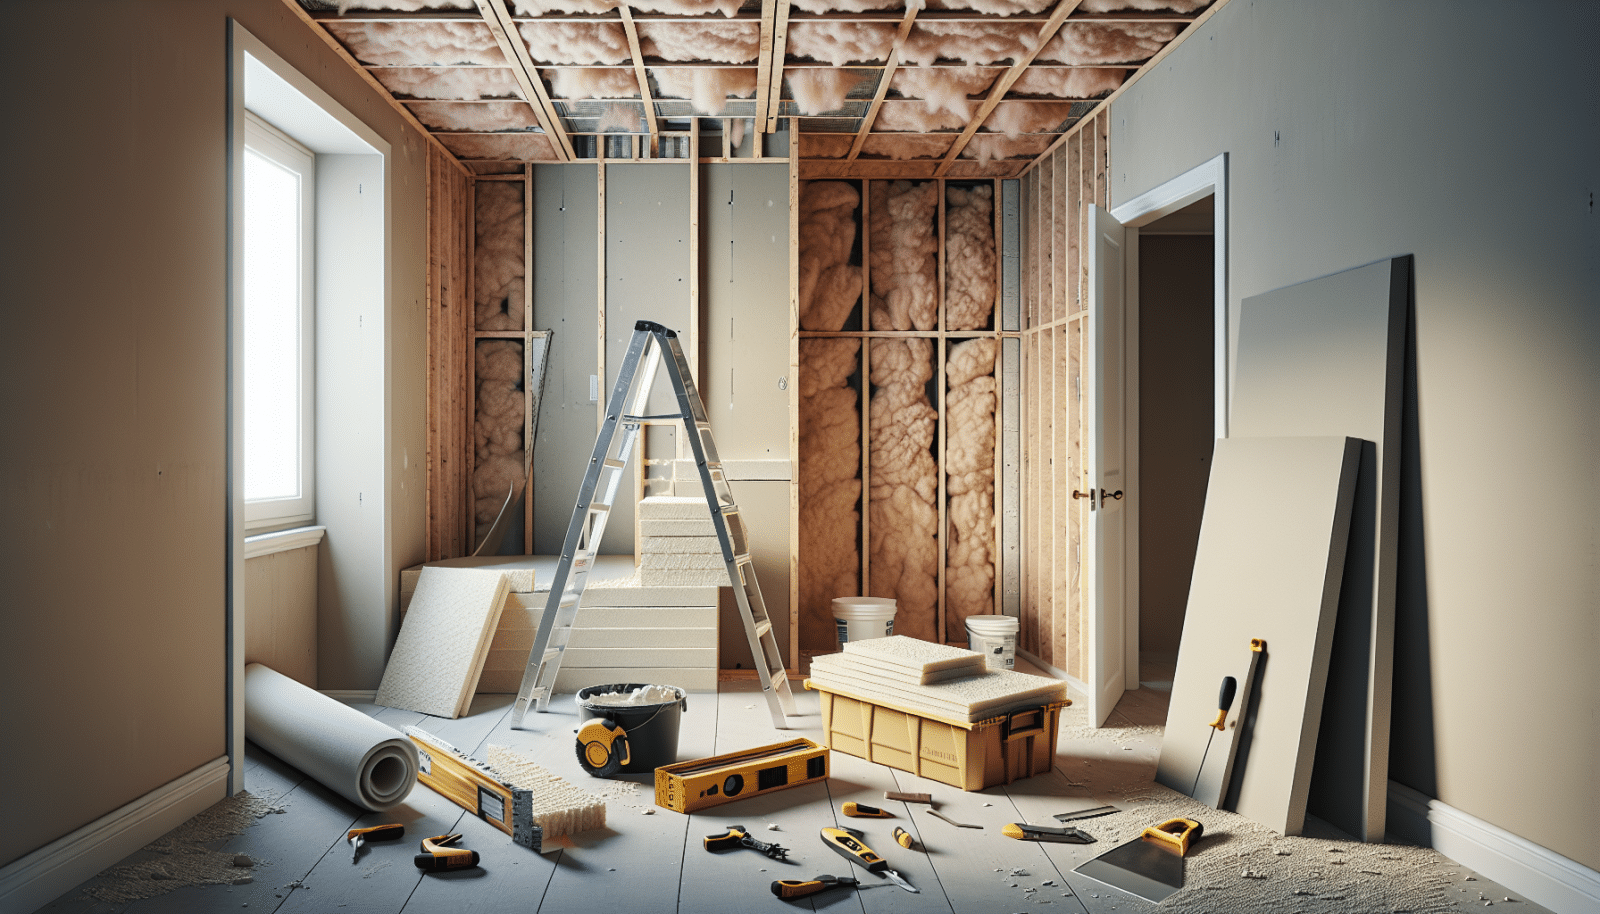
Drywall issues can be frustrating, but tackling a gypsum board installation yourself doesn’t have to cause headaches. We at Utah Drywall & Repair are here to guide homeowners through the process easily. This article will walk you through the steps, making sure you handle the project like a skilled professional with tips that will transform your space.
Contents
Choosing the Right Gypsum Board
First, let’s talk about selecting the appropriate gypsum board. There are various types available, and choosing the right one depends on the area where you’ll install it. For instance, moisture-resistant boards are ideal for bathrooms and kitchens, while regular boards are suitable for living rooms and bedrooms.
Consider the thickness as well. Thicker boards provide better sound insulation and fire resistance, but they may be more challenging to handle. Typically, 1/2-inch thick boards are standard for most projects. Make sure to have sufficient materials on hand before you begin.
Gathering Essential Tools and Materials
It’s crucial to have all your tools and materials ready before starting your installation. Some essential items include a utility knife, a T-square, a drill, drywall Screws, and joint Tape. Having everything at your fingertips will make the process smoother and save you multiple trips to the store.
Don’t forget safety gear like gloves and safety goggles. Drywall installation can be a dusty job, so wear a mask to protect your lungs from dust particles. Being prepared is half the battle won.
Accurate Measurements and Cutting
Correct measurements are vital for a seamless installation. Measure the height and width of your walls and transfer these measurements onto your gypsum board. Use a T-square to ensure straight lines for cutting.
When cutting the board, use a utility knife to score the paper surface along your marked lines. Then snap the board along the score line and cut through the remaining paper backing. Smooth the edges using a rasp to ensure a snug fit.
Positioning the Gypsum Board
With your board cut to size, it’s time to position it on the wall. Begin from the top and work your way down. It’s generally easier to install the top panels first as they help support the lower panels.
Secure the board to the wall studs using drywall screws placed about every 12 inches. Make sure the screw heads are slightly recessed without breaking the paper surface. Proper positioning ensures your board stays secure and provides a good surface for finishing.
Applying Joint Tape
Once your gypsum board is in place, the next step is to apply joint tape. This process involves covering the seams between the boards to create a uniform surface. Use self-adhesive mesh tape or paper tape, depending on your preference.
For best results, apply the tape smoothly and avoid any wrinkles or bubbles. Properly taped joints are crucial for a flawless finish, reducing the need for excessive Sanding later on.
Applying Joint Compound
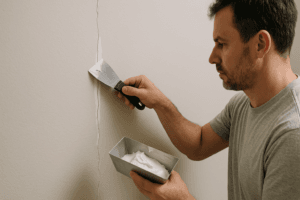
Joint compound, also known as mud, is applied over the joint tape to create a smooth surface. Start with a thin layer using a drywall knife, spreading evenly over the tape.
Allow the first coat to dry completely before applying additional coats. Typically, two to three coats are needed. Each coat should be slightly wider than the previous one, feathering out the edges to blend seamlessly with the board surface.
Sanding and Smoothing
After the joint compound is thoroughly dried, the next step is sanding. Use fine-grit sandpaper to smooth the surface, ensuring all edges blend well. Be cautious not to sand too much, as this could expose the tape or create indentations.
Always wear a mask when sanding to avoid inhaling dust. Smooth surfaces are key to a professional-looking finish and make the final Painting process much easier.
Finishing Touches
Once sanding is complete, wipe down the walls with a damp cloth to remove any dust. Now, you’re ready to apply primer and paint. Priming is essential as it seals the drywall and provides a good base for paint.
Choose the right paint for your room, considering factors like moisture levels and light. Applying two coats of paint will ensure even coverage and a polished look. These finishing touches are what transform a plain wall into a beautiful surface.
Common Mistakes to Avoid
- Skipping the Primer: Always apply a coat of primer before painting to ensure the paint adheres properly.
- Overdriving Screws: Be careful not to drive screws too deep, which can damage the board’s surface.
- Inconsistent Tape Application: Ensure joint tape is applied smoothly to avoid bumps and wrinkles.
- Rushing the Mud Drying Process: Allow each coat of joint compound to dry fully before applying the next.
- Neglecting Safety Gear: Always wear gloves, safety goggles, and a mask to protect yourself.
Why Choose Utah Drywall & Repair?
We understand that drywall installation can be a daunting task. With years of experience, we provide top-notch Services to ensure your drywall projects are executed flawlessly. Our team is committed to quality and customer satisfaction.
Let us take the stress out of your hands. Whether it’s a small repair or a full installation, we’ve got you covered. Trust in our expertise and dedication to bring your vision to life.
For any drywall project big or small, Contact Us by phone # 801-406-6350 or Request a Free Quote.


