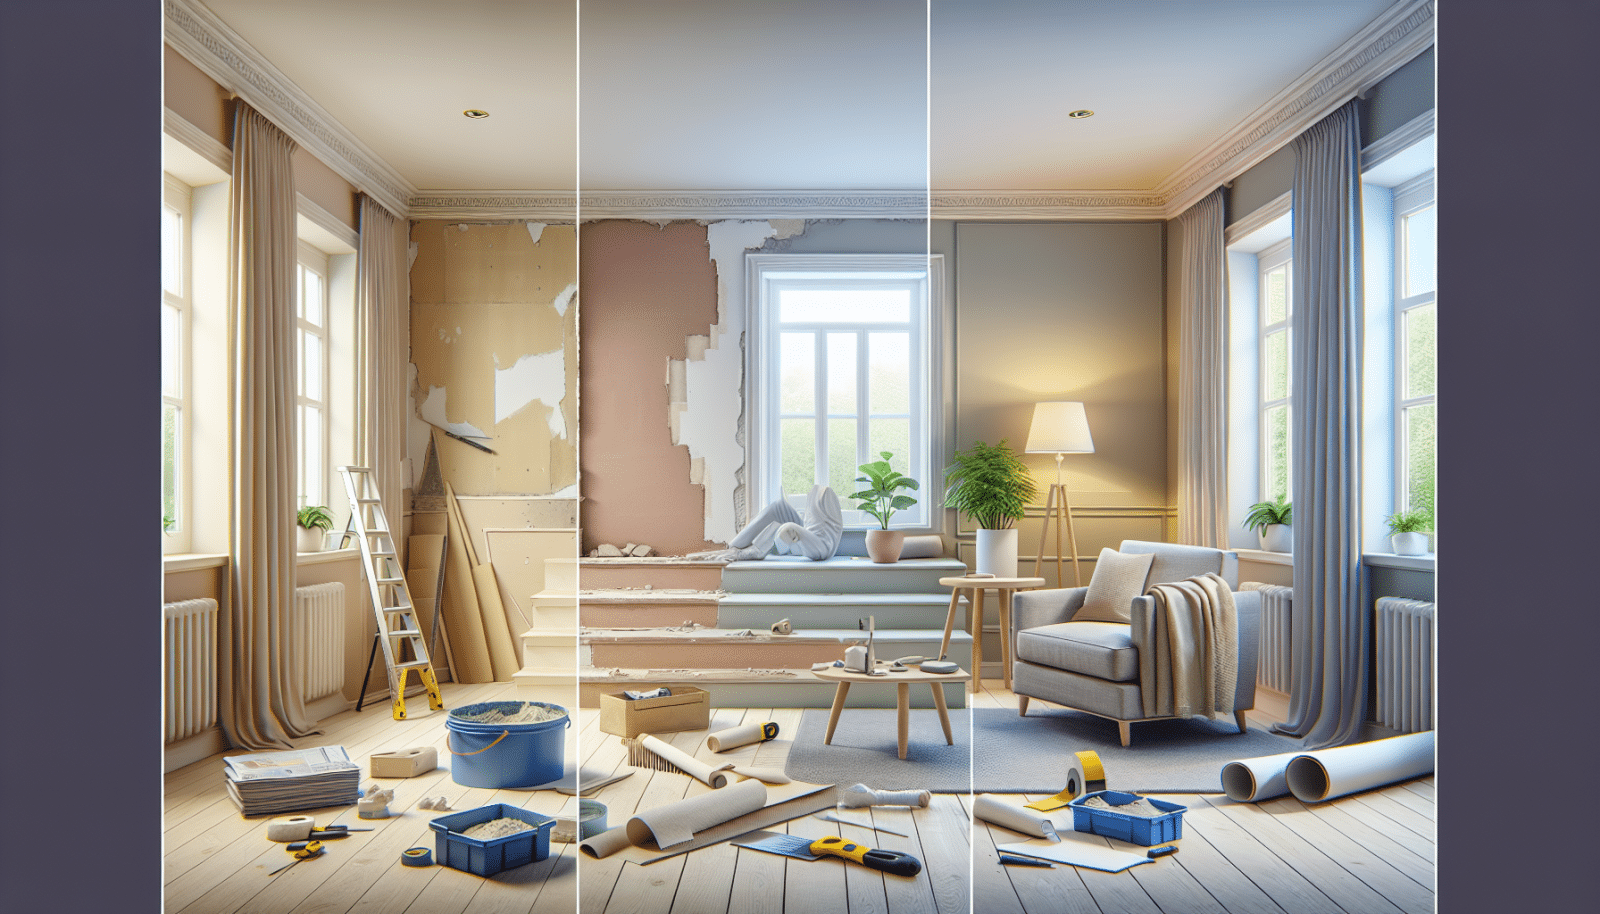
Sometimes, minor wall damage can be an eyesore and diminish the beauty of your home. But don’t worry, Utah Drywall & Repair is here to help! If you’re in Salt Lake, Davis, or Utah County, this guide will walk you through the process of Patching drywall like a pro. Whether you’re a seasoned DIYer or just starting, our step-by-step instructions will empower you to handle this common issue with ease.
Contents
Assessing the Damage
Before diving into repairs, it’s crucial to assess the extent of the damage. Is it a small hole, a significant crack, or water damage? Knowing this will determine the materials and techniques you’ll need. Take a moment to inspect the damaged area and jot down your observations.
Once you’ve identified the issue, you’re ready to gather your tools and materials. Don’t worry, we’ll guide you through everything you need to get started!
Gathering Your Tools and Materials
To patch drywall like a pro, you’ll need some essential tools and materials. Gather these items before you begin to ensure a smooth process. Here’s a quick checklist:
- Drywall Patch Kit: This usually includes a self-adhesive patch, joint compound, and a putty knife.
- Utility Knife: Essential for cutting out damaged drywall and shaping patches.
- Sandpaper: For smoothing out surfaces after applying the joint compound.
- Paint: To match the existing wall color once the repair is complete.
- Safety Gear: Protective eyewear and a mask to keep dust and debris at bay.
Now that you have everything you need, let’s move on to preparing the damaged area.
Preparing the Damaged Area
Proper preparation ensures a seamless repair. Start by clearing away any loose or damaged drywall. Use a utility knife to cut a clean edge around the damaged area. Remove any debris and dust, and ensure the surface is smooth and ready for the patch. This step is vital for the patch to adhere correctly and last longer.
Also, don’t forget to protect the surrounding area. Lay down a drop cloth or old sheet to catch any debris and make cleanup a breeze. Once the area is prepped, you’re ready to apply the patch.
Applying the Drywall Patch
Time to apply the patch! First, cut a piece of drywall that fits the damaged area. If you’re using a patch kit, this step might be simplified as most kits come with a ready-to-use patch. Place the patch over the hole and press it firmly against the wall.
Next, use a putty knife to apply the joint compound over the patch. Spread it evenly, extending a few inches beyond the patch’s edges. This will help blend the patch seamlessly with the surrounding wall. Allow the compound to dry completely before moving on to the next step.
Smoothing and Sanding the Surface
Once the joint compound is dry, it’s time to smooth out the surface. Use fine-grit sandpaper to sand down the dried compound gently. The goal is to achieve a smooth, even surface that blends perfectly with the rest of the wall. Take your time with this step, as a well-sanded surface will make all the difference in the final result.
After sanding, wipe down the area with a damp cloth to remove any dust. This ensures a clean surface, ready for the final touchups.
Applying a Second Coat and Sanding Again
For a professional finish, a second coat of joint compound is usually necessary. Apply it in the same manner as the first, extending slightly beyond the previous layer. This layer should be thinner but just as smooth. Allow it to dry completely before sanding again.
Sand the second layer carefully to achieve a flawless finish. Remember, patience is key. The smoother the surface, the better the final result.
Priming and Painting
Now that your patch is smooth and blend seamlessly with the wall, it’s time to prime and paint. Apply a coat of primer to the patched area. This step is crucial as it prepares the surface for painting and ensures the paint adheres properly. Once the primer is dry, paint over the patched area with your wall’s matching color.
Apply the paint in thin, even layers, allowing each coat to dry before applying the next. Multiple thin coats will provide better coverage and a more polished finish.
Cleaning Up
With the painting complete, it’s time to tidy up. Gather any leftover materials and dispose of them properly. Remove the drop cloth or old sheet, and vacuum or sweep up any remaining dust. A clean workspace is not only safe but also allows you to admire your handiwork without any distractions.
Take a step back and look at your newly repaired wall. Doesn’t it look great?
When to Call a Professional
While patching drywall is a manageable DIY task, some situations call for professional help. Extensive damage, especially structural issues or significant water damage, might require expert attention. If you’re unsure about the severity of the damage or feel uncomfortable tackling it yourself, don’t hesitate to call us.
At Utah Drywall & Repair, we have the skills and experience to handle any drywall problem, big or small. Trust us to get the job done right the first time.
Maintenance Tips
To keep your drywall looking pristine, follow these maintenance tips:
- Regularly Inspect Walls: Look for signs of damage or wear and address them promptly.
- Keep Walls Clean: Gently clean walls with a soft cloth and mild detergent to prevent buildup of dirt and grime.
- Avoid Heavy Impact: Be mindful of furniture and objects near walls to prevent accidental damage.
- Control Humidity: Use dehumidifiers if necessary to prevent moisture buildup and potential mold growth.
- Repaint Occasionally: A fresh coat of paint every few years can keep your walls looking new.
Regular maintenance can extend the life of your drywall and keep your home looking beautiful.
Conclusion
Patching drywall doesn’t have to be daunting. With the right tools, materials, and our pro tips, you’ll have your walls looking flawless in no time.
Need professional help? Contact Utah Drywall & Repair by phone # 801-406-6350 or Request a Free Quote.


