If you’ve ever faced the challenge of achieving a flawless seamless drywall finish, you’re not alone. At Utah Drywall & Repair, we understand how crucial it is for homeowners to enjoy smooth, perfect walls. This step-by-step guide will unravel the secrets to achieving that impeccable finish you’ve always desired. Get ready to grab your tools as we guide you through the process to ensure your drywall dreams come true.
Contents
- 1 Understanding the Basics of Drywall Installation
- 2 Gathering Your Tools and Materials
- 3 Cutting and Hanging Drywall
- 4 Taping and Mudding: Creating the Seamless Effect
- 5 Sanding: Achieving Smooth Perfection
- 6 Priming Before Painting: The Essential Step
- 7 Painting: Bringing Your Walls to Life
- 8 Common Mistakes to Avoid
- 9 Finishing Touches for a Seamless Drywall Finish
- 10 Let Us Help You with Your Drywall Needs
Understanding the Basics of Drywall Installation
Before diving in, let’s explore why proper drywall installation matters. Our expertise in this field teaches us that a well-installed drywall surface is key to any perfect finish. Poor installation can lead to visible seams and uneven textures, making your walls look unprofessional.
Correct measurements and precise cutting are fundamentals in this process. Whether you’re a seasoned DIYer or just beginning, understanding the tools and techniques makes the task manageable.
Gathering Your Tools and Materials
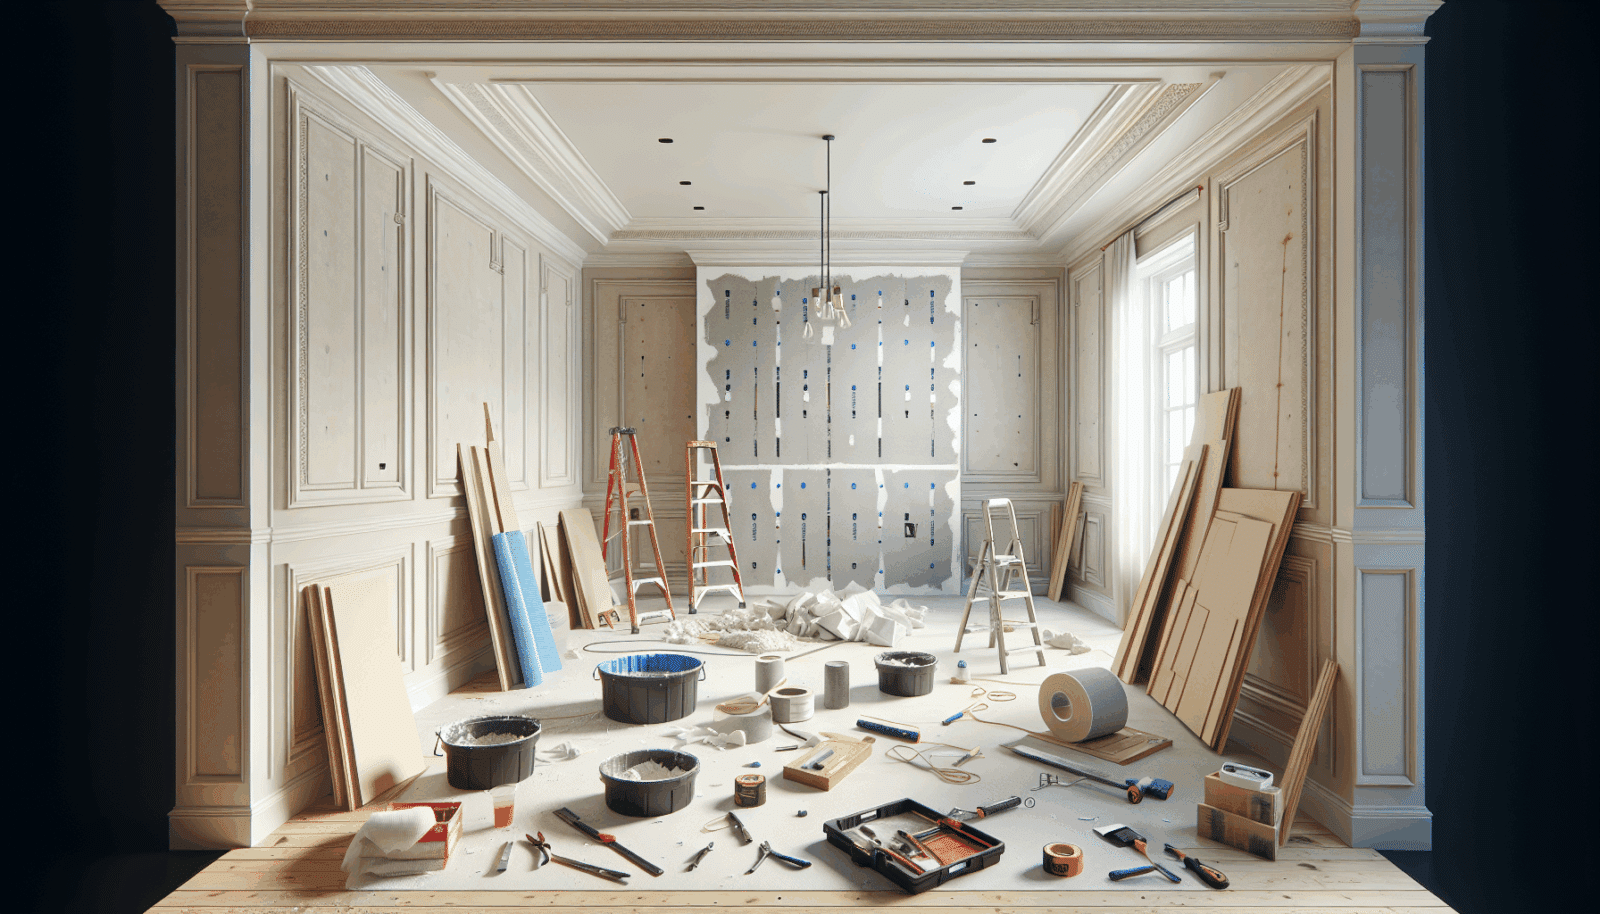
The right tools and materials can make all the difference. For a seamless finish, it’s crucial to prepare ahead. Here’s what you’ll need:
- Drywall Sheets: Choose the appropriate thickness and type, depending on the area you’re working on.
- Joint Compound: Opt for high-quality compound for a smoother finish.
- Taping Tools: Invest in proper taping knives to ensure clean lines and edges.
- Sandpaper: Use various grits to ensure a smooth finish, especially in areas where seams meet.
- Primer and Paint: Select high-quality products for lasting results and vibrant colors.
Cutting and Hanging Drywall
Now it’s time to cut and hang the drywall panels. This step is pivotal, and precision is key. Ensure all cuts are straight and fit tightly against the framework. Don’t rush, as this foundation work shapes the end result.
Install panels horizontally or vertically based on your room’s structure. Align everything properly to minimize seams and make taping easier later on.
Taping and Mudding: Creating the Seamless Effect
Taping and mudding are the heart of achieving a seamless finish. Apply the joint compound expertly over the seams, embedding drywall Tape within it. This stage requires patience and finesse.
Start with a thin layer and build gradually. Allow each coat to dry thoroughly before applying the next. Smooth out all edges for that flawless look.
Sanding: Achieving Smooth Perfection
Ready to sand? Sanding is where magic happens and seams disappear! Use fine sandpaper and light pressure to eradicate imperfections.
Be mindful of dust; we suggest implementing a good ventilation system during this step. Continue until your walls feel as smooth as silk.
Priming Before Painting: The Essential Step
Priming before painting ensures durability and adherence. A quality primer prepares your drywall for the final color touches.
Apply evenly and double-check for missed spots. Remember, primer coat clarity contributes significantly to the final appearance of your painted walls.
Painting: Bringing Your Walls to Life
It’s finally time to paint! Start with a small area to test your color choice. Consistent application yields a professional-grade finish.
Our experience says two coats of paint often provide the best results. Use even strokes and let each coat dry entirely before applying the next.
Common Mistakes to Avoid
Even a seasoned DIYer can make errors. Here are common pitfalls:
- Rushing the Process: Every step requires adequate drying time for successful results.
- Skipping a Coat: Always apply multiple coats of joint compound and paint for optimal smoothness.
- Using Low-Quality Materials: Cheap materials compromise the finish and may cause future issues.
- Poor Taping Technique: Ensure proper embedding of tape for clear, perfect lines.
- Neglecting Safety: Always use masks and eye protection when sanding to prevent health issues.
Finishing Touches for a Seamless Drywall Finish
As you reach the final stage, examine your walls. Small adjustments now can lead to a truly flawless finish. Attention to detail is what transforms good into perfect.
Take a step back, admire your hard work, and feel the satisfaction of a job well done. Your seamless drywall finish is now a testament to your skills and our expert guidance.
Let Us Help You with Your Drywall Needs
Feeling overwhelmed? That’s where we come in. Call us at 801-406-6350 or Request a Free Quote to have our skilled team at Utah Drywall & Repair bring perfection to your home.


