Contents
- 1 Understanding Gypsum Board
- 2 Tools and Materials Needed
- 3 Preparation of Installation Area
- 4 Measuring and Cutting Gypsum Board
- 5 Installing Gypsum Board
- 6 The Importance of Proper Joint Treatment
- 7 Finishing Touches: Sanding and Priming
- 8 Maintaining and Repairing Gypsum Board
- 9 Benefits of Professional Installation
- 10 Let’s Get Started on Your Project
Understanding Gypsum Board
Gypsum board, also known as drywall, is a ubiquitous material in home construction and renovation projects. It’s prized for its fire resistance, versatility, and ease of installation. By choosing gypsum board for your project, you’re opting for a cost-effective solution that will provide long-lasting results. In this section, we’ll dive into the basics of gypsum board, including its components and various types, to help you make informed decisions about your project.
Furthermore, having a solid understanding of the different finishes and sizes available is crucial. This knowledge will guide you in selecting the right materials for your specific needs, whether you’re working on a small repair or a large-scale renovation. Our team is here to help you navigate these choices, ensuring your project’s success from the start.
Tools and Materials Needed
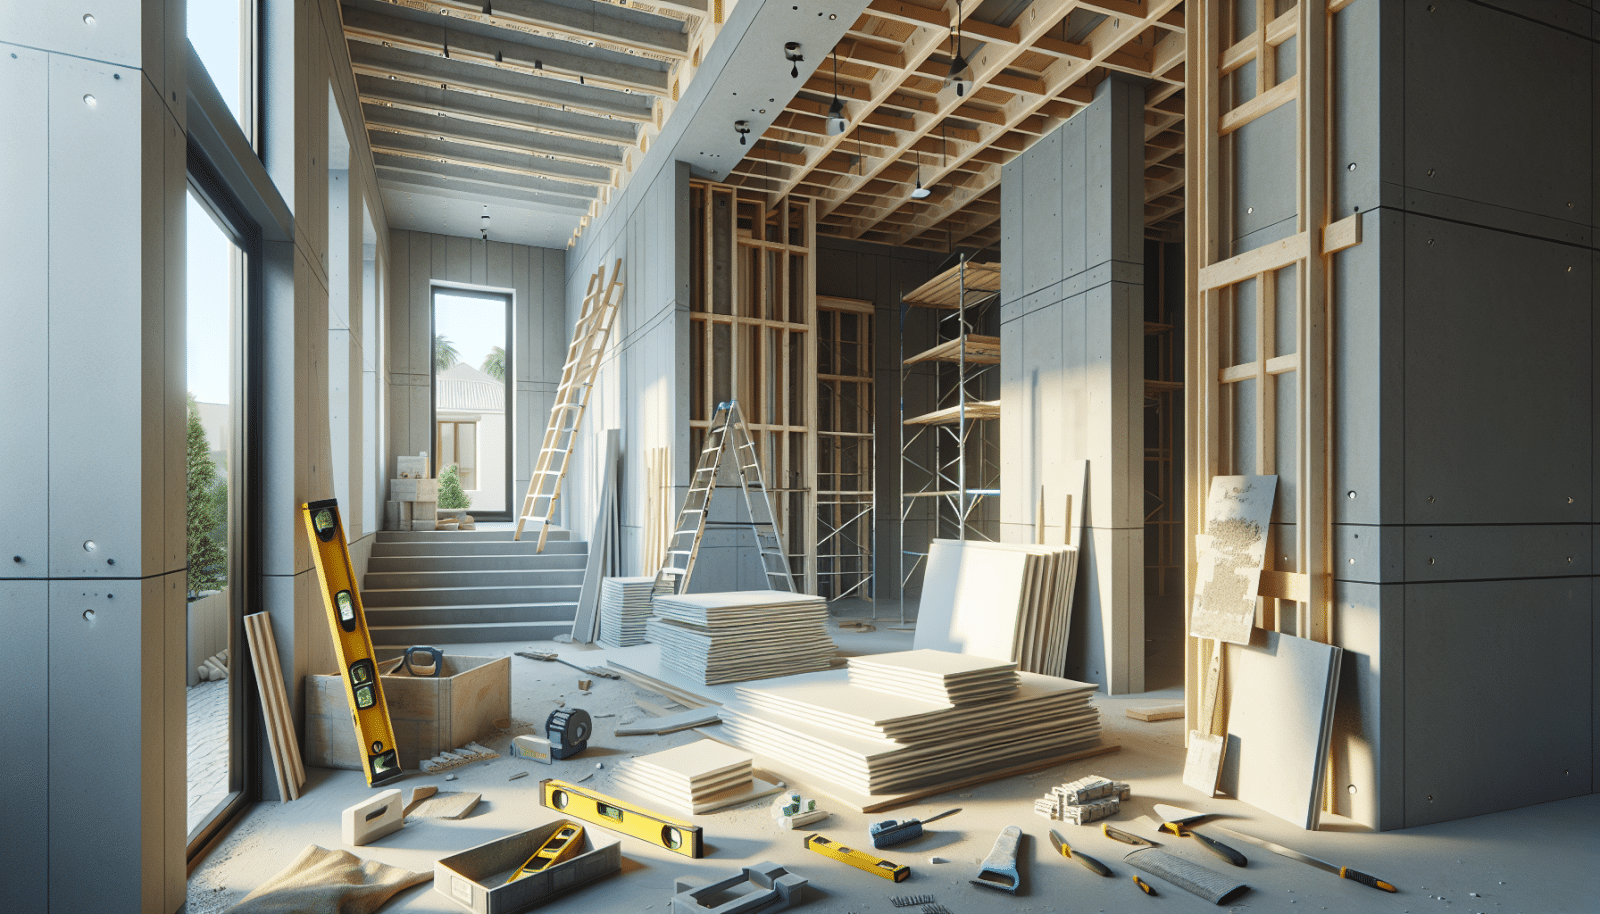
Before diving into the installation process, it’s essential to gather all necessary tools and materials. This preparation step cannot be overstressed; it’s the foundation of a smooth installation experience. From measuring tapes and utility knives to gypsum boards and joint compounds, having everything at hand means you’re ready to tackle the project efficiently.
Don’t forget about safety gear such as goggles and gloves. Installing drywall can be a messy and hazardous job without the proper precautions. We recommend compiling a comprehensive list of items before starting, ensuring you’re fully prepared for each stage of the installation. Our experts are always available to offer advice on the best tools and materials for your project.
Preparation of Installation Area
Preparation is key to achieving a professional-grade finish with gypsum board. This means clearing the workspace of furniture and fixtures and protecting the floor and any immovable objects with drop cloths or plastic sheeting. It’s also the perfect time to check the installation area for any potential issues such as moisture damage or uneven surfaces.
Additionally, measuring the area accurately is crucial for minimizing waste and ensuring you cut the gypsum boards to the correct size. This step not only saves time but also reduces the expense associated with excess materials. Our team emphasizes the importance of a well-prepared workspace in laying the groundwork for a successful drywall installation.
Measuring and Cutting Gypsum Board
Measuring and cutting your gypsum board with precision is a pivotal step in the installation process. This is where your project starts to take shape, quite literally. A common mistake here can lead to material wastage and potential delays. Therefore, double-check your measurements before making cuts.
Using the right tools, such as a sharp utility knife and a T-square, can make this task both efficient and accurate. Remember, patience and attention to detail during this phase will greatly impact the final appearance of your project. If you’re unsure about your cutting skills, our team is always ready to step in and lend a professional hand.
Installing Gypsum Board
Now, the most exciting part begins: installing the gypsum board. Starting from one corner, work your way across the wall or Ceiling, ensuring each panel is securely fastened with drywall Screws. It’s essential to avoid overlapping panels as this can create unnecessary bulk and complications later in the finishing process.
When installing drywall on ceilings, extra care must be taken to ensure panels are supported properly to prevent sagging. This might mean enlisting the help of a friend or using a drywall lift. Each step of the way, our skilled professionals are here to provide guidance or step in to ensure your gypsum board installation meets the highest standards.
The Importance of Proper Joint Treatment
The way you handle joints between drywall panels can make or break the finish of your project. Properly treating joints is critical to achieving a smooth, seamless surface ready for Painting or wallpapering. This involves applying joint compound and drywall Tape to cover and reinforce the seams between panels.
Treating corners deserves special attention, as they are more prone to damage and can be challenging to get right. With patience and the correct techniques, however, you can create strong, smooth corners that enhance the overall integrity and appearance of your wall or ceiling. Our team is adept at providing tips and tricks for mastering this crucial stage.
Finishing Touches: Sanding and Priming
After the joint compound has dried, it’s time for sanding. Sanding the dried compound smooth is an art in itself, one that requires a gentle touch and a keen eye for detail. This step is essential for removing any imperfections and creating a perfectly smooth surface for priming and painting.
Once the sanding is satisfactorily completed, applying a primer is your next move. Priming ensures that your finish coat of paint adheres properly and enhances the durability and appearance of your walls. It’s an investment in the lasting beauty of your project, one that we highly recommend. Our team is always ready to advise on the best practices for both sanding and priming.
Maintaining and Repairing Gypsum Board
Gypsum board is durable and long-lasting, but occasional dings, holes, or moisture damage can occur. Luckily, with the right tools and techniques, repairs can be straightforward. Addressing repairs promptly can prevent more extensive damage, saving you time and money in the long run.
For small repairs, spackling paste and a putty knife may be all you need. For larger issues, like water damage, consulting with a professional to assess the damage and recommend the best course of action is wise. Our team is adept at both minor repairs and more significant restoration projects, ensuring your gypsum board remains in top condition.
Benefits of Professional Installation
- Expertise: Our team possesses the skills and knowledge necessary to handle any gypsum board project, ensuring high-quality results.
- Efficiency: Hiring professionals saves you time and energy. We understand the ins and outs of drywall installation, allowing us to complete projects swiftly.
- Quality Materials: We only use the best materials, ensuring your project’s longevity and performance.
- Custom Solutions: Every space is unique, and we pride ourselves on providing tailored solutions that meet each client’s specific needs.
- Peace of Mind: With our team on the job, you can rest easy knowing your project is in good hands, from start to finish.
Let’s Get Started on Your Project
At Utah Drywall & Repair, we’re committed to providing homeowners with the highest quality drywall installation and repair Services. Our skilled team is ready to tackle any project, ensuring a flawless finish that transforms your space. Whether you’re renovating your home or constructing a new one, our expertise in installing gypsum board is unmatched.
We invite you to reach out to us by phone at 801-406-6350 or Request a Free Quote. Let us show you why so many homeowners trust us with their drywall needs. Our commitment to excellence and customer satisfaction is evident in every project we undertake. Don’t wait; let’s get started on your project today!


