When it comes to enhancing your home, nothing beats the satisfaction of a job well done, especially when it’s a DIY project. At Utah Drywall & Repair, we understand the excitement and challenge involved in home improvements. This ultimate guide to DIY drywall installation is designed with homeowners in mind, offering a step-by-step tutorial to navigate through what might seem like a daunting task. Whether you’re a novice or a seasoned DIY enthusiast, this article will provide the insights and tips needed to achieve professional-quality results.
Contents
- 1 Understanding Drywall Materials and Tools
- 2 Preparing Your Workspace
- 3 Measuring and Cutting Drywall Sheets
- 4 Installing Drywall Sheets
- 5 Applying Joint Compound and Tape
- 6 The Finishing Touches: Sanding and Painting
- 7 Tips for a Successful Drywall Installation
- 8 Common Mistakes to Avoid
- 9 When to Call a Professional
- 10 Your DIY Journey Begins Now
Understanding Drywall Materials and Tools
Before diving into your project, getting familiar with the necessary materials and tools is crucial. Drywall, also known as gypsum board, comes in different thicknesses and sizes to suit various applications. Typically, 1/2″ thick panels are used for walls, and 5/8″ thick panels are reserved for ceilings or fire-rated installations. Moreover, having the right tools on hand, such as a drywall saw, T-square, utility knife, and a drill, can make the installation process smoother and more efficient. As you gear up, remember that quality materials and tools are the foundation of a durable and aesthetically pleasing drywall installation.
Additionally, don’t overlook the importance of drywall Screws, joint compound, and Tape. These materials are pivotal in piecing together your drywall sheets and achieving a seamless finish. Opt for rust-resistant screws and a high-quality joint compound for best results. Your efforts in selecting the right materials and tools will pay dividends in the final look and longevity of your drywall installation.
Preparing Your Workspace
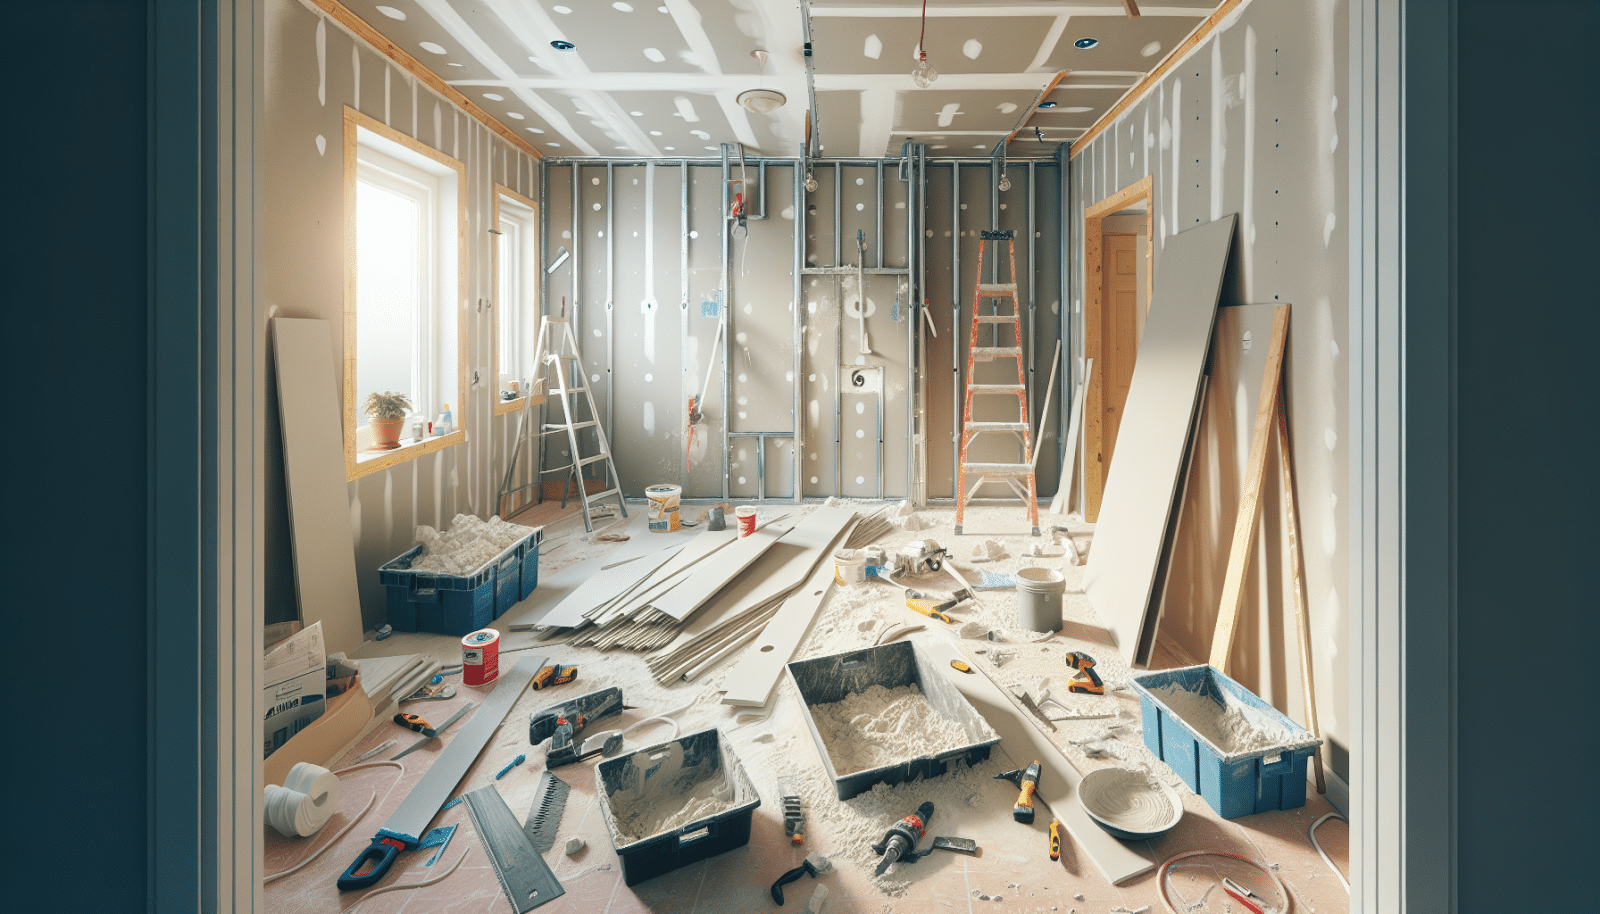
Preparation is key in any successful DIY project, and drywall installation is no exception. Start by clearing the room or area where you’ll be working. Remove as much furniture as possible and cover anything that can’t be moved with a drop cloth or plastic sheeting. This not only protects your belongings from dust and debris but also gives you unobstructed access to the working area. It’s also important to ensure that the space is well-lit so you can accurately measure, cut, and install your drywall.
Next, take the time to inspect the wall studs or Ceiling joists where the drywall will be attached. They should be evenly spaced, structurally sound, and free of any protruding nails or screws. Addressing these details beforehand will make the installation process smoother and help prevent issues down the line. Remember, a well-prepared workspace is the groundwork for a successful drywall project.
Measuring and Cutting Drywall Sheets
Accurate measurements and precise cuts are the heart of a well-executed drywall installation. Begin by measuring the surface area where the drywall will be installed and plan how the sheets will be arranged. It’s often best to have as few seams as possible, so consider the orientation and size of your drywall panels carefully. Use a pencil and T-square to mark your cut lines directly on the drywall sheet, ensuring straight and accurate lines.
When it comes to cutting, you have a couple of options. For straight cuts, score the drywall paper with a utility knife along the marked line, then snap the sheet along the scored line and cut the paper on the other side to separate the pieces. For cutouts, such as outlets or switch boxes, use a drywall saw or rotary tool. Patience and precision here will save you time in the finishing stages, so take your time and measure twice, cut once!
Installing Drywall Sheets
With your drywall sheets cut to size, it’s time to affix them to the walls or ceiling. Starting with the ceiling panels, if applicable, use a drywall lift or a helper to hold the panels in place while you secure them with drywall screws. Drive the screws into the studs or joists, spacing them about 16 inches apart and ensuring the screw heads are slightly depressed into the drywall but not breaking through the paper. This technique is known as “dimpling.”
Wall panel installation follows a similar process. Begin at the top corner of your wall and work your way down, making sure the edges of the panels align with the center of the studs. It’s crucial to stagger the seams between panels to increase the strength of the installation and reduce the visibility of the seams once finished. As you proceed, check that each panel is level and adjust as necessary before securing it in place.
Applying Joint Compound and Tape
After all the drywall panels are installed, the next step is to conceal the seams and screws with joint compound and tape, a process known as Taping and Mudding. Apply a thin layer of joint compound over each seam, then press a strip of drywall tape into the wet compound. Smooth it out with your drywall knife to remove any air bubbles and excess compound. Allow it to dry completely before applying additional coats.
For screw dimples and any imperfections, cover each with a small amount of joint compound using your drywall knife. Smooth it out as much as possible to minimize Sanding later. Remember, achieving a smooth, seamless finish may require several coats of compound, with each layer thinner than the last and extending further out from the seam or dimple. Patience during this process is key to achieving a professional-grade finish.
The Finishing Touches: Sanding and Painting
Once the joint compound is thoroughly dry, it’s time to sand the surface to achieve a smooth finish. Using a sanding pole or hand sander, lightly sand the dried compound, being careful not to scuff the drywall paper. Your goal is to smooth out any ridges or bumps without removing too much of the compound. Always use a dust mask and ensure good ventilation during this step to protect yourself from fine dust particles.
With the sanding complete, your drywall installation is ready for painting. Apply a primer specifically designed for drywall to ensure even coverage and adhesion of the topcoat. Once the primer is dry, paint your walls or ceiling in the color of your choice, using a roller for large areas and a brush for edges and corners. Congratulations, you’ve successfully completed your DIY drywall installation project!
Tips for a Successful Drywall Installation
- Measure Twice, Cut Once: Double-check your measurements before cutting to reduce waste and ensure a precise fit.
- Use the Right Tools: Investing in the proper tools can significantly affect the efficiency and outcome of your project.
- Keep it Level: Regularly check that your drywall panels are level during installation to avoid unevenness.
- Seam Staggering: Stagger the seams between drywall sheets to enhance the overall strength and appearance of the wall.
- Patience is Key: Allow adequate drying time for joint compound between coats and before sanding to achieve the best finish.
Common Mistakes to Avoid
Avoid overdriving screws into the drywall, as this can cause the paper to tear and weaken the hold. Screws should be set just below the surface, creating a slight dimple. Another common mistake is rushing through the taping and mudding process. Taking your time to apply thin, even coats of joint compound and allowing each layer to dry fully will result in a smoother, more professional finish.
Additionally, many DIYers underestimate the importance of proper lighting during the sanding process. Adequate lighting helps to highlight imperfections and ridges that need additional sanding, ensuring a flawless finish before moving on to priming and painting. By avoiding these common pitfalls, you can achieve a durable and visually appealing drywall installation.
When to Call a Professional
While DIY projects can be rewarding, there are times when calling in a professional is the best course of action. If you encounter electrical wiring, plumbing, or structural issues during your drywall installation, it’s wise to consult with a professional. Additionally, projects requiring extensive drywall repairs or installations in high, hard-to-reach areas might benefit from the expertise of a seasoned contractor.
Remember, the goal is to achieve a result you’re proud of, and sometimes that means knowing when to seek assistance. Whether you choose to DIY or hire a professional, Utah Drywall & Repair is here to support you. Our expertise covers a broad range of drywall Services, and we’re just a phone call away?
Your DIY Journey Begins Now
At Utah Drywall & Repair, we’re committed to empowering homeowners with the knowledge and confidence to tackle their home improvement projects. This guide is just the beginning of your DIY journey. With patience, the right tools, and a bit of practice, you can achieve professional-quality drywall installations in your own home.
If you find yourself in need of assistance or professional advice along the way, don’t hesitate to Contact Us by phone at 801-406-6350 or Request a Free Quote. Your dream home is within reach, and we’re here to help you every step of the way.


