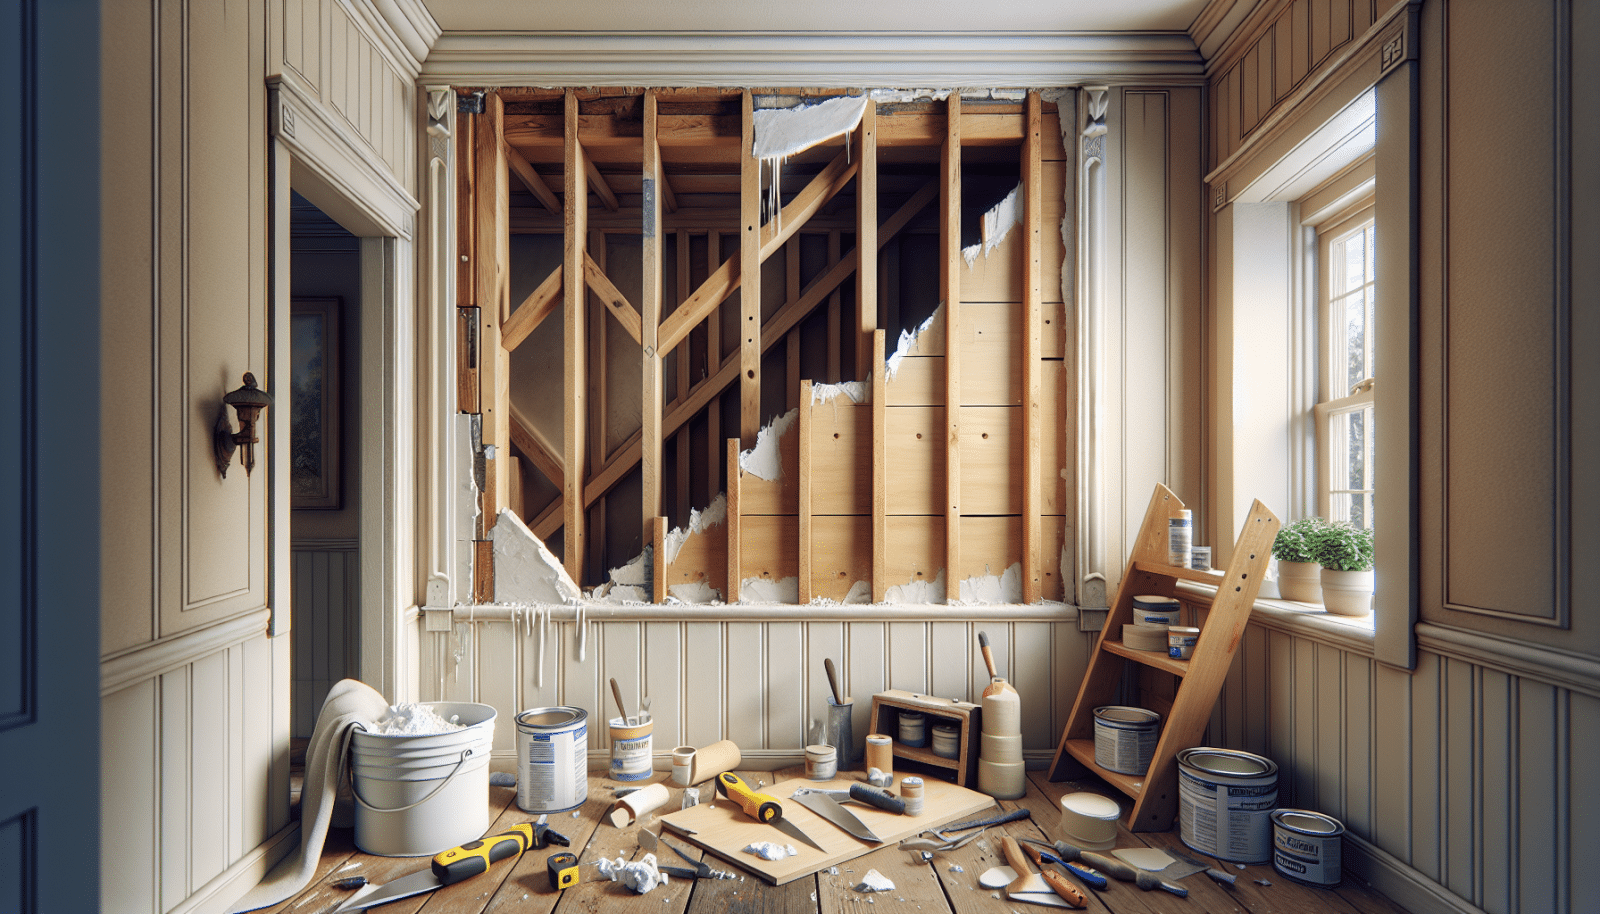
At Utah Drywall & Repair, we understand how frustrating it can be to have damaged wallboard disrupting the look and feel of your home. Luckily, fixing wallboard is a skill that any homeowner can master with the right guidance. In this blog post, we’ll walk you through step-by-step instructions on how to fix wallboard so you can achieve professional-looking results on your own.
Contents
Gather the Necessary Tools and Materials
Before you begin, it’s crucial to have all the tools and materials ready. This will make the process smoother and more efficient.
You’ll need a few basic items like a utility knife, joint compound, sandpaper, drywall Tape, and a putty knife. Having everything you need within reach will save you time and prevent unnecessary interruptions.
Additionally, a dust mask and safety glasses are essential to protect yourself while working on the repair. Not only do they keep you safe, but they also make the job much more enjoyable.
Assess the Damage
The first step is to assess the damage to your wallboard. You’ll need to determine the extent of the repair needed.
Small cracks and holes can often be fixed quickly, but larger damage might require more work. Identifying the problem early on helps you choose the right materials and tools for the job.
Take your time to examine the wallboard carefully. This will help you plan your repair more effectively and avoid any surprises along the way.
Cut Out the Damaged Area
Once you’ve assessed the damage, it’s time to cut out the damaged area. This can be a delicate process, so take your time.
Using a utility knife, carefully cut around the damaged section of the wallboard. Make sure to cut in straight lines to make Patching easier later on.
Remove the damaged section and discard it. This will give you a clean slate to work with and ensure a smoother repair process.
Prepare the Patch
Next, you’ll need to prepare a patch to fill the hole or damaged area. This step is crucial for a seamless finish.
Measure the dimensions of the hole and cut a piece of drywall slightly larger than the hole. This will allow you to fit the patch comfortably into the gap.
Dry fit the patch to ensure it fits correctly. If necessary, trim the edges until it fits snuggly into the hole without forcing it.
Apply Drywall Tape
Now that your patch is ready, it’s time to secure it in place using drywall tape. This helps to reinforce the repair and prevent future cracking.
Place the drywall tape over the seams where the new patch meets the existing wallboard. This will help to blend the patch with the rest of the wall.
Press the tape down firmly to ensure it sticks properly. This will create a smooth surface for the joint compound to adhere to.
Apply Joint Compound
With the patch and tape in place, it’s time to apply the joint compound. This step is key to achieving a seamless finish.
Using a putty knife, apply a thin layer of joint compound over the taped seams. Make sure to cover the entire area where the patch meets the wallboard.
Smooth out the compound to create an even surface. Allow it to dry completely before proceeding to the next step.
Sand the Area
Once the joint compound is dry, Sanding is essential for a smooth finish. A seamless look can only be achieved with proper sanding.
Use sandpaper to carefully sand down the dried joint compound. Focus on creating an even, smooth surface that blends with the surrounding wall.
Take your time with this step to avoid sanding too much and causing new damage. The goal is a smooth surface that’s ready for Painting.
Apply a Second Coat of Joint Compound
For the best results, apply a second coat of joint compound. This helps to further blend the patch with the wallboard.
Apply a slightly thinner layer of joint compound over the sanded area. Smooth it out using your putty knife to achieve an even finish.
Allow the second coat to dry completely. This will ensure a durable, long-lasting repair that looks professional.
Final Sanding
After the second coat has dried, a final sanding is necessary. This step prepares the wall for painting and ensures a seamless repair.
Carefully sand the area until it’s smooth and flush with the rest of the wall. Use a finer grit sandpaper for a polished finish.
Once you’re satisfied with the smoothness, clean up any dust or debris before moving on to painting.
Paint the Repaired Area
The last step is to paint the repaired area to match the rest of your wall. This final touch will make your repair invisible.
Use a primer first to cover the repaired area. This helps the paint adhere better and gives a more uniform finish.
Once the primer is dry, apply your chosen paint color over the repaired area. Blend it with the surrounding wall for a seamless look.
Common Mistakes to Avoid
To achieve the best results, it’s important to be aware of common mistakes.
- Rushing the Process: Take your time with each step to ensure a quality repair. Rushing can lead to mistakes that are hard to fix later.
- Skipping the Tape: Always use drywall tape for reinforcing the seams. Skipping this step can lead to cracks and a weak repair.
- Over Sanding: Be careful not to sand too much. Over sanding can cause new damage and make the repair area uneven.
- Ignoring Safety: Wear a dust mask and safety glasses to protect yourself. Safety should always be a priority.
- Using the Wrong Tools: Make sure you have the right tools for the job. Using improper tools can make the repair more difficult.
Final Thoughts
Fixing wallboard might seem daunting at first, but with the right approach, it’s a task any homeowner can accomplish. By following these step-by-step instructions, you can achieve professional results without the need for a contractor. Happy repairing!
For expert assistance, contact Utah Drywall & Repair by phone 801-406-6350 or Request a Free Quote.


