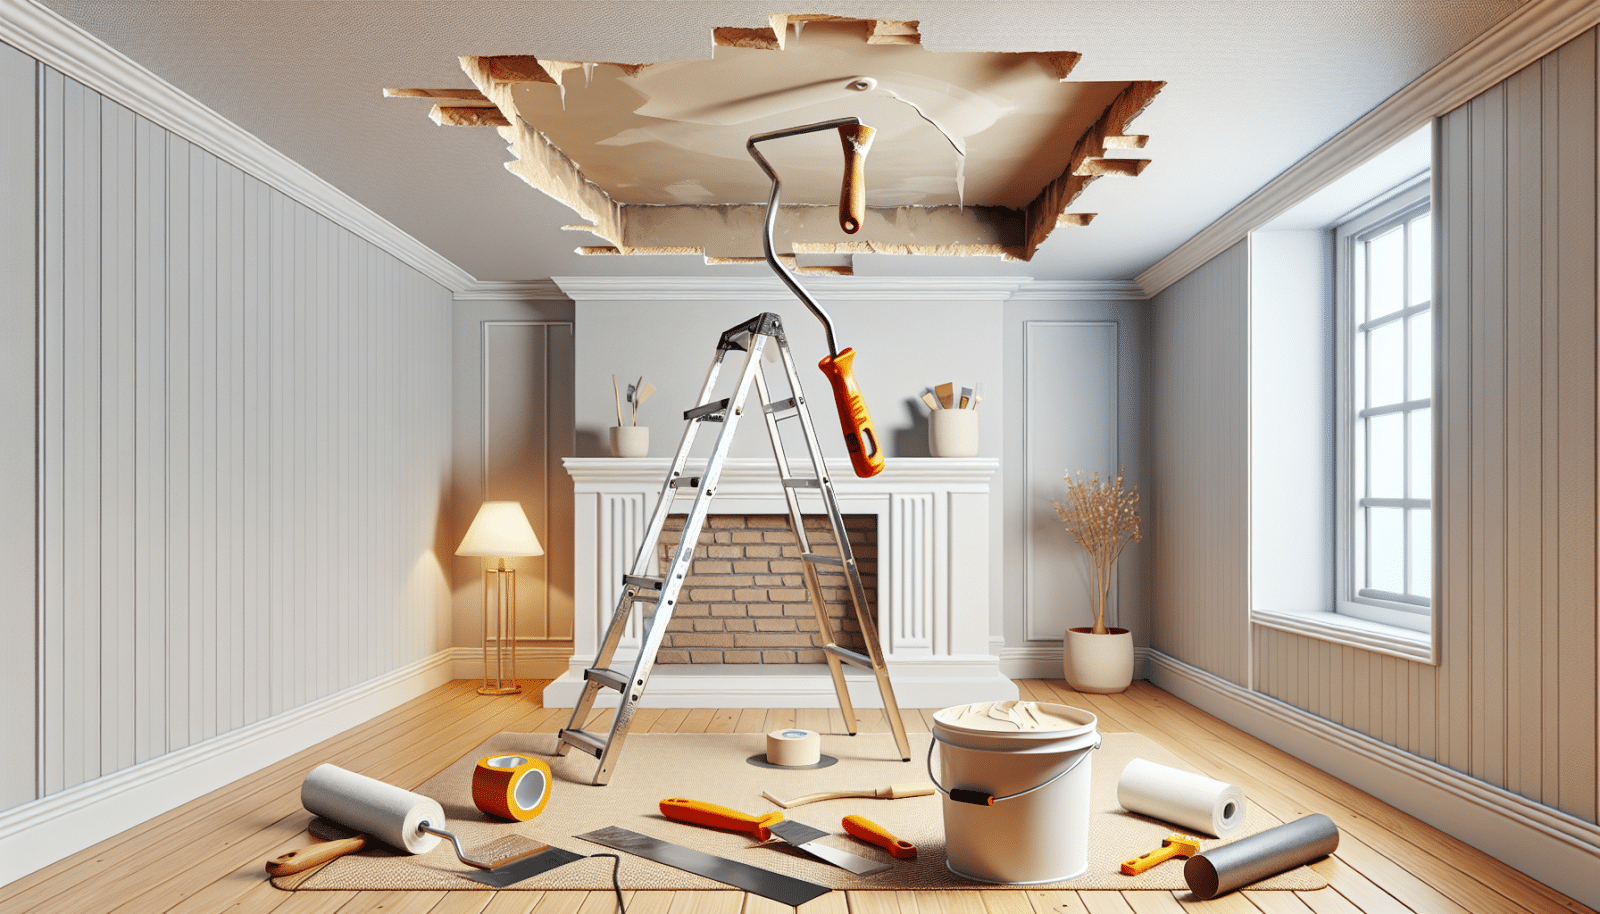
At Utah Drywall & Repair, we understand that Ceiling drywall issues can be a real headache for homeowners. Often, you look up and see unsightly cracks or water damage. You might feel overwhelmed, but don’t worry. This comprehensive guide on how to fix ceiling drywall is here to help you navigate the repair process smoothly.
Contents
- 1 Understanding the Basics of Ceiling Drywall
- 2 Identifying Common Drywall Problems
- 3 Gathering Your Materials and Tools
- 4 Preparing the Ceiling Surface
- 5 Step-by-Step Guide to Fixing Cracks
- 6 Fixing Holes in Ceiling Drywall
- 7 Handling Water Damage
- 8 Sanding and Smoothing Your Repair
- 9 Painting the Repaired Area
- 10 When to Call the Professionals
Understanding the Basics of Ceiling Drywall
Ceiling drywall serves as the framework that gives your ceiling its structure. Understanding the basics is crucial before diving into repairs. Drywall is made of gypsum, a natural material that provides both durability and a smooth finish. Because it’s susceptible to damage from moisture and physical impact, knowing how to fix it yourself can save you a lot of time and money.
Identifying Common Drywall Problems
Common issues include cracks, holes, and water damage. Each of these problems requires a different approach to fix properly. For instance, cracks can form due to settling in the house, while holes might result from accidental impacts. Water damage, however, often comes from leaky roofs or plumbing issues. Recognizing what kind of issue you’re dealing with is the first step to a successful repair.
Gathering Your Materials and Tools
Before you start, you’ll need to gather all necessary materials and tools. This preparation will make your repair process more efficient and less stressful. Key items you’ll need include drywall patches, joint compound, sandpaper, and a putty knife. Don’t forget safety gear like gloves and goggles to protect yourself during the repair.
Preparing the Ceiling Surface
Preparing the surface is a critical step for ensuring that the repair adheres well and looks seamless. Start by cleaning the area around the damage. Remove any loose debris or peeling paint to create a clean workspace. This will allow your materials to bond effectively, providing a smooth finish.
Step-by-Step Guide to Fixing Cracks
Once you’ve prepared the surface, you’ll want to focus on the cracks. Here is a step-by-step guide to help you achieve a professional result.
- Clean the Area: Use a damp cloth to remove dirt and dust from the crack.
- Apply Joint Compound: Using a putty knife, apply a thin layer of joint compound over the crack.
- Embed Drywall Tape: Place drywall tape over the joint compound to reinforce the repair.
- Smooth the Surface: Apply more joint compound over the tape and smooth it out.
- Sand and Paint: Once the compound has dried, sand the surface and paint to match the rest of the ceiling.
Fixing Holes in Ceiling Drywall
Dealing with holes in your ceiling drywall can be a bit more challenging but certainly doable. First, cut a piece of drywall that fits the hole. Attach this piece using drywall Screws or adhesive. Then, apply a layer of joint compound around the edges to seal it. Let it dry, sand the area, and paint it to blend in with your existing ceiling.
Handling Water Damage
Water damage often looks far worse than it is. Ensure that the source of the water has been fixed before you repair the drywall. Remove any damaged sections and replace them with new drywall. Apply joint compound to the seams, sand, and paint once dried. Water damage may also require treating the area for mold, so it’s essential to be thorough.
Sanding and Smoothing Your Repair
Once repairs are made, the next step involves sanding and smoothing the surface. Use fine-grit sandpaper to carefully smooth out any rough spots or excess joint compound. The goal is to create an even surface that blends seamlessly with the rest of your ceiling. Patience is key, as rushing this process can lead to a less-than-perfect finish.
Painting the Repaired Area
The final touch to any Drywall Repair is painting. Choose a ceiling paint that matches your current color. Apply a primer first to create a uniform surface. After the primer dries, paint the area to match the surrounding space. Multiple coats might be necessary for a perfect blend.
When to Call the Professionals
Although DIY repairs can be quite fulfilling, sometimes you might need a professional touch. If you’re dealing with extensive damage or water issues, calling in experts can ensure the job is done correctly. At Utah Drywall & Repair, we’re always ready to help.
Fixing ceiling drywall may seem daunting initially, but following these steps can make the process much more manageable. If you need additional help or would prefer professional assistance, Contact Us by phone # 801-406-6350 or Request a Free Quote.


