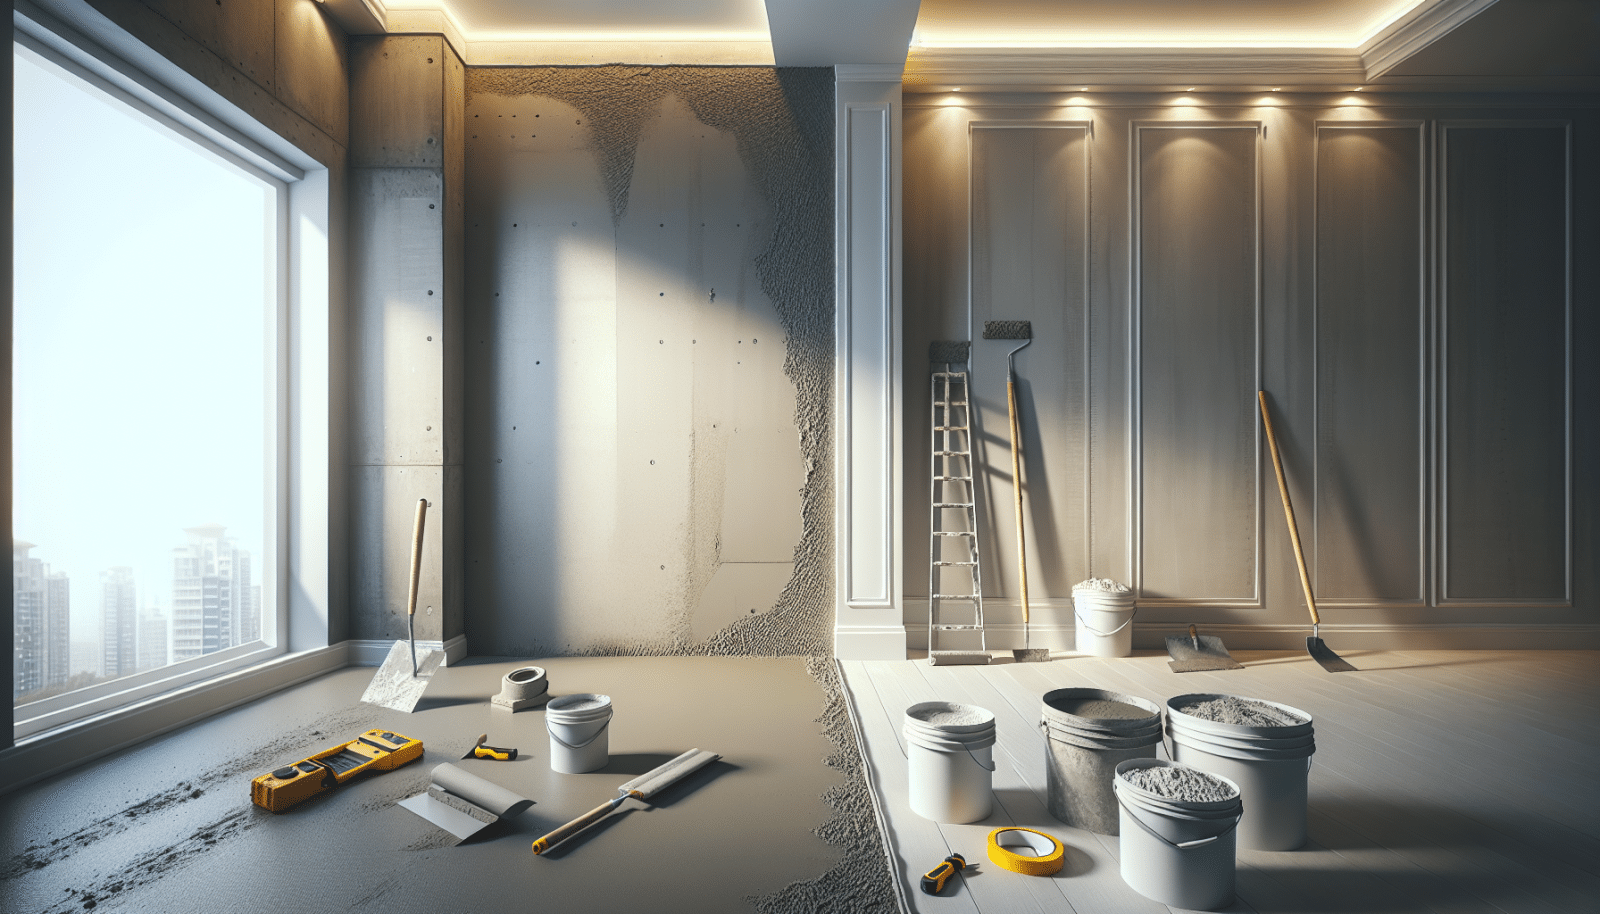
At Utah Drywall & Repair, we understand that achieving the perfect drywall finish can be a daunting task for homeowners. Uneven surfaces and visible seams are common problems for our clients. But worry not, because this blog post is here to guide you with expert tips to ensure polished perfection every time. If you’re determined to succeed in your drywall projects, you’re in the right place!
Contents
- 1 Understanding the Basics of Drywall
- 2 Prepping Your Tools and Materials
- 3 The Art of Taping and Mudding
- 4 Sanding: Patience Pays Off
- 5 Troubleshooting Common Issues
- 6 Choosing the Right Finish
- 7 The Importance of Primer
- 8 Ensuring a Professional Paint Job
- 9 Maintaining Your Drywall Finish
- 10 Call Utah Drywall & Repair Today!
Understanding the Basics of Drywall
Drywall is the canvas upon which the beauty of your home’s interior is painted. It consists of gypsum panels sandwiched between two layers of paper. While this construction makes drywall lightweight and easy to install, it does require skill to achieve a smooth, flawless finish.
Understanding the basics of drywall can ease your path to becoming a pro. Remember, it’s not just about choosing any drywall; it’s about selecting the right type for your specific needs, whether it’s moisture-resistant for bathrooms or fire-resistant for safety. Additionally, knowing how to properly cut and secure panels will set you up for success.
Prepping Your Tools and Materials
Before diving into drywall finishing, having the right tools and materials on hand is paramount. This not only streamlines the process but also significantly boosts the quality of your results.
You’ll want to equip yourself with a Taping knife, mud pan, Sanding pole, and drywall compound (commonly referred to as mud). Moreover, investing in quality tools can make a world of difference in your project’s outcome. Better tools mean less fatigue and superior finishes, so it’s worth spending a bit more upfront to save time and effort later.
The Art of Taping and Mudding
Taping and mudding are crucial steps in achieving a smooth drywall finish. Skipping or rushing through these steps is a recipe for visible seams and unsightly blemishes.
First, apply a coat of drywall compound over the joints. Then place drywall Tape over this layer and press it using your taping knife. The next stage is applying additional layers of mud to level out the surface. Smooth out each layer meticulously and allow it to dry completely before proceeding to the next. Mastering this artful process is essential to ensuring an invisible finish.
Sanding: Patience Pays Off
Sanding is where patience truly pays off in the drywall finishing process. Rushing can lead to uneven surfaces and visible ridges. Instead, approach sanding with a methodical mindset, and you’ll thank yourself later.
Start with a coarse-grit sandpaper to address any major imperfections, then switch to a finer grit for a smooth finish. Regularly check your work under bright light to spot any remaining inconsistencies. Once your walls feel smooth to the touch, you’re ready for the next step.
Troubleshooting Common Issues
Even with precise technique, problems may arise. Here are some common issues and their solutions to help you troubleshoot effectively.
- Bubbles in Tape: Ensure proper adhesion by pressing the tape firmly into the compound. If bubbles appear, slit them with a utility knife and re-mud.
- Excessive Dust: Minimize airborne dust by wet-sanding in the finishing stages. Always wear a mask for safety.
- Cracks in Corners: Use flexible corner tape and a generous amount of joint compound to prevent cracking.
- Visible Joints: Thin the compound and apply additional layers to better conceal seams.
- Uneven Texture: Keep a consistent hand when applying mud and opt for self-leveling compounds when necessary.
Choosing the Right Finish
After mastering the basics, it’s time to decide on the right finish for your walls. Each finish type offers a different aesthetic and can affect the room’s ambiance.
Flat finishes ensure a smooth, modern look but can show imperfections more easily. Conversely, textured finishes hide flaws well and can add a unique charm to the room. The choice ultimately depends on your taste, the room’s purpose, and its décor.
The Importance of Primer
Never underestimate the power of primer in drywall finishing. Primer acts as a bridge, providing a consistent base for paint or wallpaper to adhere to. Without it, even a perfect drywall finish can be marred by uneven paint absorption and color variations.
By using a high-quality primer, you ensure that all subsequent layers of paint will adhere properly and display an even color tone throughout. This step, while often overlooked, is crucial for long-lasting and professional-looking results.
Ensuring a Professional Paint Job
Once priming is complete, your walls are ready to accept paint. To achieve a professional look, it’s important to pay attention to details throughout this step.
Select high-quality paints that match your chosen finish type. Also, always use the correct brush or roller to apply paint in even coats. Painting in a “W” pattern will prevent streaks and ensure even coverage. Lastly, don’t rush; allow adequate drying time between coats to preserve the integrity of your hard work.
Maintaining Your Drywall Finish
With a perfect drywall finish in place, maintaining its pristine condition is a continuous task. It begins with regular cleaning to prevent dust build-up and promptly addressing any dings or damage that occur over time.
Small repairs can be handled with a touch-up of compound and paint, keeping the wall looking fresh. Regularly inspect your walls for signs of wear or water damage, and act quickly to mitigate issues before they become more serious.
Call Utah Drywall & Repair Today!
Ready to transform your space with the perfect drywall finish? Contact Utah Drywall & Repair at 801-406-6350 or Request a Free Quote today. Your dream walls await!


