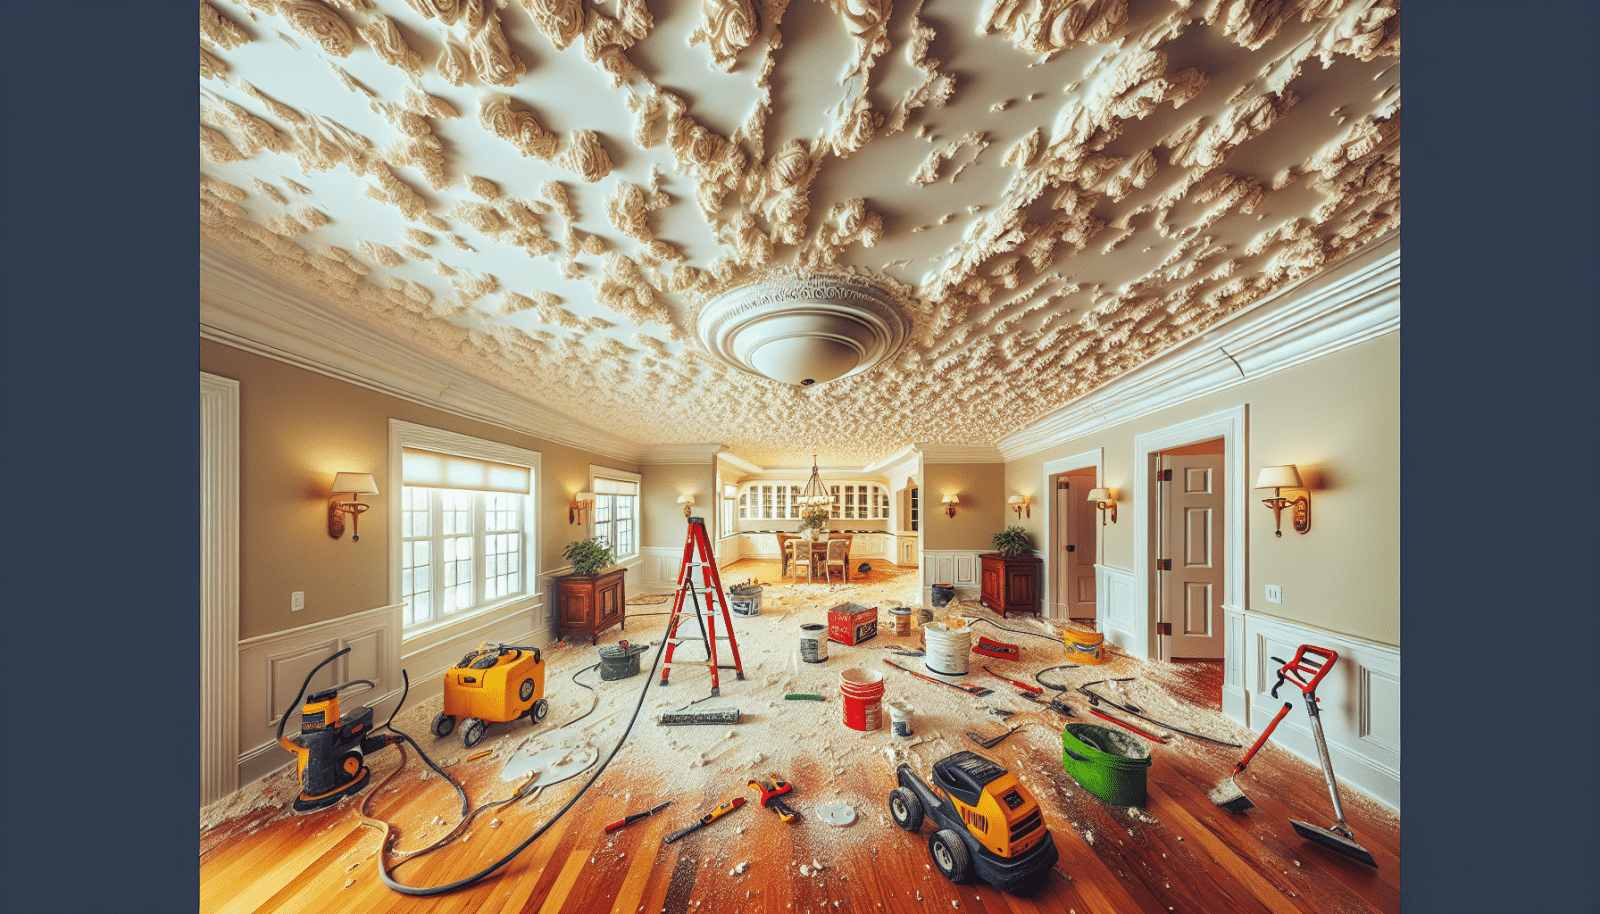
Popcorn ceilings, once a popular trend, have now become an eyesore for many homeowners. At Utah Drywall & Repair, we’re here to help transform your living space by guiding you through the popcorn Ceiling removal process. In this blog post, we’ll explore the tools you need and the techniques you can use to achieve a smooth ceiling finish. By the end, you’ll have the knowledge to confidently tackle this home improvement project, whether you’re doing it yourself or choosing to work with professionals.
Contents
- 1 Understanding Popcorn Ceilings
- 2 Tools You’ll Need for the Job
- 3 Preparing the Room
- 4 Techniques for Smooth Ceiling Removal
- 5 Dealing with Stubborn Sections
- 6 Sanding the Ceiling Smooth
- 7 Applying Joint Compound
- 8 Priming and Painting the New Ceiling
- 9 Common Mistakes to Avoid
- 10 The Choice to DIY or Hire Professionals
- 11 Final Thoughts
Understanding Popcorn Ceilings
Popcorn ceilings, also known as acoustic ceilings, were popular from the 1950s to the 1980s. They were beloved for their ability to dampen sound and hide imperfections. However, as design preferences evolved and concerns about asbestos in older applications arose, many homeowners began seeking smoother ceiling options.
Today, removing popcorn ceilings can not only modernize your home but also potentially increase its value and appeal. It’s important to note whether your popcorn ceiling contains asbestos. If your home was built before the late ’70s, professional testing might be necessary.
Tools You’ll Need for the Job
To successfully remove a popcorn ceiling, having the right tools is essential. While some items might be readily available at home, others may need to be purchased or rented. These tools ensure efficiency and safety throughout the removal process.
A ceiling scraper, putty knife, spray bottle, and utility knife will help with the scraping and smoothing phases. Beyond these, a sturdy ladder and protective gear, like safety goggles and masks, will keep you safe from falling debris and potential allergens.
Preparing the Room
Preparation is key to a successful popcorn ceiling removal. First off, remove all furniture and cover flooring with plastic or drop cloths to protect against dust and debris. Take down any light fixtures and vents to avoid damage and access the entire ceiling surface.
Seal off the room using painter’s Tape and plastic sheeting to contain the mess. This will help in easier cleanup and prevent the dust from settling in other parts of your house. Ensuring proper ventilation by opening windows and using fans is also a good practice.
Techniques for Smooth Ceiling Removal
Once your room is prepped, it’s time to get into the techniques of removing your popcorn ceiling. Begin by lightly misting a small section with water using your spray bottle. Let this sit for about 15 minutes to soften the texture.
With your ceiling scraper, gently scrape off the popcorn texture. Work in small sections, applying steady pressure to avoid damaging the underlying drywall. Patience is crucial; rushing can lead to gouged ceilings or uneven textures.
Dealing with Stubborn Sections
In some cases, you may encounter areas where the popcorn ceiling refuses to budge. For these stubborn sections, applying additional water or using a steamer can help. These methods penetrate deeper, loosening the texture for easier removal.
If difficulties persist, a utility knife or putty knife can provide extra leverage. Always exercise care, as excessive force can impact the drywall, leading to further repairs down the line.
Sanding the Ceiling Smooth
After the popcorn has been removed, your ceiling might still feel rough or uneven. Sanding is the best solution. Using a fine-grit sandpaper and a sanding pole or block, lightly sand the entire ceiling to even out any minor imperfections.
During this phase, it’s crucial to wear a mask and goggles to protect yourself from dust inhalation. Once satisfied with the smoothness, clean away leftover dust using a broom or vacuum with a brush attachment.
Applying Joint Compound
Often, removing popcorn texture reveals imperfections that need addressing. A thin layer of joint compound can help smooth out any damages or anomalies. Apply the compound using a wide putty knife, spreading an even, thin layer across the ceiling.
Allow the compound to dry completely before sanding lightly. This step may need repeating for desired results. Consistent thin layers are preferable to a thick application that could lead to unevenness and longer drying times.
Priming and Painting the New Ceiling
With a smooth ceiling surface achieved, it’s time to prime and paint. Choose a high-quality primer to ensure the paint adheres properly and enhances the final appearance. Apply the primer evenly, using a roller for large areas and a brush for edges.
Once the primer is dry, paint your ceiling with your chosen color. Consider using flat or matte paint for ceilings, as they hide imperfections better than glossier options. Now, your room will have a fresh, modern look, free from the popcorn ceiling relic of the past.
Common Mistakes to Avoid
Removing a popcorn ceiling can seem daunting, but avoiding common mistakes makes it manageable. Our experts recommend the following:
- Skipping testing: If your home was built pre-1980, test for asbestos before beginning.
- Insufficient prep: Proper room preparation prevents damage and simplifies cleanup.
- Rushing scraping: Working too quickly can damage drywall, so take your time on this step.
- Over-wetting: Saturating the ceiling can damage the drywall. Use enough water just to loosen the texture.
- Handling hazards: Always wear protective gear to avoid dust inhalation and debris contact.
The Choice to DIY or Hire Professionals
After understanding the popcorn ceiling removal process, you might wonder whether to tackle this project on your own or enlist professional help. While DIY offers cost savings and personal satisfaction, it demands time, effort, and skill.
On the other hand, hiring professionals like us at Utah Drywall & Repair brings experience, efficiency, and peace of mind. We ensure safe and thorough removal, minimizing the risk of damage and ensuring a pristine finish.
Final Thoughts
Removing popcorn ceilings can drastically enhance your home’s look and feel. It’s a rewarding project that can be tackled with the right knowledge and tools or left to professional hands for a hassle-free experience.
If you’re ready to get those outdated popcorn ceilings gone, contact Utah Drywall & Repair by phone at 801-406-6350 or Request a Free Quote.


