Thinking of tackling a drywall installation yourself? We get it, jumping into a do-it-yourself project can be intimidating, especially when drywall is involved. But fear not! Utah Drywall & Repair is here to provide you the guidance needed to make the process smooth and stress-free. Whether you’re sprucing up a single room or renovating your entire house, this blog post will arm you with the knowledge you need to hang, finish, and paint drywall like a pro at home.
Contents
Gathering Your Materials
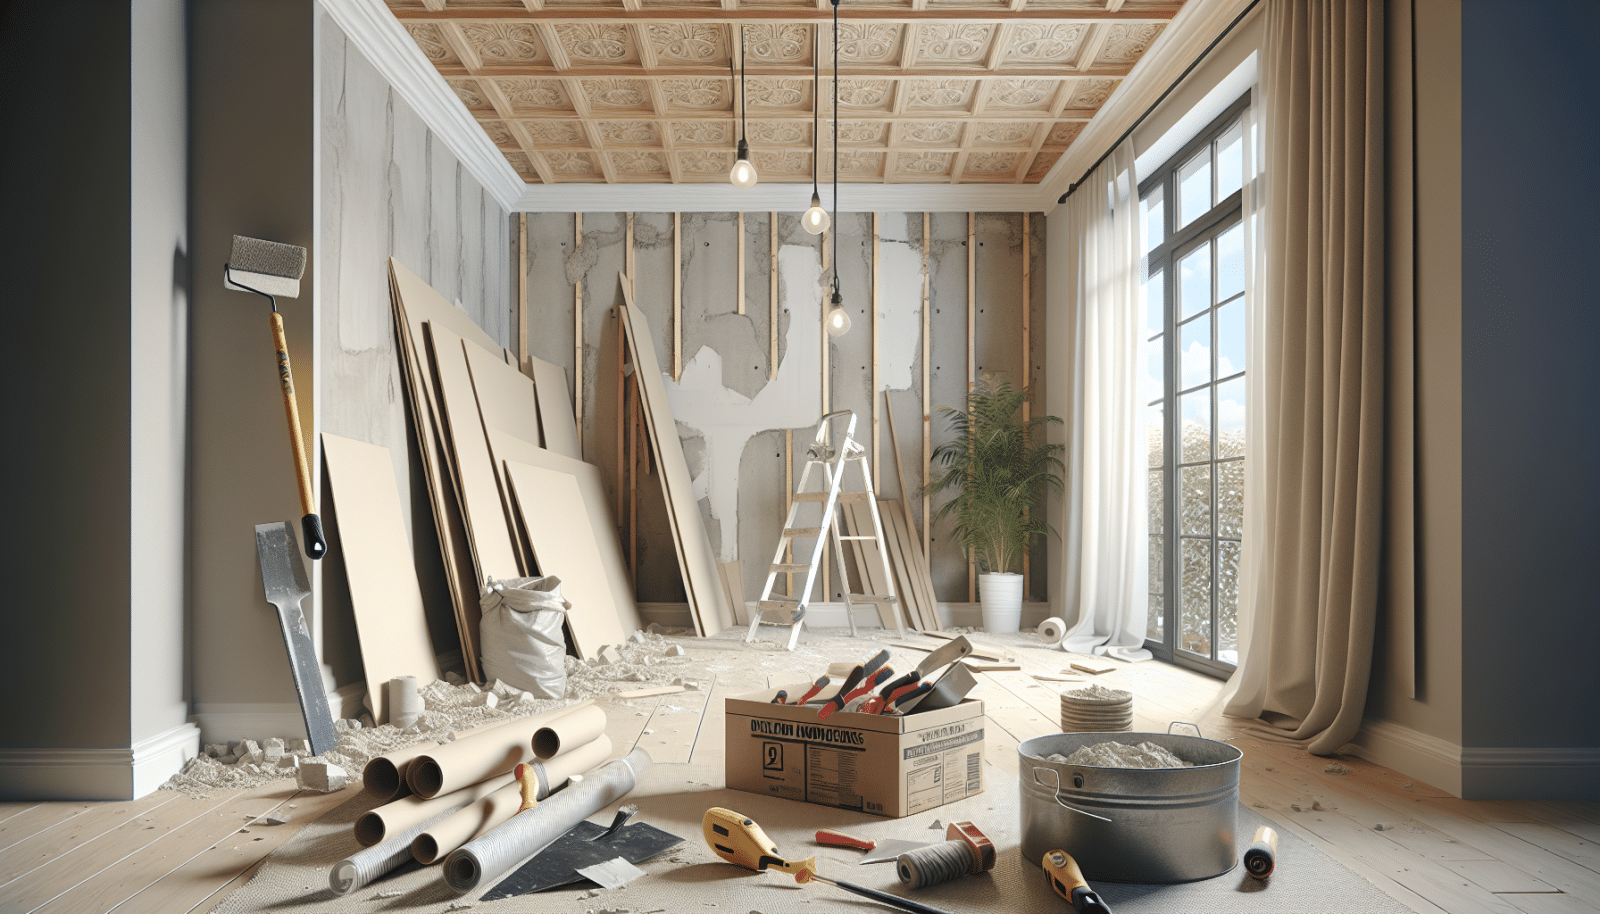
Before you dive in, assembling the right materials is crucial. A well-prepared workspace can make the difference between a breezy installation and a chaotic mess. So, roll up those sleeves and let’s get organized. You’ll need standard-size drywall panels, joint compound, drywall Tape, Taping knives, Sanding blocks, and a few more tools. Each of these plays a pivotal role in ensuring a successful drywall job. Remember, quality tools not only enhance efficiency but also elevate the finish.
While shopping, consider the thickness of the drywall panels. The standard thickness is half an inch, ideal for most interior walls, but thicker sheets are available for soundproofing or structural purposes.
Don’t forget a reliable stud finder, utility knife, drywall saw, and a screw gun. These tools will make the job seamless, so make sure they’re within reach before you begin.
Preparing the Workspace
Creating the right environment for your drywall adventure is as essential as the installation itself. Clear out the room or area you’ll be working in; having ample space is essential for maneuvering the panels. Besides, a tidy environment promotes focus and dexterity. Additionally, protect your floors with a heavy-duty tarp to keep dust and scratches at bay.
Also, assess your lighting setup. A well-lit work area not only boosts your energy but also helps you spot any imperfections in real-time during the process. Finally, check for safety gear; goggles and masks are highly recommended to shield you from dust and debris.
With the groundwork laid out, you’re one step closer to drywall success.
Measuring and Cutting Drywall Panels
Accuracy is your best friend when it comes to drywall installations. Start by measuring the wall dimensions precisely; a mistyped digit can lead to costly errors or mismatched panels. Scribble these measurements down and transcribe them onto your drywall sheets using a pencil.
To cut your drywall, firmly score along the measurement lines with a utility knife. Use a T-square or a straight edge for clean, straight cuts. With gentle pressure, snap the panel along the scored line. It’s as easy as that!
Remember, tidy cuts make for easier handling and require less effort in the following steps.
Securing Panels to the Wall
Now comes the moment of truth: securing the panels onto your walls. But don’t worry, this is where the fun begins. Using your trusty screw gun, fix the drywall into place by driving Screws into the studs you located earlier. Ensure that you start from the center and work your way to the edges, keeping the screws about eight inches apart.
Be mindful, though, to recess the screw heads slightly into the gypsum surface without breaking through it. This allows for a smooth finish when you apply compound over these areas.
Once the wall is adorned with your expertly hung panels, you’re nearly halfway there!
Applying Drywall Tape
Next up is applying tape to seal those seams. Think of it as the stitching of your drywall masterpiece. Use drywall tape to bridge gaps between panels. This is crucial for a seamless appearance and for preventing cracks.
- Choose the Tape Type: Opt between paper tape and fiberglass mesh, each with its unique benefits.
- Cut Tape to Length: Measure and cut tape segments slightly longer than the seams they’ll cover for full coverage.
- Position Tape: Center the tape over the seams and press lightly to adhere.
- Secure Tack: Use a taping knife to ensure the entire surface is smoothly bonded to the drywall.
- Prevent Bubbles: Sweep the knife along the tape to eradicate any air bubbles.
You’re doing great! Stay patient during this step, as a neat tape job is the foundation for an impeccable finish.
Smoothing with Joint Compound
It’s time to perfect your drywall’s surface using joint compound. Think of it as smoothing out the rough edges to reveal your walls’ true beauty. Begin by spreading a thin layer of compound over the taped areas and screw heads.
Use a wide taping knife for even application, ensuring to feather out the edges. This minimizes visibility once painted. Allow each coat to dry completely before adding another layer.
Typically, two or three coats achieve the desired smoothness, so don’t rush the drying times. This step is key to achieving professional-level aesthetics.
Sanding for Smoothness
Once your compound has fully dried, it’s time to sand everything to a smooth, paint-ready surface. Sanding blocks are ideal for this step, providing precise control and maneuverability.
Start with a coarser grit and gradually transition to a finer one for a flawless finish. During this process, an additional pass around corners and seams will likely be necessary to achieve an even surface.
This step might generate a good bit of dust, so make sure your mask is on tight and the area is well-ventilated!
Priming and Painting
Now comes the rewarding final touch: priming and painting your polished drywall. Opt for a high-quality primer to even out textures and ensure better paint adhesion.
Apply the primer in even layers using a roller for the bigger sections and a brush for detailed edges. Let it dry completely before you begin painting with your chosen color.
This added coat enhances color vibrancy and longevity, giving your room a fresh and polished look once complete.
Common Drywall Pitfalls
Mistakes can be part of the process, but we believe in proactively troubleshooting potential pitfalls to keep you on track. Avoid overdriving screws, which could damage the drywall panel.
There’s also a temptation to rush the compound drying process. Remember, patience is a virtue with drywall. Finally, watch out for inconsistent sanding, as any uneven areas can become eyesores when highlighted by paint.
Being aware of these common issues can help guide you toward a more successful project outcome.
Utah Drywall & Repair is Here to Help
Although DIY projects can be immensely rewarding, they can also be a challenge. If you hit a snag or prefer an expert touch, Utah Drywall & Repair is just a call or click away. Reach us by phone at 801-406-6350 or Request a Free Quote today.


