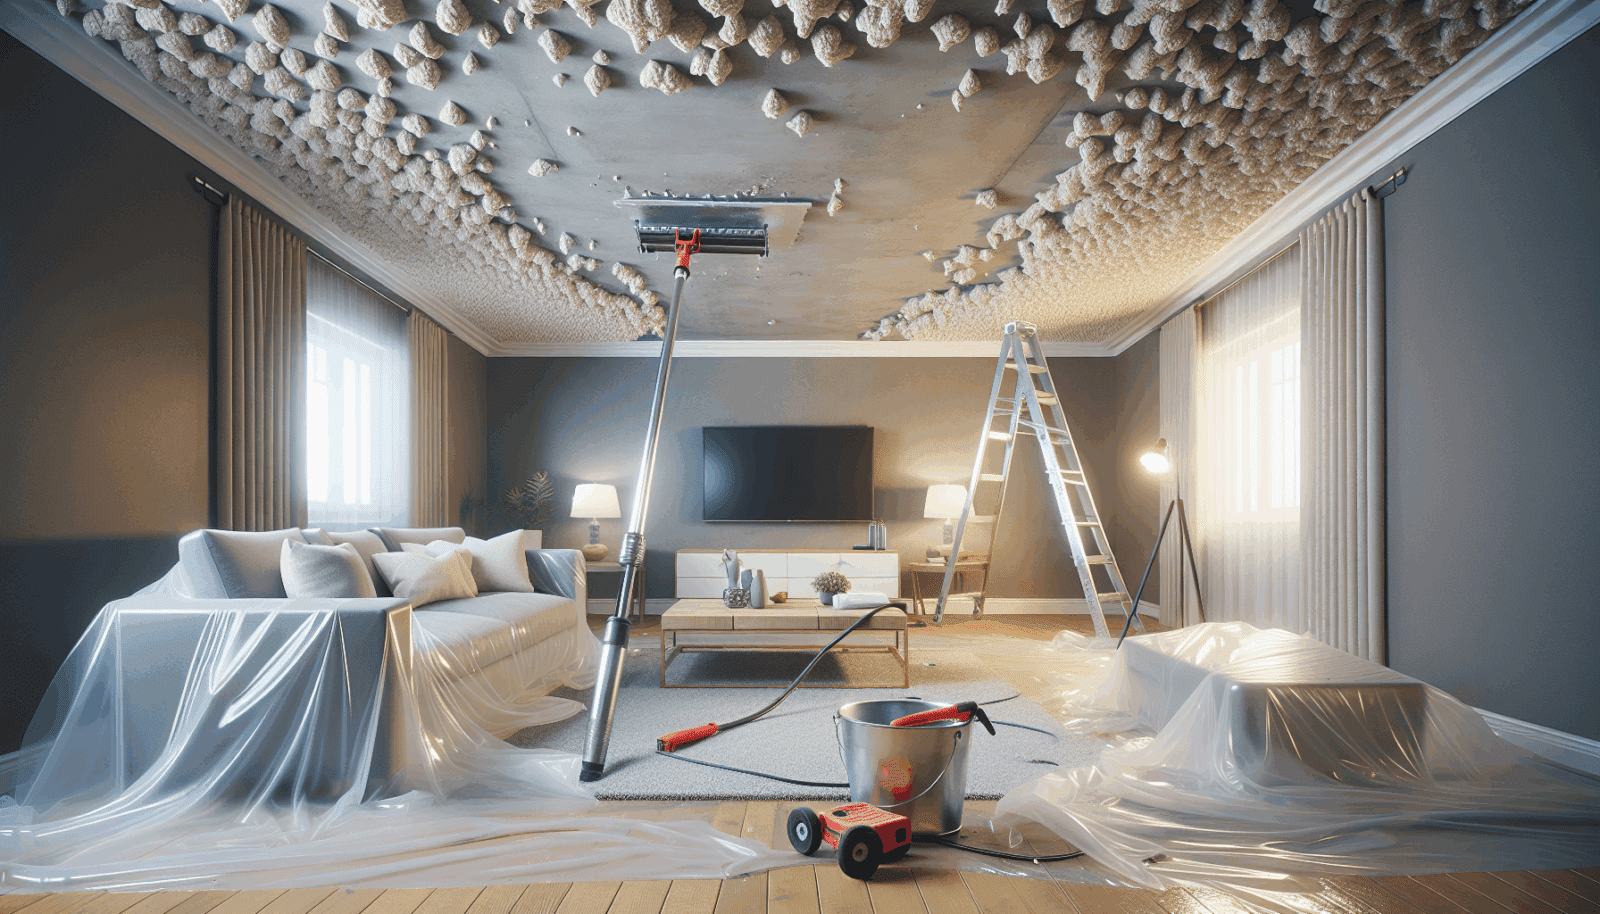
At Utah Drywall & Repair, we understand the eyesore that Popcorn ceilings can be for many homeowners. These outdated textures can detract from the beauty of your home, making it feel less modern and polished. This article will guide you through the DIY process of removing popcorn ceilings, offering expert tips and tricks for achieving a smooth finish. Whether you’re a seasoned DIYer or a first-timer, this guide will make your project easier and more efficient.
Contents
Understanding Popcorn Ceilings
Before diving into the removal process, it’s important to understand why popcorn ceilings were popular and what makes them challenging to remove. Originally, they were favored for their ability to hide imperfections and absorb sound. However, times have changed, and homeowners now seek a cleaner, more streamlined aesthetic.
The texture and materials used in popcorn ceilings can sometimes contain harmful substances like asbestos, which is why caution is necessary. In homes built before 1980, it’s advisable to test for asbestos before beginning any removal project. This step ensures safety and compliance with health regulations.
Gathering Your Tools
Embarking on your popcorn Ceiling removal journey requires the right tools. Having everything ready will save you time and make the process smoother. So, what will you need?
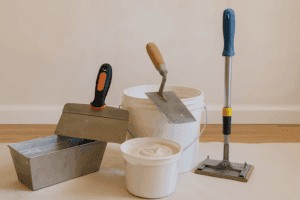
A few staple items include a putty knife or scraper, drop cloths, a spray bottle for water, and protective gear. Additionally, a ladder is essential for reaching the ceiling comfortably and safely. With these tools in hand, you’re prepared to tackle the task.
Preparation is Key
Preparation is a crucial step in ensuring successful removal. Start by clearing the room of furniture and covering the floor with drop cloths. This protection prevents damage and makes cleanup easier. Don’t forget to turn off HVAC systems to avoid dispersing dust throughout the house.
Take the time to protect any fixtures and walls. Use painter’s Tape to cover edges and secure drop cloths. Proper preparation prevents any unwanted accidents and ensures a cleaner workspace.
Testing for Asbestos
As we mentioned earlier, older homes might have ceilings that contain asbestos. Testing for asbestos is a non-negotiable step if your home was built before 1980. You can purchase a test kit or hire a professional to perform the test for you.
If asbestos is found, it’s crucial to call in professionals like us. Our expertise ensures that the hazardous material is handled safely and responsibly, protecting you and your family from potential health risks.
Removing the Popcorn Texture
Once you’re ready to begin, it’s important to work in sections. Use your spray bottle to mist the ceiling lightly—this softens the texture, making it easier to scrape off. Allow the water to soak in for about 15 minutes but be careful not to over-saturate.
With your scraper, gently remove the popcorn texture. Work methodically, starting from one corner and moving across. Patience is key here, as rushing can damage the underlying drywall, increasing your workload.
Handling Difficult Areas
Some areas may be stubborn or hard to reach. For these, persistence and a bit of creativity are required. If you’re dealing with corners, a smaller putty knife can help maneuver in tight spaces.
Should you encounter particularly tough spots, try reapplying water and allowing it to sit longer. A little extra time can make a big difference in the ease of removal.
Smoothing the Surface
Removal doesn’t end at scraping. To achieve that smooth, modern look, you’ll need to sand the ceiling. Use a pole sander or Sanding block with fine-grit sandpaper for the best results.
This step involves removing any remaining bumps or imperfections, providing a polished surface ready for Painting. Ensure you wear a mask to protect from dust inhalation during this process.
Repair and Prime
Once sanding is complete, inspect the ceiling for any damaged areas that need repair. Use joint compound to fill in cracks or holes. Smooth it out with a putty knife and let it dry completely before proceeding.
After repairs, priming is essential to ensure your new paint adheres properly and looks consistent. Choose a high-quality primer that suits your paint type, and apply it evenly across the ceiling.
Painting or Texturing
Now comes the fun part—deciding on your ceiling’s new look. A fresh coat of paint can transform the room, offering a clean and contemporary vibe. Alternatively, you may opt for a new texture if you prefer a little more character.
Either choice requires quality materials and tools. Take your time with this final step, and your ceiling will look like new, enhancing the entire room’s aesthetic.
Enjoy Your New Ceiling
Congratulations! You’ve successfully tackled the popcorn ceiling removal, and now your space feels refreshed and modernized. Enjoy the fruits of your labor, and relish the improved aesthetic of your home.
If you ever need assistance or have questions, our team at Utah Drywall & Repair is here to help. Let us know how we can support your home improvement journey!
Professional Help is Available
While DIY can be fulfilling, remember professional help is just a call away. If the project seems overwhelming or you discover asbestos, reach out immediately for expert assistance.
At Utah Drywall & Repair, we’re equipped to handle any drywall challenges efficiently and safely. Let us bring your vision to life with ease.
Conclusion
We hope our guide has empowered you with the confidence to handle your popcorn ceiling removal. For expert support, don’t hesitate to Contact Us by phone # 801-406-6350 or Request a Free Quote.


