Mastering drywall installation can seem daunting for homeowners. With Utah Drywall & Repair, you’ll unlock techniques to achieve a flawless finish. Whether you’re new to DIY or seasoned, our guidance will equip you with the necessary skills. Dive into expert tips and tricks that turn drywall into a DIY dream.
Contents
- 1 Understanding the Basics of Drywall
- 2 Essential Tools for Drywall Installation
- 3 Preparing Your Workspace
- 4 Measuring and Cutting Drywall Sheets
- 5 Hanging Drywall Like a Pro
- 6 Taping and Mudding: Achieving Smooth Seams
- 7 Sanding for a Flawless Surface
- 8 Prime and Paint: Finishing Touches
- 9 Common Mistakes to Avoid
- 10 Wrapping Up Your DIY Project
Understanding the Basics of Drywall
Drywall, also known as gypsum board, is a staple in modern construction. It’s affordable, versatile, and creates smooth walls and ceilings quickly. Knowing its components can help you choose the right type for your project.
Understanding drywall types is crucial. Regular drywall is great for most spaces, while moisture-resistant options are perfect for bathrooms. Soundproof and fire-resistant varieties offer additional benefits. Selecting the right type sets the stage for a successful installation.
Essential Tools for Drywall Installation
To achieve that pristine finish, start by gathering all necessary tools. Having everything on hand keeps the process smooth and efficient.
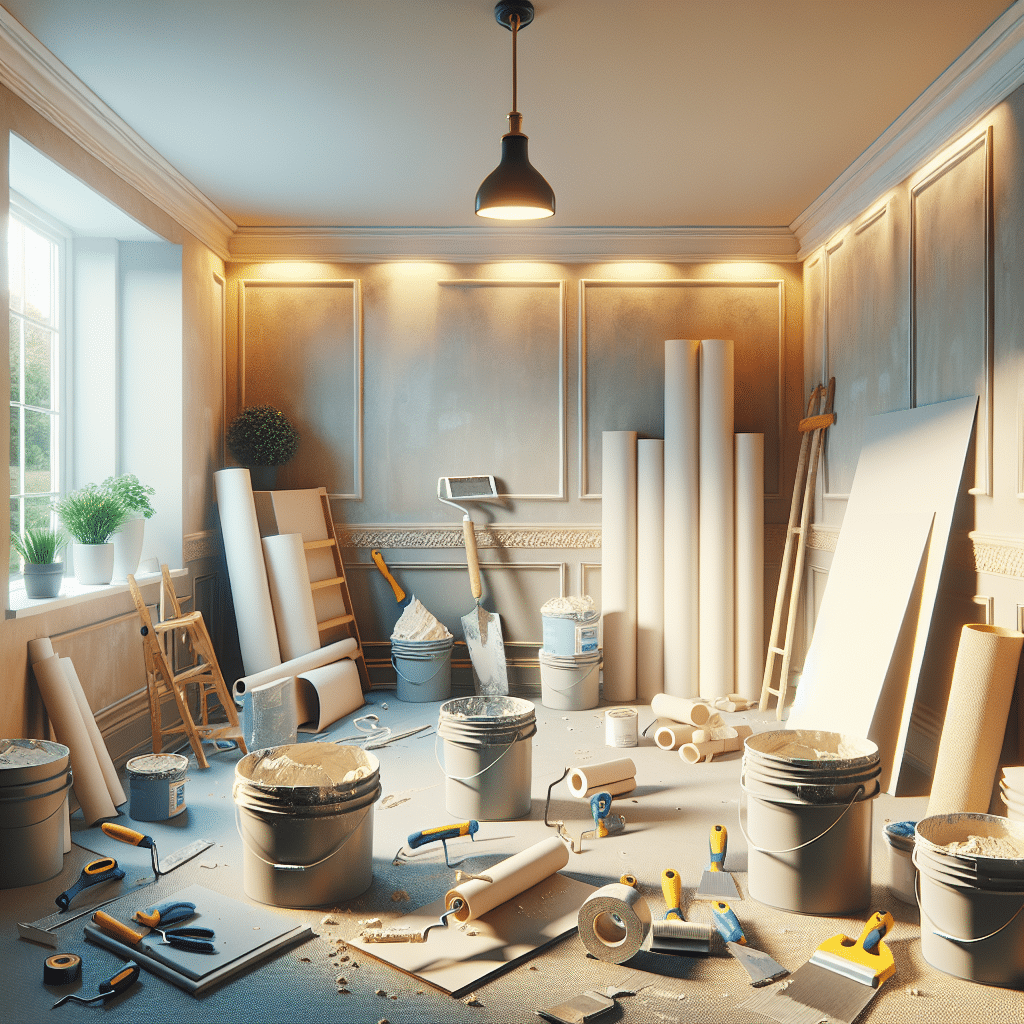
Invest in quality drywall tools. A drywall knife, T-square, and Taping knives are essential. A Sanding pole, drill, and utility knife are also crucial. With these tools, you’ll be well-equipped for any drywall challenge.
Preparing Your Workspace
Before you dive into installation, proper preparation is key. Taking time to set up makes your work cleaner and easier.
Clear the area, ensuring there’s room to maneuver sheets. Cover floors and furniture with drop cloths to protect from dust and debris. Good lighting is also critical for visibility, so set up extra lamps if needed.
Measuring and Cutting Drywall Sheets
Accuracy is vital in drywall installation. Proper measurements prevent wasted material and ensure a snug fit.
Measure walls carefully, marking dimensions on the drywall. Use a T-square to guide your cutting. With a steady hand and a utility knife, score the paper layer and snap the sheet for a clean cut.
Hanging Drywall Like a Pro
Once your pieces are ready, it’s time to hang them. This part of the process is where your DIY skills shine.
Start by Screwing the drywall into place, beginning at the Ceiling and moving to the walls. Secure sheets to studs with drywall Screws. Space them evenly for stability. This method prevents sagging and creates a solid base.
Taping and Mudding: Achieving Smooth Seams
Taping and mudding are essential for a seamless finish. It might seem challenging, but practice makes perfect.
Apply joint Tape over seams. Then, use taping knives to spread joint compound thinly over the tape. Feather the edges to blend with the drywall. This step smooths transitions and hides joints effectively.
Sanding for a Flawless Surface
Sanding might be dusty, but it’s worth the effort. This step creates the smooth surface your walls deserve.
Once the compound is dry, sand the area with a sanding pole. Focus on achieving an even texture without gouging the surface. Patience here will bring out professional-looking results.
Prime and Paint: Finishing Touches
With a smooth surface ready, it’s time for priming and Painting. These final layers complete your drywall masterpiece.
Start with a high-quality primer to seal the drywall. Once dry, apply your chosen paint color. Primer ensures even paint absorption, providing a uniform finish that stands out.
Common Mistakes to Avoid
Avoid these pitfalls to ensure success. Experience helps identify what not to do.
- Skipping Preparation: Neglecting setup can lead to damaged surroundings and frustration.
- Improper Cutting: Inaccurate cuts waste material and cause fitting issues.
- Over-Screwing: Too many screws can damage drywall and create weaknesses.
- Poor Taping Technique: Failing to feather edges results in visible seams.
- Naming: Skipping sanding leaves a rough finish, undermining the entire project.
Wrapping Up Your DIY Project
With these tips, your drywall installation becomes manageable. Practice, patience, and proper technique make all the difference. Should you ever need assistance, Utah Drywall & Repair is here to help. Contact Us by phone # 801-406-6350 or Request a Free Quote.


