Drywall installation can seem daunting to homeowners looking to upgrade or repair their homes. At Utah Drywall & Repair, we understand the challenges you might face. That’s why we’re here to offer expert tips for achieving that flawless finish you’re dreaming of. Whether you’re in Salt Lake, Davis, or Utah County, this guide is designed to help you tackle your drywall project with confidence.
Contents
Choosing the Right Drywall
Before diving into your project, selecting the appropriate type of drywall is crucial. There are various types available, including standard, moisture-resistant, and fire-resistant. Each type serves a specific purpose, and the choice depends on the room’s intended use. For example, moisture-resistant drywall is ideal for bathrooms and basements to prevent mold growth.
Additionally, consider the thickness needed for your project. The most common thicknesses are 1/4 inch for curved surfaces, 3/8 inch for repair projects, and 1/2 inch for most walls and ceilings. For higher durability, especially in garages, 5/8 inch drywall is recommended.
Preparing Your Workspace
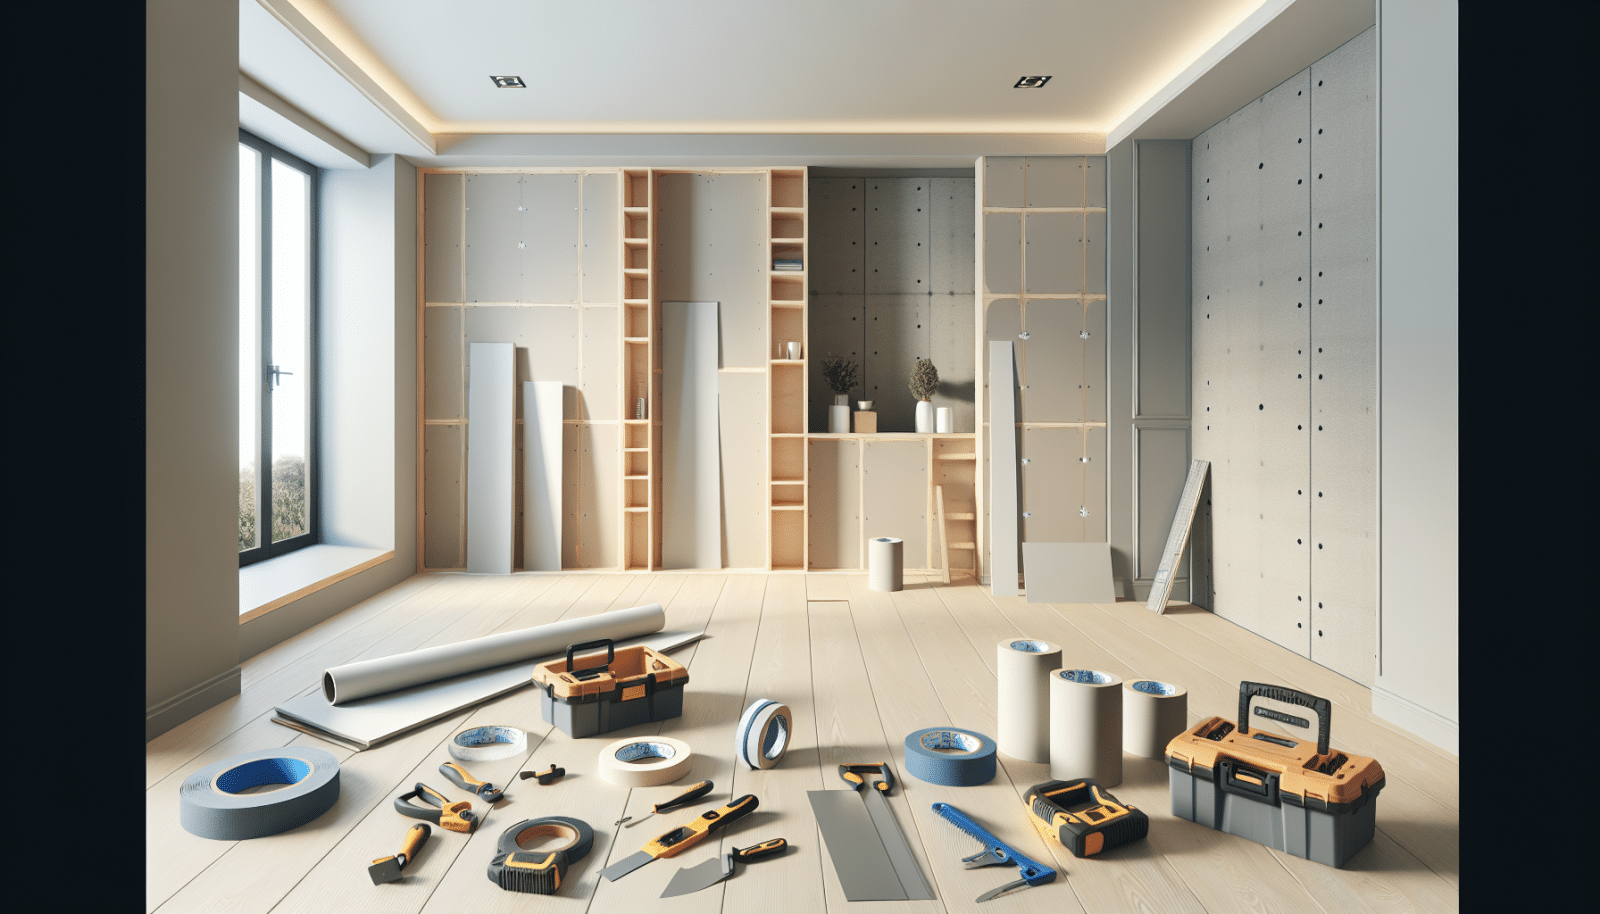
Proper preparation of your workspace can significantly impact the ease and success of your drywall installation. Start by clearing the area of furniture and any other obstructions. This not only provides you with ample space to work but also helps protect your belongings from dust and damage.
Next, you’ll want to ensure the framing is ready for the drywall panels. Check for any protruding nails or Screws and ensure the studs are properly aligned. Any irregularities in the framing can lead to challenges when Hanging your drywall, so addressing these issues beforehand is essential.
Measuring and Cutting Drywall
Accurate measurements and cuts are key to a flawless drywall installation. Always measure twice and cut once to avoid waste and ensure pieces fit perfectly. Use a T-square and utility knife for straight, precise cuts. For cutouts around electrical boxes or fixtures, measure carefully and use a drywall saw for more intricate cuts.
Remember, it’s better to cut a piece slightly larger and then trim down to the perfect size than to cut too small and waste material. This approach requires a bit of patience but leads to a more professional-looking finish.
Securing Drywall Panels
Hanging the drywall panels properly is critical to a smooth finish. Start at the top corner of your wall and work your way down. Use drywall screws to secure the panels to the studs, ensuring that screws are slightly recessed into the drywall but not so deep that they break through the paper surface.
It’s also important to stagger the seams between panels to add strength to the wall and reduce the risk of cracking. This technique, known as staggering, involves offsetting each row of panels so that the seams do not line up vertically. This method requires careful planning but is crucial for durability.
Mudding and Taping for a Seamless Look
Once your panels are up, the next step is mudding and taping the seams to create a seamless appearance. Start by applying a thin layer of joint compound (mud) along each seam. Immediately press a piece of drywall Tape into the wet mud, smoothing it out to remove any air bubbles.
After the tape is in place, apply another layer of mud over the tape, using a wide drywall knife to smooth it out. Allow it to dry thoroughly before applying additional coats. Sanding between coats is essential for a smooth, finished surface, but keep sanding to a minimum to prevent damaging the tape.
Sanding Techniques
- Use Fine Grit Sandpaper: Opt for fine-grit sandpaper to prevent gouging the surface. Coarse sandpaper can remove too much material, leading to more work in the long run.
- Maintain Even Pressure: When sanding, apply even pressure across the surface. Uneven pressure can create dips and highs that are noticeable after Painting.
- Sand in a Circular Motion: A circular motion helps to blend the compound smoothly with the surrounding drywall surface. This technique is especially helpful for feathering the edges of your mud work.
- Use a Sanding Block: A sanding block can help distribute pressure more evenly than sanding with your hand alone and helps achieve a more uniform surface.
- Minimize Dust: Drywall dust can be hazardous to your health and difficult to clean up. Sand lightly and consider using a damp sponge for final touch-ups to reduce dust.
Priming Your Walls
Primer is essential for a flawless finish as it prepares the drywall surface for painting. It seals the mud and drywall, preventing paint from soaking in unevenly. Be sure to use a high-quality primer designed for drywall, applying it with a roller for even coverage.
Allow the primer to dry completely before moving on to painting. Skipping this step or rushing the drying process can lead to disappointing results, including blotchy paint or visible seams.
Choosing the Right Paint
Not all paints are created equal, especially when it comes to drywall. Flat or matte finishes are generally more forgiving on drywall surfaces, hiding minor imperfections. However, if washability is a priority, you might opt for a satin or semi-gloss finish in areas like kitchens and bathrooms.
When selecting paint, also consider the overall look and feel you want for the room. Light colors can make small spaces feel larger, while warmer tones create a cozy atmosphere. Always invest in quality paint for durability and the best finish.
The Final Inspection
Once your paint has dried, take the time to thoroughly inspect your work. Look for any missed spots, uneven seams, or other imperfections. It’s much easier to touch up these areas now than after you’ve moved furniture back into the room or started using the space again.
If you find any areas that need additional work, don’t be discouraged. Drywall installation and finishing are skills that improve with practice. Tackling these touch-ups with patience and attention to detail will ensure your project looks professional and polished.
Let Us Help You
If the thought of installing drywall yourself still feels overwhelming, we’re here to help. Utah Drywall & Repair has the expertise and experience to ensure your project is completed to the highest standards. For assistance, give us a call at 801-406-6350 or Request a Free Quote. Your flawless finish awaits!


