Utah Drywall & Repair is here to help you tackle plasterboard fixing. This essential task can be daunting for homeowners. However, with the right tools and techniques, it can be a breeze. Read on to discover how we can make this job easier for you.
Contents
Understanding Plasterboard
Plasterboard, also known as drywall, is a key component in modern construction. It’s essential for creating smooth, paintable surfaces. Understanding its composition and uses can help you get the best results.
Plasterboard consists of a gypsum core sandwiched between two sheets of paper. This makes it both lightweight and durable. It’s commonly used to create walls and ceilings, offering a quick solution for finishing interior spaces.
By understanding how plasterboard works, you’ll be more confident in handling it. It’s an incredibly versatile material, but it requires proper techniques to ensure a flawless finish.
Choosing the Right Tools
Having the proper tools is crucial for successful plasterboard fixing. Without them, you’ll encounter unnecessary challenges.
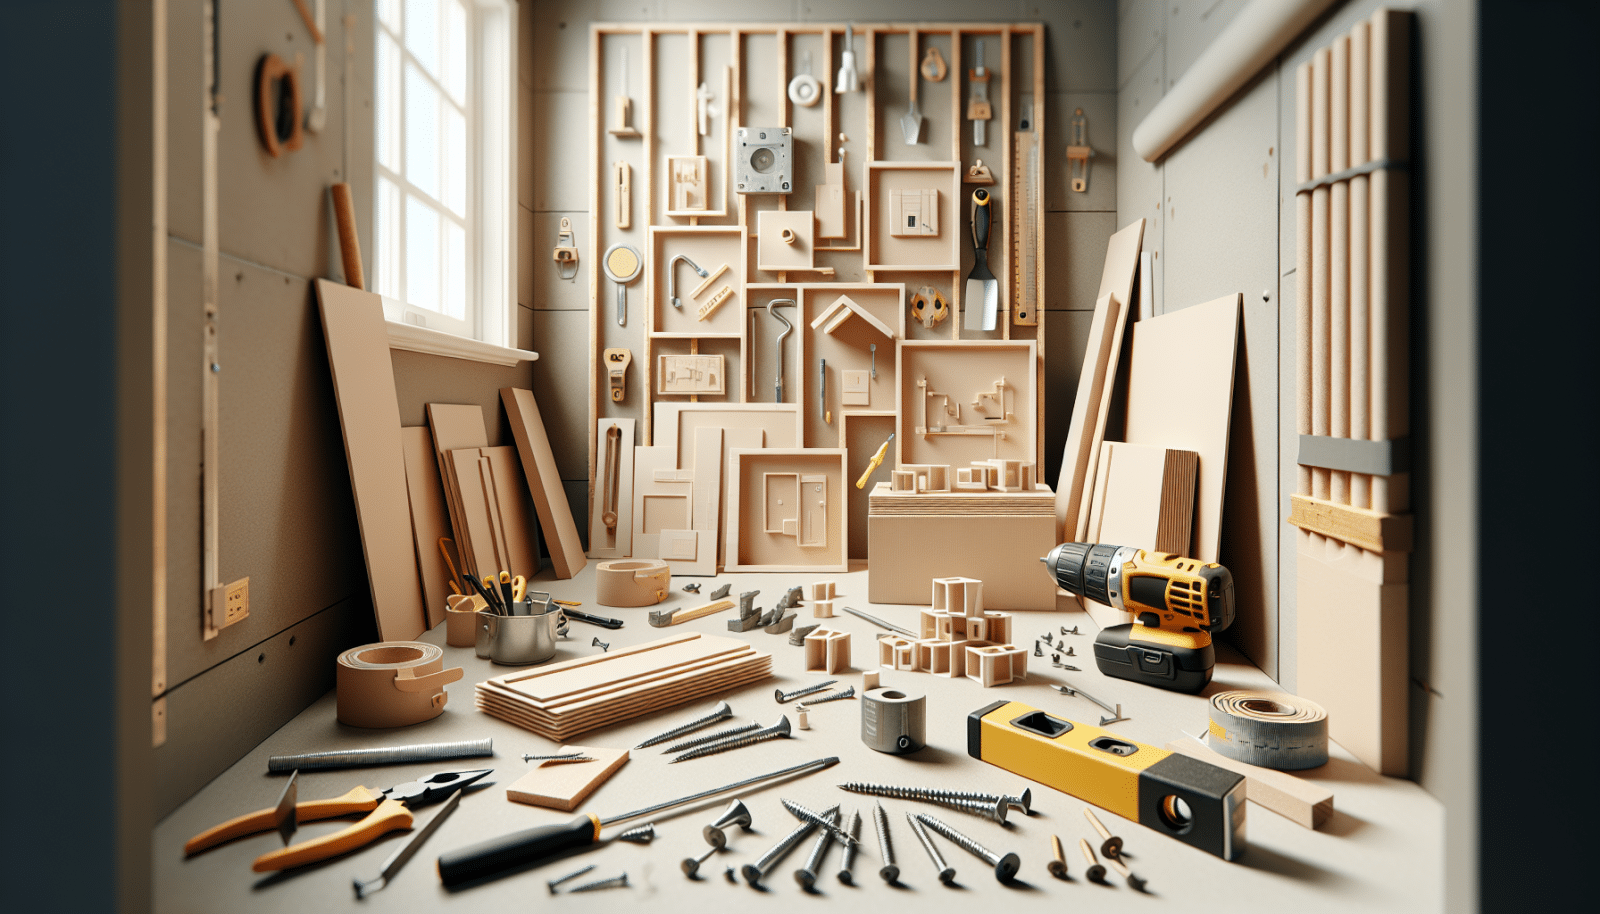
First on the list is a utility knife. This tool is fundamental for cutting plasterboard to the desired size. It’s sharp and precise, making the job quicker and safer.
Also, don’t forget about a screwdriver or drill. These are necessary for securing Screws into the plasterboard and the studs behind it. Ensure you have a dependable level, too, to keep your work straight and even.
Preparing the Surface
Preparation is the foundation of any successful plasterboard project. Skipping this step will lead to poor results.
Begin by cleaning the area where the plasterboard will be installed. Remove any debris, dust, or old plasterboard pieces. This ensures a smooth surface for adhesion.
Next, measure the wall or Ceiling accurately. Mark the studs and ensure they are level. This guarantees that your new plasterboard will be securely fastened and perfectly aligned.
Cutting Plasterboard
Cutting plasterboard might seem intimidating, but it’s manageable with a few simple steps. Precision and patience are your best friends here.
Using a utility knife, score the plasterboard where you need to cut. Make sure your lines are straight and measured correctly. Apply even pressure to avoid jagged edges.
Once scored, snap the board along the line. For thicker sections, you might need to use your knife to cut through completely. Sand down any rough edges for a clean finish.
Securing the Plasterboard
Fastening plasterboard securely is vital to preventing future issues such as cracks or sagging.
Start by placing the plasterboard against the wall or ceiling. Insert screws into the studs, spacing them about 12 inches apart. Make sure each screw is slightly recessed but not puncturing the paper surface.
Using a screwdriver or drill, ensure the screws are tight but not overdriven. Overdriving can damage the plasterboard and weaken the structure.
Sealing Joints and Edges
Sealing joints and edges gives your plasterboard installation a seamless look. This step is essential for a professional finish.
Apply joint Tape along the seams where two plasterboard panels meet. This reinforces the joint and prevents cracks. Be sure to press down firmly to eliminate bubbles.
Next, use joint compound to cover the tape and screws. Smooth it out with a drywall knife, feathering the edges to blend with the board. Allow it to dry before Sanding smooth.
Sanding and Finishing
Sanding is key to achieving a smooth surface ready for Painting or wallpapering. Always wear a mask to protect yourself from dust.
Once the joint compound is dry, use fine sandpaper to smooth the surface. Take your time to avoid creating dips or uneven areas.
After sanding, wipe down the area to remove any residual dust. Your plasterboard is now ready for the final touches, whether that’s painting, wallpapering, or another finish.
Common Mistakes to Avoid
Even with the best intentions, mistakes can happen. Being aware of common pitfalls can help you avoid them.
- Overdriving Screws: This weakens the plasterboard and can cause cracks or holes. Always recess screws slightly without breaking the paper surface.
- Ignoring Safety Gear: Dust and sharp tools are hazardous. Always wear protective gear like masks and gloves.
- Poor Surface Preparation: Skipping the prep work results in uneven surfaces and adhesion issues. Clean and measure carefully for best results.
- Rushing the Job: Each step requires time and attention. Rushing leads to mistakes and subpar finishes.
- Incorrect Measurements: Always measure twice to cut once. Accurate measurements prevent material waste and poor fit.
Professional Help
We understand that DIY may not be for everyone. If you’re feeling overwhelmed, professional help is always an option.
Hiring experts like Utah Drywall & Repair ensures that the job is done correctly and efficiently. We have the experience and tools to handle any size project.
Don’t hesitate to reach out if you need advice or a helping hand. We’re here to make your plasterboard fixing hassle-free.
Conclusion
Now that you’ve learned the essential tools and techniques for plasterboard fixing, you’re ready to tackle your next project with confidence. Proper preparation and execution are key to achieving a flawless finish.
For professional assistance, Contact Us by phone # 801-406-6350 or Request a Free Quote.


