At Utah Drywall & Repair, we understand that achieving professional-grade results with drywall Mudding can seem daunting. Uneven surfaces and unsightly seams are common issues that homeowners face, often leaving them frustrated. But fear not, because we’re here to help! In this article, discover step-by-step guidance to transform your mudding skills from amateur to expert, all with a little patience and practice.
Contents
Understanding the Basics of Drywall Mudding
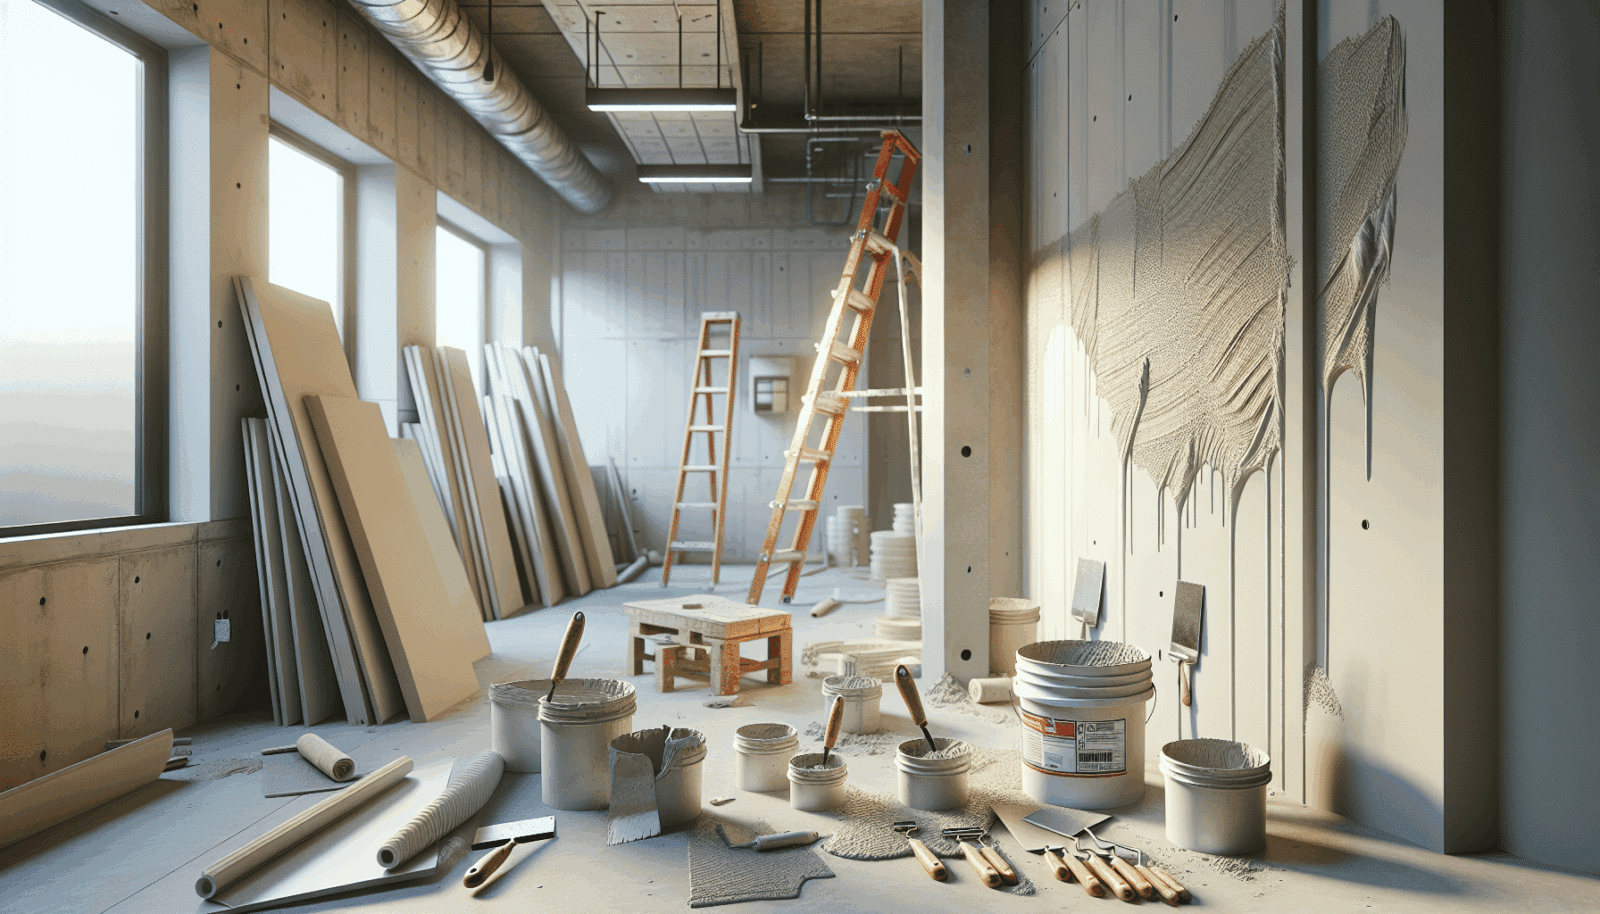
Mudding, often known as Taping, is the process of applying joint compound to drywall seams and Screws. It’s an essential step in achieving a smooth, flawless finish. Proper mudding ensures your walls are ready for Painting and improve the overall aesthetic of your home.
For homeowners, getting a grip on the basics is crucial. This involves knowing your products, tools, and techniques. Each component plays a significant role in the outcome of your project, so let’s dive a little deeper into what you’ll need to succeed.
Tools and Materials You’ll Need
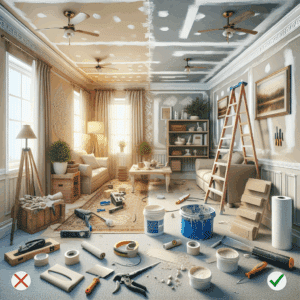
Before you start, having the right tools and materials is vital. These items not only make the job easier but also ensure a smoother finish:
- Drywall Knives: Comes in various sizes; ideal for applying and smoothing mud over seams.
- Mud Pan: Convenient for holding and mixing your joint compound during the work.
- Joint Compound: The essential element for filling and sealing joints—available in different types.
- Sandpaper or Sanding Sponge: Critical for smoothing the dried mud to ensure a perfect finish.
- Taping Knife: Used specifically for embedding Tape into the joint compound.
Choosing the Right Joint Compound
Not all joint compounds are created equal, and choosing the right one can greatly impact your results. There are three main types: all-purpose, lightweight, and setting compound. Each type serves a unique purpose and function.
All-purpose compound is versatile and great for beginners, while lightweight compound offers easier sanding. For quick-drying and tougher applications, setting compound is your go-to. Select the one that fits your project requirements and skill level.
Step-by-Step Mudding Process
Approaching drywall mudding with a detailed plan is the secret to success. Here’s a streamlined process to guide you:
Start with applying tape over seams. Use your taping knife to ensure it’s securely adhered. Follow with a thin layer of joint compound. Each coat should dry completely before sanding and applying the next. A standard project often requires three coats for a professional-grade finish.
Mastering the Technique
The application technique is an art in itself. Aim for thin, even layers, applied with steady hands. Overlapping strokes minimize visible lines and improve the overall appearance.
When sanding, be gentle to avoid removing too much material. Sanding sponges allow for better control, particularly around edges and corners, ensuring a seamless look.
Troubleshooting Common Issues
Common mudding problems include bubbles, cracks, and uneven surfaces. Bubbles often occur due to air trapped under the tape or the compound being too thick; ensure even and thin applications to prevent this.
Cracks may result from inadequate drying time or insufficient compound layers. Take your time and layer appropriately. Sand down any uneven surfaces and reapply compound as needed to perfect the finish.
Safety Precautions
Safety should always be a priority during any DIY project. Therefore, utilize protective equipment such as goggles and masks to prevent inhalation of dust.
Keep your work area ventilated during sanding to reduce airborne particles. These simple steps can keep your home and health safe while ensuring a successful project.
Finishing Touches
With the mudding complete, the final touches can make a big difference. Inspect surfaces for consistency and uniformity. Touch up any missed spots or imperfections before moving on to paint.
Priming the walls is the next step to enhance paint adhesion. This small effort contributes to long-lasting and visually appealing results that you can proudly display.
When to Call the Professionals
While many enjoy the satisfaction of DIY projects, sometimes it’s best to call in the pros. Large-scale projects, intricate designs, or time constraints often necessitate expert involvement for a flawless finish.
Our team at Utah Drywall & Repair is just a call away, ready to assist with all your drywall needs and ensure a smooth, professional outcome.
Conclusion
Ready to tackle your drywall mudding with confidence? Follow these steps for a professional finish, or reach out to our experts for assistance. Contact Us today at 801-406-6350 or Request a Free Quote. Let’s make your walls the best they can be!


