Applying a skim coat to your walls might seem like a daunting task. It can be tricky to achieve that professional finish if you’re not sure where to start. That’s why we’re here to help, by guiding you through this process step-by-step so you can turn those rough and uneven surfaces into smooth masterpieces. Whether you’re a DIY enthusiast or a homeowner wanting to learn more before hiring help, this guide from Utah Drywall & Repair is just for you.
Contents
Understanding Skim Coating
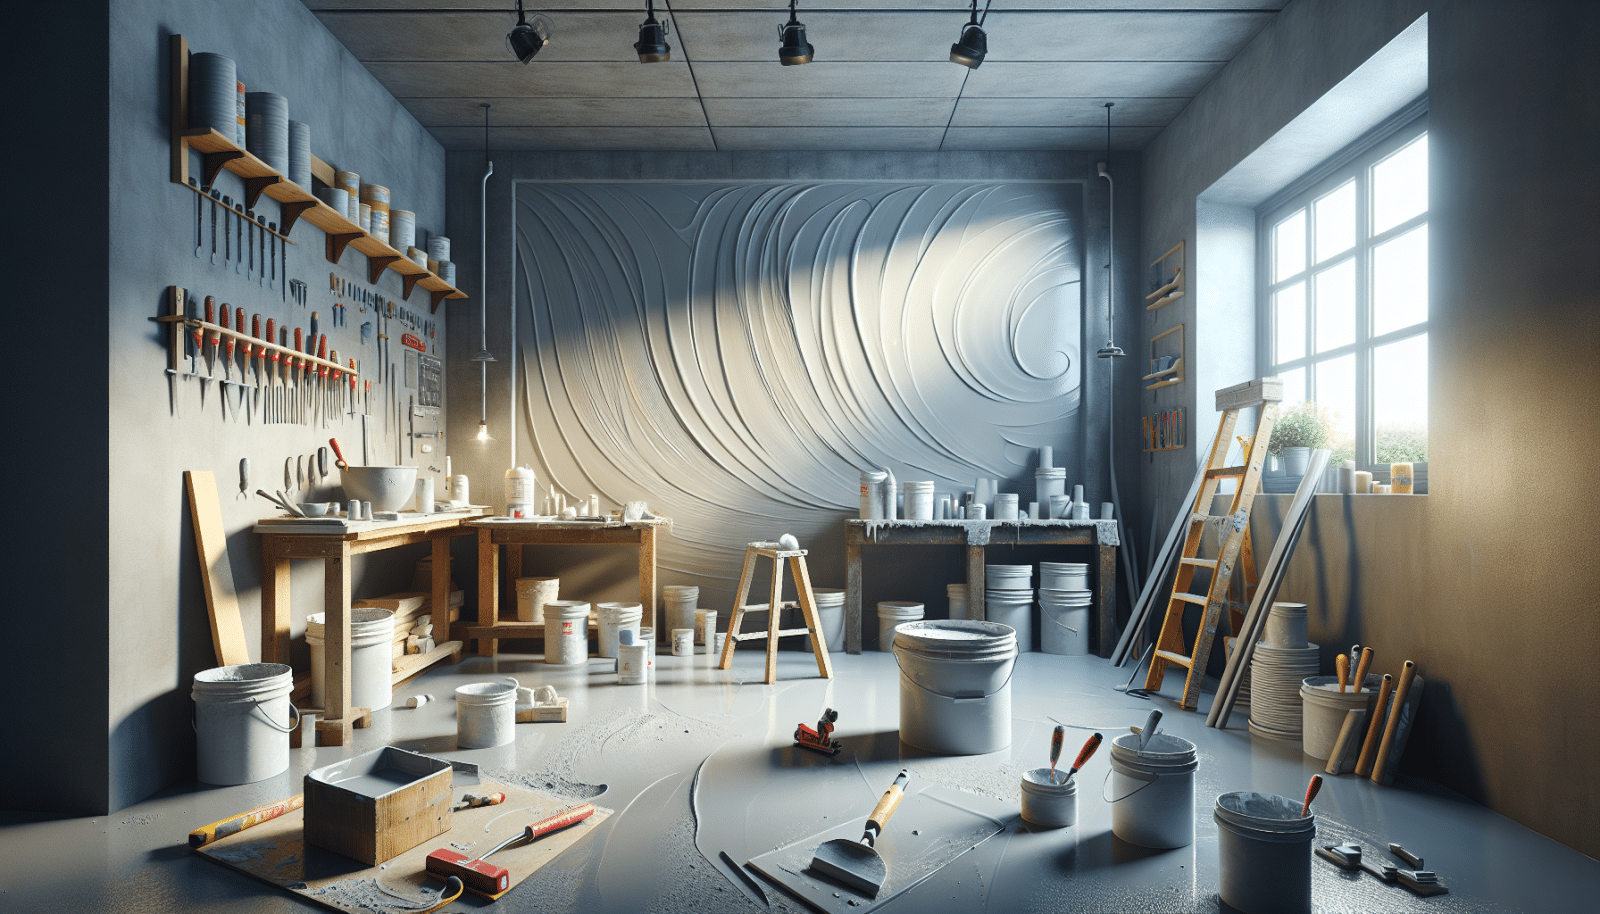
Skim coating is a technique used to smooth out wall surfaces by applying a thin layer of joint compound. It’s a great solution for covering up imperfections like bumps, dents, or textured surfaces. By the end of this process, your walls will have a smooth, ready-to-paint finish. It’s an essential step if you want your paint job to look even and professional.
At Utah Drywall & Repair, we often recommend skim coating if your walls look a little worse for wear or if you’re planning on switching to a different finish. Skim coating can create an incredibly sleek look that primes your walls for a fresh coat of paint. Plus, it’s a great way to prepare walls that have seen multiple layers of paint or wallpaper.
Gathering Your Tools and Materials
Before diving into any project, you need the right tools at hand. Having proper tools not only makes the task easier but also ensures better results.
For skim coating, you’ll need a joint compound, a mud pan, a Taping knife, and sandpaper. These are your must-haves for a smooth application. Adding a pole sander, a dust mask, and a ladder to that list will make the job more convenient and safe.
Being well-prepared will clear many hurdles out of your way before they have the chance to trip you up. So, make sure you gather your tools before you switch into working mode.
Preparing Your Walls
Preparation is crucial and can impact the final result of your skim coating project. Start by ensuring that your walls are clean and free of dust. If there’s any old paint flaking off, take a scraper and remove those parts.
Walls should be dry before you apply the coat. To ensure adhesion, a primer is highly recommended. Applying a layer of primer can make the process smoother and is particularly useful if you are dealing with water damage or irregular surfaces.
Mixing the Joint Compound
The joint compound often comes in a premixed form, but sometimes it needs a little stirring to achieve the right consistency.
Grab a sturdy mixing paddle and use it to stir the compound until you have a smooth, lump-free texture. It should feel like thick cake batter. If it’s too thick, add a little water, but be careful not to overdo it; you don’t want the compound too runny or too thick.
Applying the Skim Coat
Applying a skim coat involves spreading the joint compound over the entire surface of your wall in a thin, even layer. Begin by using a taping knife to scoop the compound from your mud pan.
As you hold the knife at about a 30-degree angle, gently apply the compound from top to bottom in vertical strokes. Ensure your pressure is balanced; too much pressure could remove too much compound, whereas too little might leave it too thick. It’s a bit like spreading butter on toast; you want to aim for consistency.
First Layer Fundamentals
The first coat is always the most essential, as it lays down the groundwork for what follows.
Keep this initial layer thin; it acts as a base and gives subsequent layers something to cling to. Pay close attention to corners and edges, which often require a bit more finesse. It’s fine if you see lines or streaks after this first coat—they’ll get resolved in subsequent layers.
Applying Multiple Layers
To achieve a truly smooth surface, multiple layers of skim coating are often necessary.
Allow the first coat to dry completely before adding a second layer. This drying period is crucial as applying a new layer to a wet one can result in uneven Texturing. When the first layer is dry, lightly sand the surface before applying the next coat. This helps in removing any ridges or bumps.
Sanding the Surface
When your final coat dries, it’s time to sand the surface for that smooth finish.
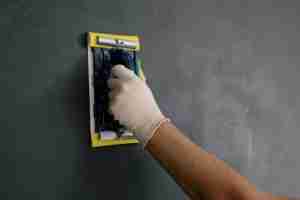
Use fine-grit sandpaper and sand gently in circular motions. The aim is to eliminate any small imperfections or bumps left after the skim coating. You want an even, smooth texture that’s perfectly primed for Painting.
Remember to wear a dust mask during this process to protect yourself from the dust particles.
Step-by-Step Skim Coating Best Practices
- Start with Clean Walls: Dust and debris can compromise your skim coat’s adherence. Clean your wall with a damp cloth and let it dry before you begin.
- Use the Right Consistency: The joint compound should be as smooth as cake batter. A thick or watery compound will provide unsatisfactory results.
- Apply Even Pressure: Distribute the joint compound evenly using balanced pressure on your taping knife. This ensures a consistent layer.
- Allow Proper Drying Time: Each layer should dry completely before applying the next. Rushing this step will affect the finish quality.
- Don’t Skimp on Sanding: After the final coat, lightly sand the surface to remove any imperfections, ensuring a smooth finish for painting.
Final Touches
After all that sanding and elbow grease, it’s time to give your newly-smoothed walls their final touches. A damp cloth will help remove any residual dust particles from sanding.
Inspect your wall for any remaining imperfections; minor touch-ups can still be done with a light skim of joint compound and another round of sanding. This is your opportunity to fine-tune any spots that may need a little more attention.
Ready for Painting
Congratulations, your walls are now ready for painting! A beautifully skim-coated wall is like a blank canvas, offering you the luxury of applying paint without worrying about unwanted textures or blemishes.
Consider using a primer before applying paint to enhance the color and ensure the paint adheres properly. With your wall in its best shape, your paint job will undoubtedly shine brighter and last longer.
Don’t want to tackle this alone? Give your walls the professional finish they deserve with Utah Drywall & Repair. Call us at 801-406-6350 or Request a Free Quote today.


