Hanging drywall can seem like a daunting task for any homeowner, but with the right tips and techniques, you can achieve professional results. Here at Utah Drywall & Repair, we specialize in making your walls look flawless. This guide will help you understand the basics of hanging drywall, from preparation to finishing touches. Whether you’re a complete novice or just need a refresher, this article has got you covered.
Contents
Gather Your Tools and Materials
Before you even think about hanging drywall, you’ll need to gather all your essential tools and materials. Proper preparation can save you tons of time and headaches later.
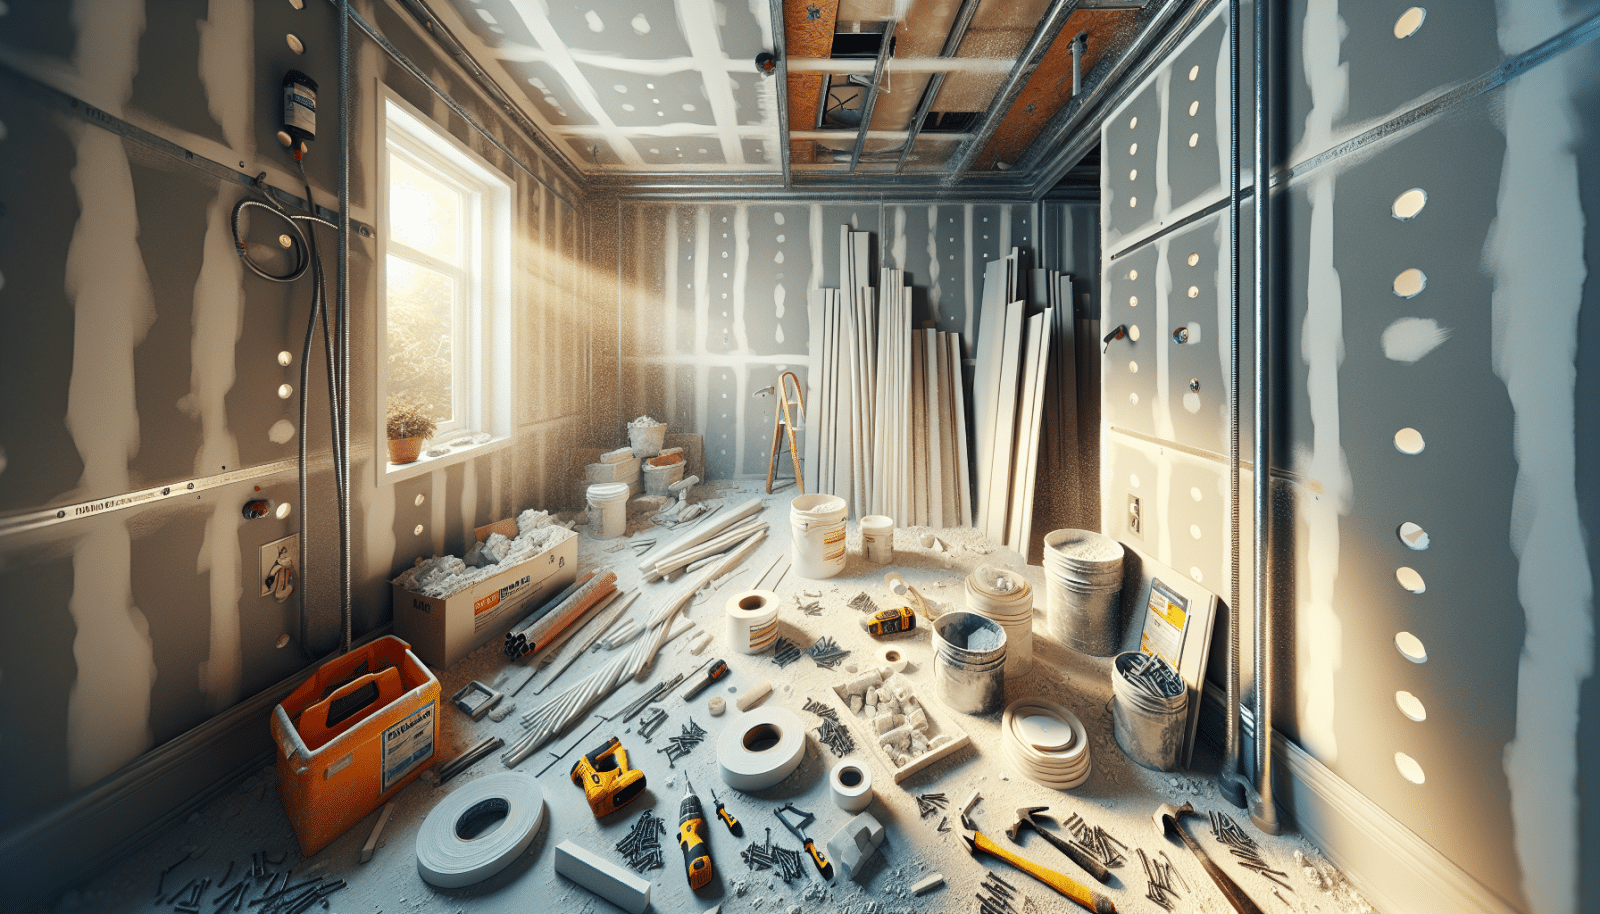
First, you’ll need a Tape measure, chalk line, and a utility knife. Additionally, make sure you have a drywall T-square, Screws, and a power drill. Don’t forget your drywall sheets, joint compound, and drywall tape. Setting everything up in advance will ensure a smoother process.
Another handy tool is a drywall lift, especially if you’re working on ceilings. Not only will this make your job easier, but it will also help keep everything aligned perfectly. Keep in mind, safety comes first: always have safety goggles and gloves on hand.
Measure and Cut with Precision
Accurate measurements are crucial for a seamless drywall installation. A minor error can result in unsightly gaps or uneven surfaces.
Start by measuring the height and width of your wall. Use a tape measure and jot down the dimensions. Next, use your drywall T-square to mark precise cutting lines on the drywall sheet.
Using a utility knife, score along the marked lines. Apply pressure to snap the drywall along the scored line. File down any rough edges to ensure a clean fit.
Mark the Studs
Finding and marking the studs is a vital step in the drywall hanging process. It ensures your drywall is securely attached to the wall frame.
Use a stud finder to locate the studs in your wall. Once found, mark their positions with a pencil. It’s also helpful to draw vertical lines extending from the floor to the Ceiling where each stud is located. This will guide you as you screw the drywall panels into place.
Don’t forget to mark the Locations of any electrical outlets or light switches. This will help you make precise cuts later.
Hang the Drywall Sheets
Now comes the fun part—hanging the drywall sheets! With your measurements and markings in place, it’s time to put up those panels.
Begin at a corner of the room and work your way out. Lift the drywall sheet into place and secure it using drywall screws. Space them about 16 inches apart to ensure the sheet is held securely.
Use a power drill to drive the screws into the studs. Make sure the screw heads are just below the surface of the drywall to avoid bumps.
Cut Openings for Outlets and Fixtures
Cutting out holes for fixtures like electrical outlets or light switches is a critical task that requires precision.
Measure the exact placement of these fixtures on your drywall panel. Use a drywall saw or rotary tool to cut out the marked sections. Ensure that the cuttings are smooth and fit snugly around the fixtures.
Double-check your measurements before making any cuts. Remember, it’s easier to cut more later than to fix a hole that’s too big.
Apply Drywall Tape
Drywall tape is essential for achieving a smooth finish. It helps conceal the seams between drywall panels.
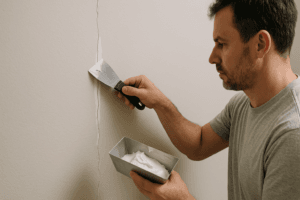
Start by applying a thin layer of joint compound along the seams. Place the drywall tape over the compound and press it down firmly. A Taping knife is useful for smoothing out any wrinkles in the tape.
Let the tape dry for a few hours before applying a second coat of joint compound. This ensures that the tape is securely bonded to the drywall.
Mud the Seams
Mudding the seams is a crucial part of the finishing process. It creates a smooth, even surface ready for Painting.
Once the tape is dry, apply a layer of joint compound over the seams using a taping knife. Spread the compound evenly, feathering the edges to blend them into the drywall.
Allow the first coat to dry, then sand it down gently. Apply subsequent layers as needed, Sanding between each layer, until the seams are completely hidden.
Sand and Smooth
Smooth walls are key to a professional-looking finish. Sanding helps remove any imperfections and prepares the surface for painting.
Use a sanding pole or block to sand down the dried joint compound. Focus on the seams and any areas with visible bumps or ridges. Be sure to wear a dust mask, as sanding creates a lot of fine dust.
After sanding, wipe down the walls with a damp cloth to remove any remaining dust. This ensures better paint adhesion later on.
Prime and Paint
The final step in your drywall journey is priming and painting. This not only adds an aesthetic touch but also protects the walls.
Apply a quality primer to the drywall using a roller. Priming helps seal the drywall and provides a uniform surface for the paint to adhere to. Allow the primer to dry fully before moving on to the paint.
Choose your desired paint color and apply it using even strokes. A second coat might be necessary for complete coverage. Once the paint is dry, your walls will be showroom-ready!
Common Mistakes to Avoid
Avoiding common pitfalls can save you a lot of time and frustration. Here are some mistakes to look out for:
- Over-sanding: Sand lightly to avoid damaging the drywall.
- Incorrect measurements: Always double-check your dimensions before cutting.
- Poor taping: Make sure the tape is smooth and free of wrinkles for best results.
- Rushing: Take your time with each step for a professional finish.
- Skipping primer: Always prime before painting to ensure a smooth, even finish.
Conclusion
Hanging drywall doesn’t have to be intimidating. With the right tools, techniques, and a little patience, you can achieve professional-looking results. Remember, if the job feels too big, Utah Drywall & Repair is here to help. Contact Us by phone # 801-406-6350 or Request a Free Quote.


