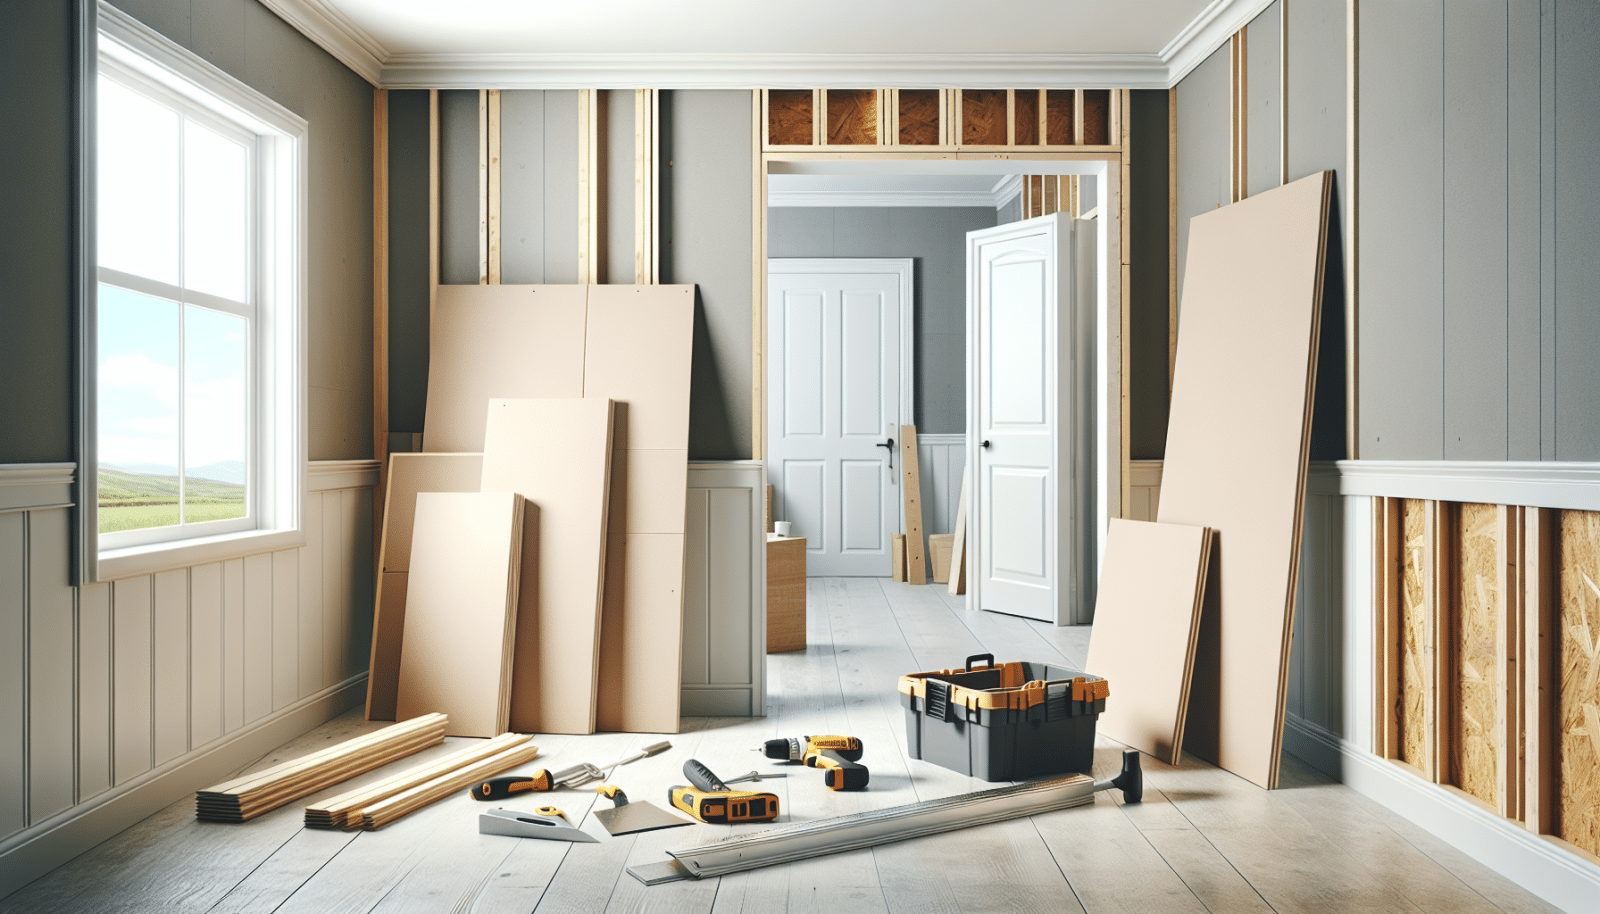
At Utah Drywall & Repair, we know that tackling a DIY drywall project can be intimidating for beginners. Luckily, we’ve crafted this comprehensive guide to help homeowners install drywall themselves with confidence. With our expert tips and techniques, you’ll transform your space in no time. Whether you’re fixing up a single room or working on an entire home, this article is your ultimate resource.
Contents
Gather Your Tools and Materials
Before you dive into drywall installation, it’s essential to gather all the necessary tools and materials. Trust us, being prepared will make the process smoother and more enjoyable.
You’ll need items like drywall sheets, measuring Tape, utility knife, drywall Screws, and joint compound. Additionally, having a drywall saw and a power drill on hand can be incredibly helpful.
Measure and Cut Your Drywall
The next step is to measure and cut your drywall sheets to the correct size. Accurate measurements are crucial for a seamless fit.
Use your measuring tape to determine the dimensions of the space. Then, employ a T-square and utility knife to cut the drywall sheets precisely.
Position and Secure the Drywall
Once your drywall pieces are cut, it’s time to position them correctly on your walls or Ceiling. This step requires attention to detail to ensure a smooth installation.
Place the drywall sheets against the studs and use drywall screws to secure them in place. A power drill will expedite this process, making your job easier and faster.
Install Drywall on Ceilings First
If you’re working on both walls and ceilings, always start with the ceiling. This approach will prevent gaps and make the overall process more efficient.
Secure ceiling drywall sheets to the joists, ensuring they are well-supported. This step might require an extra pair of hands, so don’t hesitate to ask for help.
Fit Drywall Around Outlets and Fixtures
Installing drywall around electrical outlets and fixtures can be tricky, but with a few tips, you’ll navigate it with ease.
Use a drywall saw to cut precise openings for outlets and fixtures. Make sure to measure twice to avoid any mistakes.
Tape the Seams
With the drywall sheets securely in place, it’s time to tape the seams. Seam Taping is vital for creating a smooth, professional look.
Apply drywall tape over the joints and seams, pressing it down firmly. This step will ensure that your joint compound adheres correctly.
Apply Joint Compound
Joint compound, also known as mud, is essential for hiding seams and screws. It’s what gives your walls a flawless finish.
Using a taping knife, spread a thin layer of joint compound over the taped seams and screws. Make sure to smooth it out to avoid bumps and ridges.
Let the Compound Dry
Patience is crucial during this step. Allow the joint compound to dry completely before proceeding to Sanding.
Drying times can vary, so check the manufacturer’s instructions. Rushing this step can result in an uneven surface.
Sand the Drywall Smooth
After the joint compound is dry, it’s time to sand the surface. This step will ensure your walls are perfectly smooth and ready for Painting.
Use fine-grit sandpaper to gently smooth out the compound. Be careful not to sand too much, as this can damage the drywall.
Prime and Paint
With your drywall installation complete, the final touch is priming and painting. This step will give your walls a polished, finished appearance.
Apply a primer first to seal the drywall and prepare it for painting. Once the primer is dry, paint your walls in the color of your choice.
Conclusion
Installing drywall yourself may seem challenging, but with our guide, you’ll achieve professional results. For expert help or a free quote, contact Utah Drywall & Repair by phone # 801-406-6350 or Request a Free Quote.


