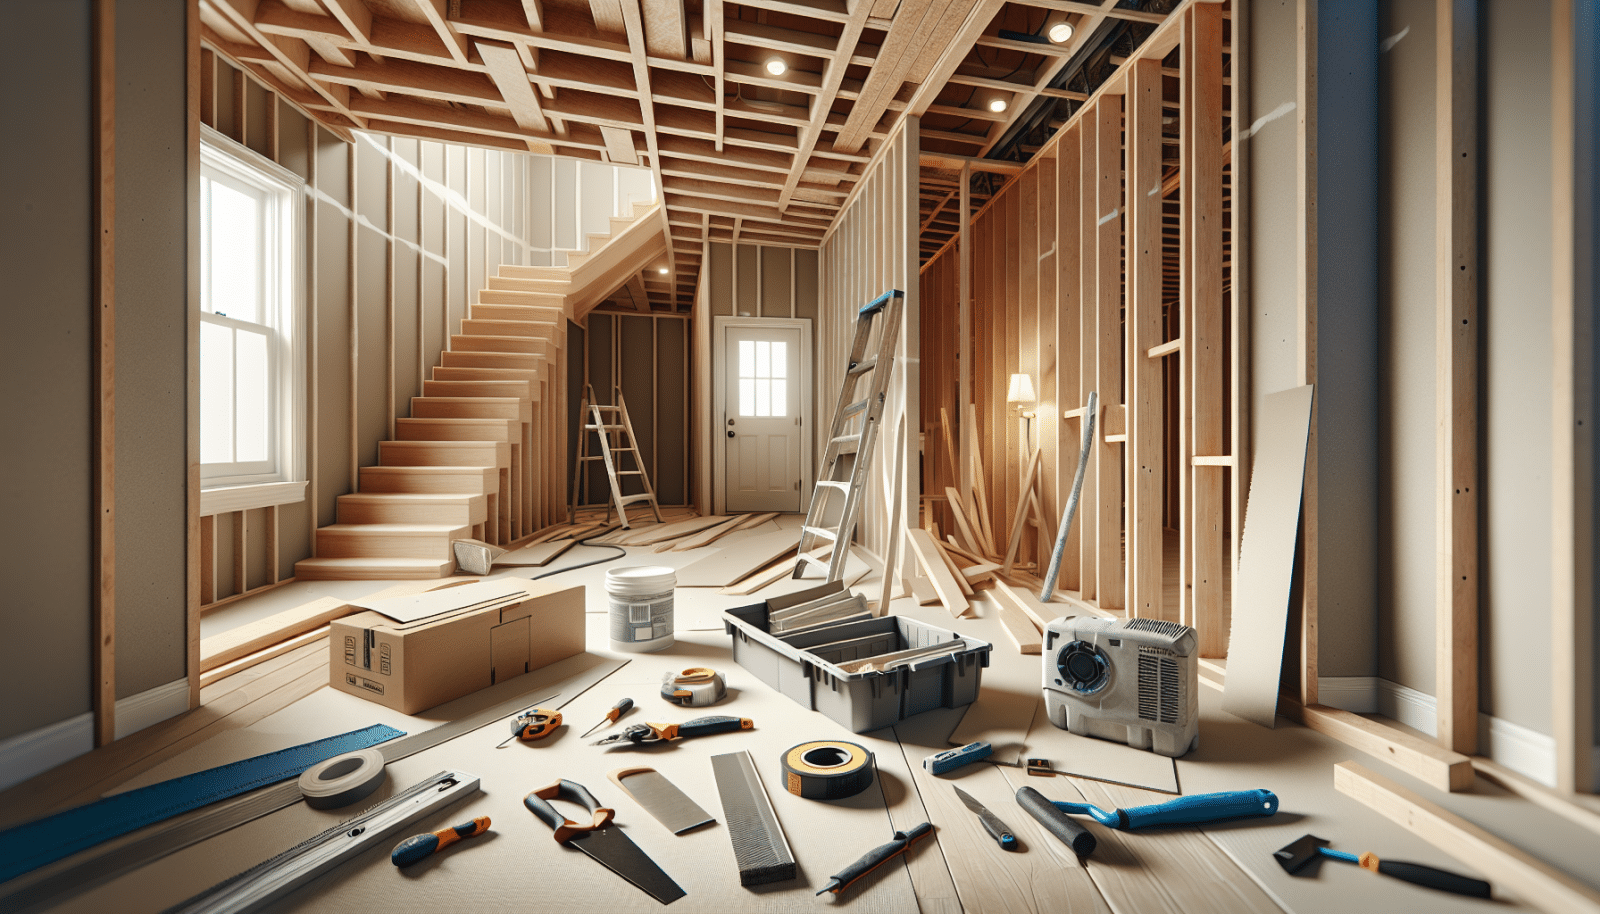
At Utah Drywall & Repair, we understand that sheetrock installation can be a daunting task for beginners. Luckily, we have created this step-by-step tutorial to guide you through the process. Whether you’re planning to remodel a room or repair damaged walls, this tutorial will help you achieve professional-looking results. We specialize in making complicated tasks easy to understand for homeowners.
Contents
Gather Your Materials
Before you start, it’s crucial to gather all the materials you’ll need. This helps you avoid unexpected interruptions.
You’ll need sheetrock, Screws, joint Tape, joint compound, and a variety of tools such as a tape measure, utility knife, and a drill.
Don’t forget safety gear like gloves and goggles. Trust us, preparation is key for a seamless installation experience.
Measure and Cut Your Sheetrock
Measuring and cutting your sheetrock correctly is foundational. Mistakes here can complicate the entire process.
Start by measuring the dimensions of the area you plan to cover. Mark these measurements on the sheetrock and cut along the lines using a utility knife.
Remember, always cut a bit larger than your measurements. It’s easier to trim down excess than add missing pieces later.
Installing the Sheetrock
Now that you’ve got your sheetrock pieces ready, it’s time to install them. This is where things start to get exciting!
Position the sheetrock against the wall frame and use screws to secure it in place. Make sure the screws are slightly below the surface of the sheetrock but not deep enough to tear the paper.
Ensure that each sheet is level and aligns well with adjacent pieces for a smooth finish.
Taping the Joints
Taping the joints between the sheets is essential for a flawless wall surface. Let’s dive into how it’s done.
Apply joint compound to the seams where the sheets meet using a taping knife. Lay the joint tape over the compound and press it in firmly.
Once the tape is in place, add another layer of joint compound to cover it and smooth it out to eliminate bubbles.
Applying Joint Compound
If you want that professionally smooth finish, applying joint compound correctly is critical.
After the first layer of joint compound dries, sand it lightly to smooth out any bumps or irregularities. Apply a second, and then a third layer, Sanding in between each layer.
Make sure the final layer is as smooth as possible. This step is the key to an impeccable wall surface.
Sanding the Surface
Sanding is not the most fun part, but it’s necessary for a flawless finish. Let’s make it as painless as possible.
Sanding smooths out any unevenness in the joint compound. Use a fine-grit sandpaper and lightly sand the surface until you’re satisfied.
Remember to wear a mask and goggles to protect yourself from dust. After sanding, wipe down the surface to remove any residue.
Priming the Walls
Priming prepares your walls for the final paint job.
Apply a coat of primer to your newly installed sheetrock. Primer seals the compound and ensures that paint adheres well.
Make sure to let the primer dry completely before moving on to Painting. This step ensures longevity and durability of your walls.
Painting the Walls
Now comes the fun part—painting!
Choose your favorite paint color and start applying it to your primed walls. Use a roller for large areas and a brush for edges and corners.
Two coats are usually recommended for best results. Let the first coat dry fully before applying the second one.
Tips for a Professional Finish
Want your walls to look like they were done by a pro? Here are some insider tips.
- Use Quality Materials: Invest in good-quality sheetrock and joint compound for a better finish.
- Don’t Rush the Process: Take your time with each step to ensure a flawless result.
- Keep Everything Clean: A clean workspace and tools will make the job easier and more efficient.
- Check for Professional Help: If you’re unsure at any step, it’s better to seek expert advice.
- Practice Makes Perfect: If you’re new to this, practice on a small area before tackling a larger project.
Common Mistakes to Avoid
Learn from others’ mistakes to ensure your project runs smoothly.
Avoid over-Screwing, which can tear the sheetrock paper, making it less secure. Another common mistake is applying too much joint compound, which makes sanding a nightmare.
Lastly, don’t underestimate the importance of sanding and priming. These steps are crucial for a professional finish.
Wrapping Up
There you have it— a detailed tutorial on sheetrock installation from start to finish. We hope this guide has made the process simpler and more approachable.
If you need any further assistance, feel free to Contact Us by phone # 801-406-6350 or Request a Free Quote.


