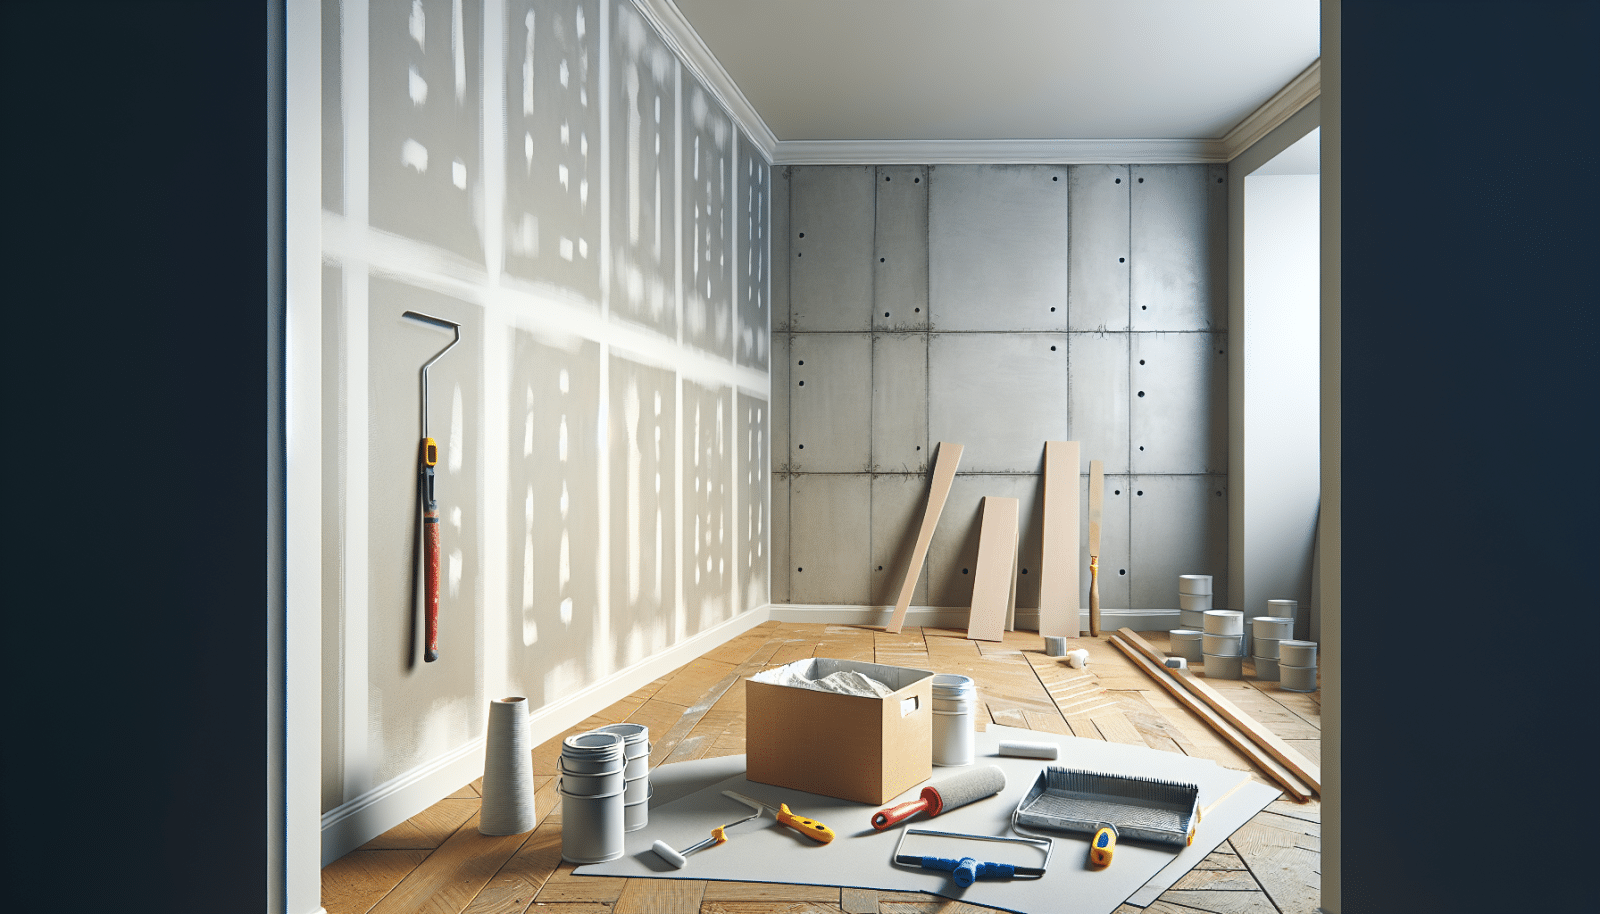
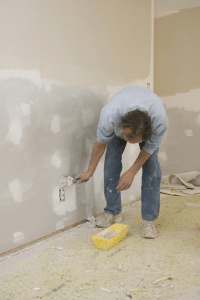
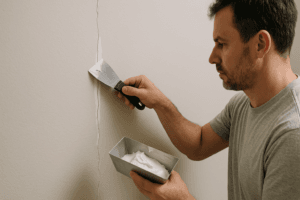
Welcome to the blog of Utah Drywall & Repair, where we write the story of smooth, impeccable walls in your home. Are those unfinished drywall seams causing you a headache? Worry no more! This article will guide you through the skill and precision needed for seamless drywall finishing, helping you create a polished and professional look in your living spaces. Whether you’re a DIY enthusiast or a homeowner seeking knowledge, we’re here to offer our expertise in making those pesky seams vanish!
Contents
- 1 Understanding the Basics of Drywall Finishing
- 2 The Right Tools for the Job
- 3 Choosing the Perfect Drywall Tape
- 4 Smooth Operator: Applying Your Joint Compound
- 5 Mastering the Art of Sanding
- 6 Problem-Solving Drywall Imperfections
- 7 Tips for Texturing Your Finished Drywall
- 8 Common Mistakes to Avoid
- 9 Caring for Your Finished Walls
- 10 Conclusion
Understanding the Basics of Drywall Finishing
Before diving into the nitty-gritty of seamless drywall finishing, it’s essential to grasp the basics. Drywall finishing is as much an art as it is a science. It involves applying joint compound—or mud—over the seams made by connecting drywall sheets. But there’s more! The real goal here is to create a surface so smooth, you’ll forget where the seams used to be.
When starting your project, begin with choosing the right materials. From drywall Tape to joint compound, every element plays a critical role. Don’t skimp on quality! A high-quality joint compound will not only make the process easier but also ensure a durable finish. As you gather your tools, remember that the right ones can transform an overwhelming task into a manageable project.
The Right Tools for the Job
A master craftsman is only as good as his tools, and drywall finishing is no different. With a well-equipped toolkit, you’ll be ready to tackle any drywall challenge that comes your way.
First, invest in a variety of putty knives. These knives come in all shapes and sizes and are essential for applying joint compound evenly. A lightweight, adjustable T-square will also make measuring and marking your drywall sheets a breeze. And who could forget the trusty drywall sander? A handheld or pole sander will help you achieve that smooth, seamless surface every homeowner dreams of.
Beyond the basics, consider having a Taping knife on hand for applying tape over seams. Its extra width can significantly streamline the process. As you gather these tools, remember—a well-prepared toolkit is the foundation of any successful drywall finishing project.
Choosing the Perfect Drywall Tape
Let’s face it, not all drywall tapes are created equal. The right tape can make a world of difference, providing a sturdy foundation for a flawless finish.
Many homeowners often find themselves overwhelmed with options, from paper tape to fiberglass mesh tape. Each has its unique benefits. Paper tape, for instance, is self-adhesive and perfect for hand applications, making it easier to achieve a flat, smooth finish. Meanwhile, fiberglass mesh tape offers extra strength and is ideal for high-stress areas or when you’re working with heavy joint compound.
Whichever tape you choose, ensure that it is compatible with your joint compound. When these two elements complement each other, the result is a strong and seamless bond that stands the test of time.
Smooth Operator: Applying Your Joint Compound
Now that we’ve gathered our supplies, let’s delve into how to apply joint compound like a pro.
Remember, patience is key. Start by applying a thin layer over all seams and Screws. Thin layers dry faster and help prevent those dreaded cracks. Use a broad putty knife, holding it at a steep angle—for control and precision. The goal is to spread the compound evenly and eliminate bubbles.
Once your first layer is dry, it’s time to apply subsequent coats, feathering out each layer further than the last. A minimum of three coats is usually sufficient. At Utah Drywall & Repair, we always emphasize the mantra: less is more. Minimalism not only saves time but also ensures a more robust, subtle blend with your existing walls.
Mastering the Art of Sanding
So, you’ve applied the joint compound and it’s dry. What’s next? Sanding! It’s a vital step that ensures your walls look flat and polished.
Begin with a coarse-grit sandpaper to knock down any high spots, then gradually work up to a finer grit for that perfect smooth finish. A mask is advisable—dust clouds aren’t just annoying; they can be harmful. Sand with gentle, circular motions, mindful not to over-sand, which can expose the tape underneath.
Your walls should now be smooth to the touch. Run your fingers across the seams to check for imperfections. A smooth finish not only enhances the visual appeal but also sets a strong foundation for paint or wallpaper.
Problem-Solving Drywall Imperfections
Bubbles, cracks, and uneven finishes can be pesky. But, no need to fret! Addressing these issues promptly will get your project back on track.
Understanding the root cause is the first step. Specifically, bubbles often form when insufficient compound is used or dry tape is applied. The solution? Remove affected areas and reapply compound, ensuring proper adhesion this time around. Cracks, on the other hand, might suggest structural movement. To fix this, reinforce the seam with additional tape and compound layers for added strength.
Mistakes happen even to the best of us. A little persistence and attention to detail go a long way in achieving that perfect finish.
Tips for Texturing Your Finished Drywall
Ready to add some flair to your freshly finished drywall? Texturing adds character and can even help hide imperfections.
There are countless texture patterns to choose from, such as the popular knockdown, orange peel, or slap brush technique. Not only do these techniques elevate your walls aesthetically, but they also add dimensionality to your space. The choice of texture can reflect your personal style and complement the rest of your interior decor.
For the best results, practice on a spare piece of drywall first. Experimenting means you’re more likely to find your perfect texture while avoiding any permanent mishaps.
Common Mistakes to Avoid
Even seasoned DIYers make mistakes, but being aware of them can save you precious time and resources.
- Skipping the Primer: Primer ensures your compound sticks well and the wall paint adheres properly. Without it, paint adhesion may be uneven.
- Improper Mixing: Mix your joint compound to a pancake-batter consistency for best results. Too thick or too thin, and the finish may suffer!
- Rushing the Process: Drying times are crucial. Rushing can cause cracks and other imperfections. Patience ensures durability.
- Over-sanding: Too much sanding can expose the tape and ruin the finish. Use a light touch and always check progress.
- Ignoring Small Details: Minor imperfections, left unattended, can become glaring eyesores. Always address these as they appear.
Caring for Your Finished Walls
Your walls are finished, seamless, and beautiful. How do you ensure they stay that way? Proper care and maintenance are crucial.
Start with regular cleaning. Dust and dirt can accumulate over time, leading to discoloration if left unchecked. A simple damp cloth can often do the trick for lighter cleaning tasks. For more thorough cleaning, mild soap and water can be quite effective.
Keeping your drywall safe also involves monitoring for moisture. Be it from leaks or condensation, moisture can spell disaster. Use dehumidifiers where necessary and fix leaks promptly to avoid further damage.
Conclusion
A seamless drywall finish is within reach, whether you’re a DIY enthusiast or a committed homeowner embarking on a home improvement journey. At Utah Drywall & Repair, we’re always ready to assist you in creating flawless walls. Contact Us today by phone 801-406-6350 or Request a Free Quote.


