Whether your walls are plagued by minor scuffs or major holes, knowing how to repair drywall is a skill every homeowner should possess. At Utah Drywall & Repair, we excel in transforming damaged walls, making them look brand new. Our aim with this guide is to empower homeowners with the knowledge and techniques for DIY Drywall Repair. From our extensive experience serving our community, we’re excited to share some insider tips and tricks.
Contents
Understanding Drywall Damage
Drywall damage can emerge in various forms, from small dings and dents caused by everyday living to larger holes resulting from accidents or plumbing issues. Recognizing the type of damage you have is the first step to effective repair. Minor imperfections often require simple fixes, such as Patching compounds, while more substantial damage might necessitate replacing entire sections of drywall.
Additionally, moisture can be a serious adversary for drywall. Identifying signs of water damage early can prevent mold growth and structural issues. Therefore, always check for discoloration or softness around suspected areas.
Preparation Is Key
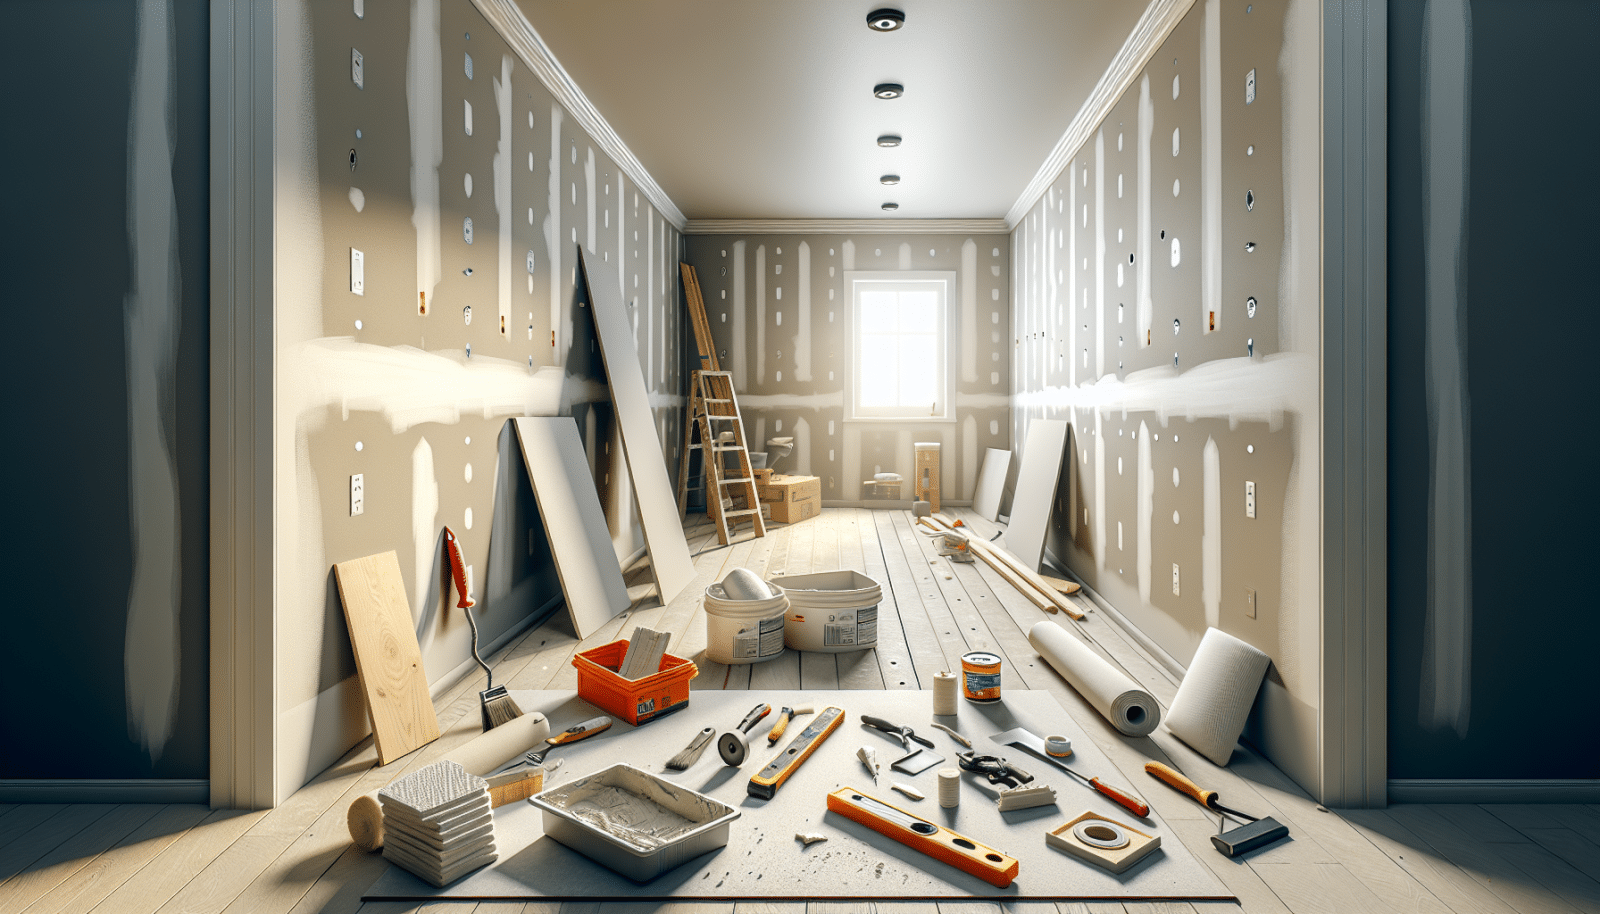
Before diving into repairs, gathering the right tools and materials is essential. A well-prepared toolbox ensures a smoother repair process. Basic supplies include joint compound, sandpaper, drywall Tape, a putty knife, and a drywall saw for more significant repairs. Ensuring your workspace is protected and clean will also make the job easier and prevent further damage or mess.
Another vital part of preparation is safety. Drywall repair can involve dust and chemical exposure, so wearing protective eyewear, gloves, and a dust mask is recommended. Proper preparation sets the stage for a successful repair job.
Patching Small Holes
For holes smaller than a quarter, spackle is your best friend. Apply it using a putty knife, smoothly covering the hole and blending the compound with the surrounding area. Allow it to dry completely, following with Sanding until the surface is smooth. This method is perfect for nail holes and minor imperfections.
painting over the patch with a matching wall paint will make the repair virtually invisible. It’s astonishing how a small fix can significantly improve the appearance of your walls.
Fixing Larger Holes
Larger holes, up to a few inches across, require a more involved approach. You’ll need a patch made from a spare piece of drywall. Cut the patch slightly larger than the hole, then trim the damaged area to fit the patch cleanly. Secure the patch with drywall tape and cover with joint compound, feathering the edges to blend seamlessly with the existing wall.
After drying, sand the area smooth. This method might take a couple of attempts to perfect, but it’s incredibly satisfying to see a big hole vanish before your eyes.
The Importance of Sanding
Sanding is a critical step in the drywall repair process. It smooths out patched areas, ensuring the repaired spots are indistinguishable from the rest of the wall. Always start with coarser grit sandpaper, moving to finer grits for a smooth finish. The goal is to make the repair area flat and flush with the surrounding wall.
Remember, effective sanding requires patience and a gentle touch. Rushing through this step can result in uneven surfaces or damaging the drywall further. The dust created by sanding can be extensive, so always wear a dust mask and keep the room well-ventilated.
Choosing the Right Joint Compound
Joint compound, also known as mud, plays a pivotal role in drywall repair. But not all compounds are created equal. For quick repairs, fast-drying compounds can be a game-changer, setting in just a couple of hours. On the other hand, all-purpose compound is versatile, suitable for both Taping and final coats, though it dries slower.
When selecting a compound, consider the size and scope of your repair. Lightweight compounds are easier to sand but might not be as durable for filling larger holes. Your choice of compound can significantly affect the quality and durability of your repair.
Mastering Drywall Tape
Drywall tape reinforces repairs, preventing cracks from reappearing. There are two main types: paper tape and fiberglass mesh tape. Paper tape is excellent for inside corners and requires a layer of joint compound to adhere to the wall. Mesh tape, while offering more flexibility, is best for flat surfaces and is self-adhesive.
Properly applying tape is crucial. For paper tape, press it firmly into the wet compound, removing any air bubbles. With mesh tape, ensure it’s evenly aligned over the seam before applying the compound. Mastery of drywall tape significantly enhances the strength and longevity of your repairs.
Maintaining Your Drywall
Regular maintenance can drastically extend the life of your drywall. This involves addressing minor damages before they become significant issues and avoiding activities that might harm the walls. For example, moving furniture cautiously and not overloading wall-mounted fixtures can prevent unnecessary damage.
Monitoring areas prone to moisture, such as bathrooms and basements, and maintaining adequate ventilation can prevent mold growth and water damage. A proactive approach to drywall maintenance will keep your walls looking their best for years to come.
Professional Vs. DIY Drywall Repair
While many drywall repairs can be comfortably handled DIY, some scenarios are best left to professionals. Large-scale damage, water damage, and repairs that involve electrical wiring or plumbing may require specialist knowledge and tools.
Assessing the extent of the damage and your own skill level is critical before embarking on a repair. There’s no shame in calling in professionals for complex repairs—it can save time, money, and ensure the job is done right.
Top 5 Drywall Repair Tips
- Use the Right Tools: Investing in high-quality tools makes drywall repair easier and yields better results.
- Be Patient: Allow ample time for patches and compounds to dry fully before moving to the next step.
- Practice Good Techniques: Learn the proper techniques for applying compound and sanding to avoid common mistakes.
- Keep It Clean: Maintaining a clean workspace and tools helps prevent additional damage and ensures a smooth repair.
- Don’t Skip Prep Work: Properly preparing the damaged area and surrounding space can make a significant difference in the quality of the repair.
Final Thoughts
We hope this guide has equipped you with the knowledge to tackle your drywall repairs with confidence. Remember, whether you’re patching a small hole or fixing a larger issue, taking the time to do the job right will pay off in the long run.
For those repairs that seem a bit too daunting, remember, we’re here to help. Our experienced team at Utah Drywall & Repair is just a phone call away at 801-406-6350 or you can Request a Free Quote. Let us help you keep your walls in perfect condition.


