Contents
Understanding Drywall Damage
Drywall damage can come in many forms, and identifying the type of damage is the first step towards effective repair. Whether it’s from door handles, furniture movements, or even water damage, each problem has its own ideal solution. Recognizing the difference between superficial cracks and structural issues is crucial for determining the repair strategy.
Being familiar with drywall’s composition also helps in understanding how it reacts to different stressors. Made primarily of gypsum sandwiched between two sheets of paper, drywall can be surprisingly resilient, yet certain factors can compromise its integrity. Knowing what you’re dealing with is essential for a successful Patching job.
The Right Tools for the Job
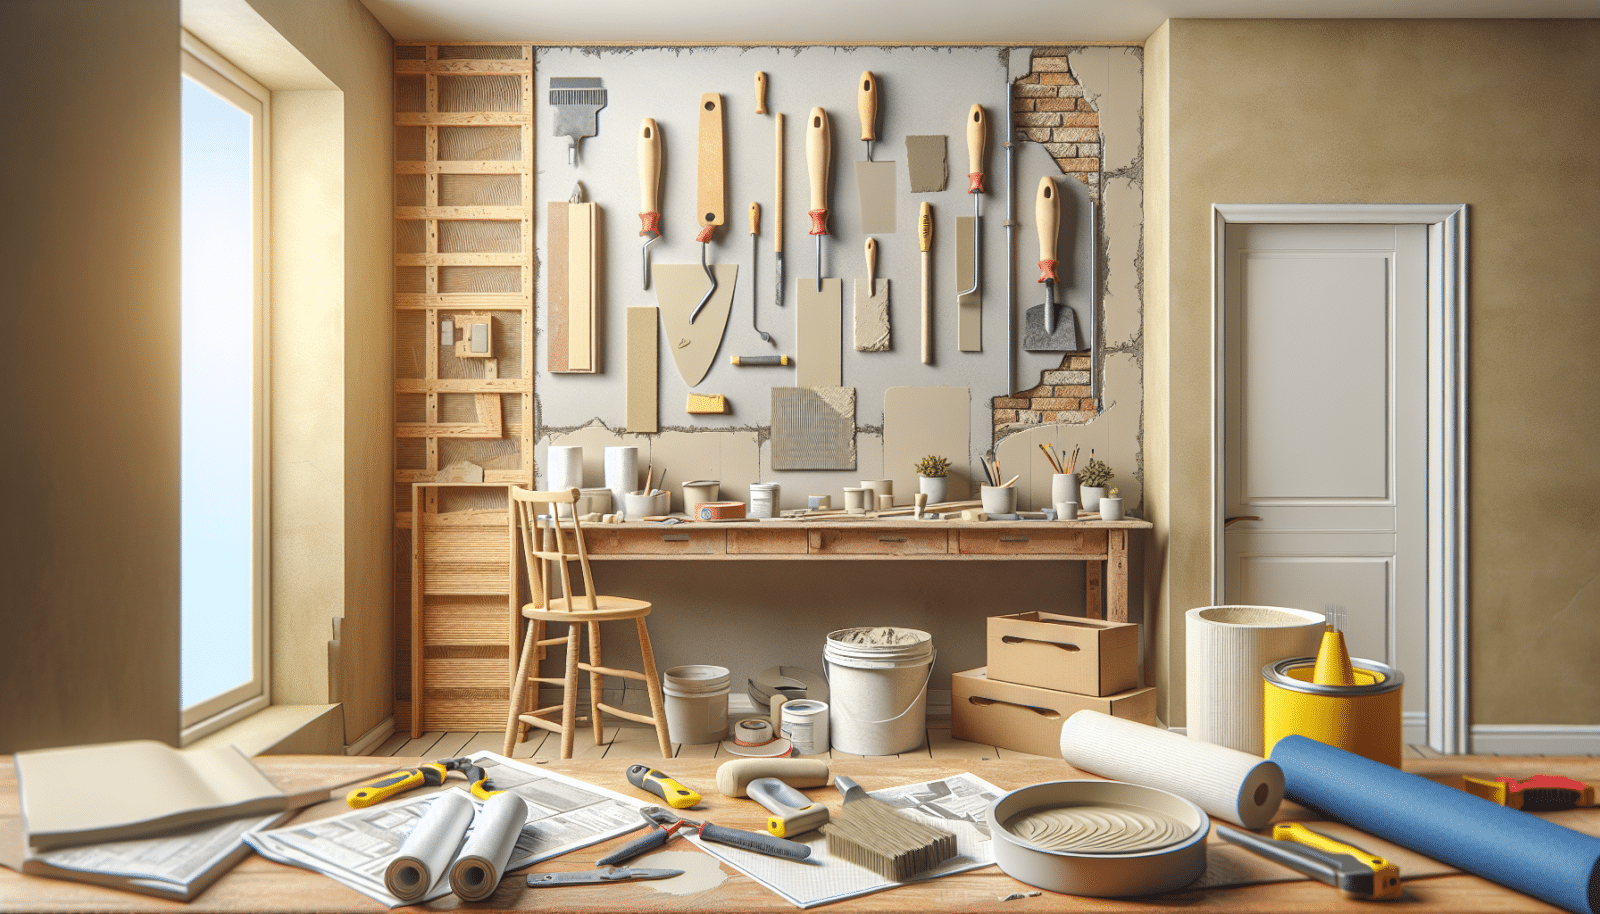
Having the correct tools at your disposal is half the battle when it comes to Drywall Repair. You’ll need more than just spackle and a putty knife to achieve a smooth, professional finish. Investing in the right tools not only makes the job easier but also ensures a seamless blend with the surrounding wall.
From Sanding blocks to Taping knives and joint compound, using quality tools and materials can significantly affect the outcome of your repair. Additionally, don’t underestimate the importance of protective gear like masks and goggles, especially during sanding processes. These precautions keep you safe and ensure the job is done right.
Preparation is Key
Before diving into the repair, proper surface preparation is paramount. This includes cleaning the area, removing any loose debris, and ensuring the surface is smooth and ready for patching. Skipping this step can lead to poor adhesion of materials and an imperfect repair that may not last.
Additionally, protecting the surrounding area from dust and spackle splatter is important. Using drop cloths or plastic sheeting can save you a lot of clean-up time and protect your furniture and floors from potential damage.
Step-by-Step Patching Process
The actual patching process might seem daunting, but by breaking it down into manageable steps, you can tackle even the most intimidating drywall repairs. Start by applying a patching compound using a putty knife, spreading it evenly over the hole or crack. Allow ample time for the compound to dry, following the manufacturer’s instructions.
After the initial patch has dried, sand the area smoothly to ensure it blends seamlessly with the surrounding wall. This might require several applications of compound and sanding to achieve a perfect finish. Patience and attention to detail during this phase are crucial for a flawless outcome.
Texturing Techniques
Matching the texture of your patch with the rest of your wall is what separates a good drywall repair from a great one. Whether your walls have a smooth finish or a more complex texture, recreating that look on your patch is essential for a consistent appearance.
There are several techniques to achieve this, from using textured rollers to hand-applied stippling. The key is to practice on a piece of scrap drywall until you get a match that’s close to your wall’s texture. Experimenting before application ensures confidence and proficiency when it’s time to texture your patch.
Painting and Finishing Touches
Once your patch is textured and smooth, the final step is painting. Choosing the right paint to match your existing wall color is crucial for an invisible repair. This may involve taking a small chip of paint to your local hardware store to get a custom match.
Applying primer before the final coat of paint is also advisable, as it helps the paint adhere better and provides a more uniform finish. A careful approach to painting will put the finishing touches on your drywall patch, making the repair virtually undetectable.
Avoiding Common Mistakes
Even with the best intentions, it’s easy to make mistakes when repairing drywall. One of the most common errors is applying too much patching compound, which can lead to unnecessary sanding and a noticeable bump on the wall. Being mindful of the amount of compound used and sanding properly can avert this issue.
Another frequent mistake is skipping the priming step before painting. This can result in an uneven finish or paint that peels off prematurely. Taking the time to prime ensures a durable and aesthetically pleasing repair.
When to Call the Professionals
While many drywall repairs can be handled as DIY projects, there are instances when calling in the professionals is the best course of action. Large holes, structural damage, or water damage might require more expertise and specialized tools to repair effectively.
At Utah Drywall & Repair, we’re always ready to help with your more challenging drywall repair needs. Our experienced team can handle any repair, big or small, ensuring your walls are in top condition.
Maximizing the Lifespan of Your Drywall
- Avoid Moisture Exposure: Keeping drywall dry is essential for its longevity. Be vigilant about leaks and address them promptly to prevent water damage.
- Handle with Care: Be mindful of how furniture and door handles can impact your walls. Installing protective buffers can minimize accidental damage.
- Regular Inspection: Periodically check your walls for signs of damage. Early detection makes repairs easier and less costly.
- Proper Installation: If you’re installing new drywall, ensuring it’s done correctly can prevent a myriad of problems down the line. Consider hiring professionals for installation.
- Maintenance: Regular maintenance, including proper painting and sealing, can protect your drywall from wear and tear, extending its life.
Conclusion
Patching drywall might seem like a daunting task, but with the right tools, techniques, and a bit of patience, it’s definitely achievable. Remember, for those jobs that feel out of your league, we at Utah Drywall & Repair are just a phone call away at 801-406-6350, or you can Request a Free Quote. We’re eager to assist in keeping your walls looking their best.


