Contents
Identifying Water Damage
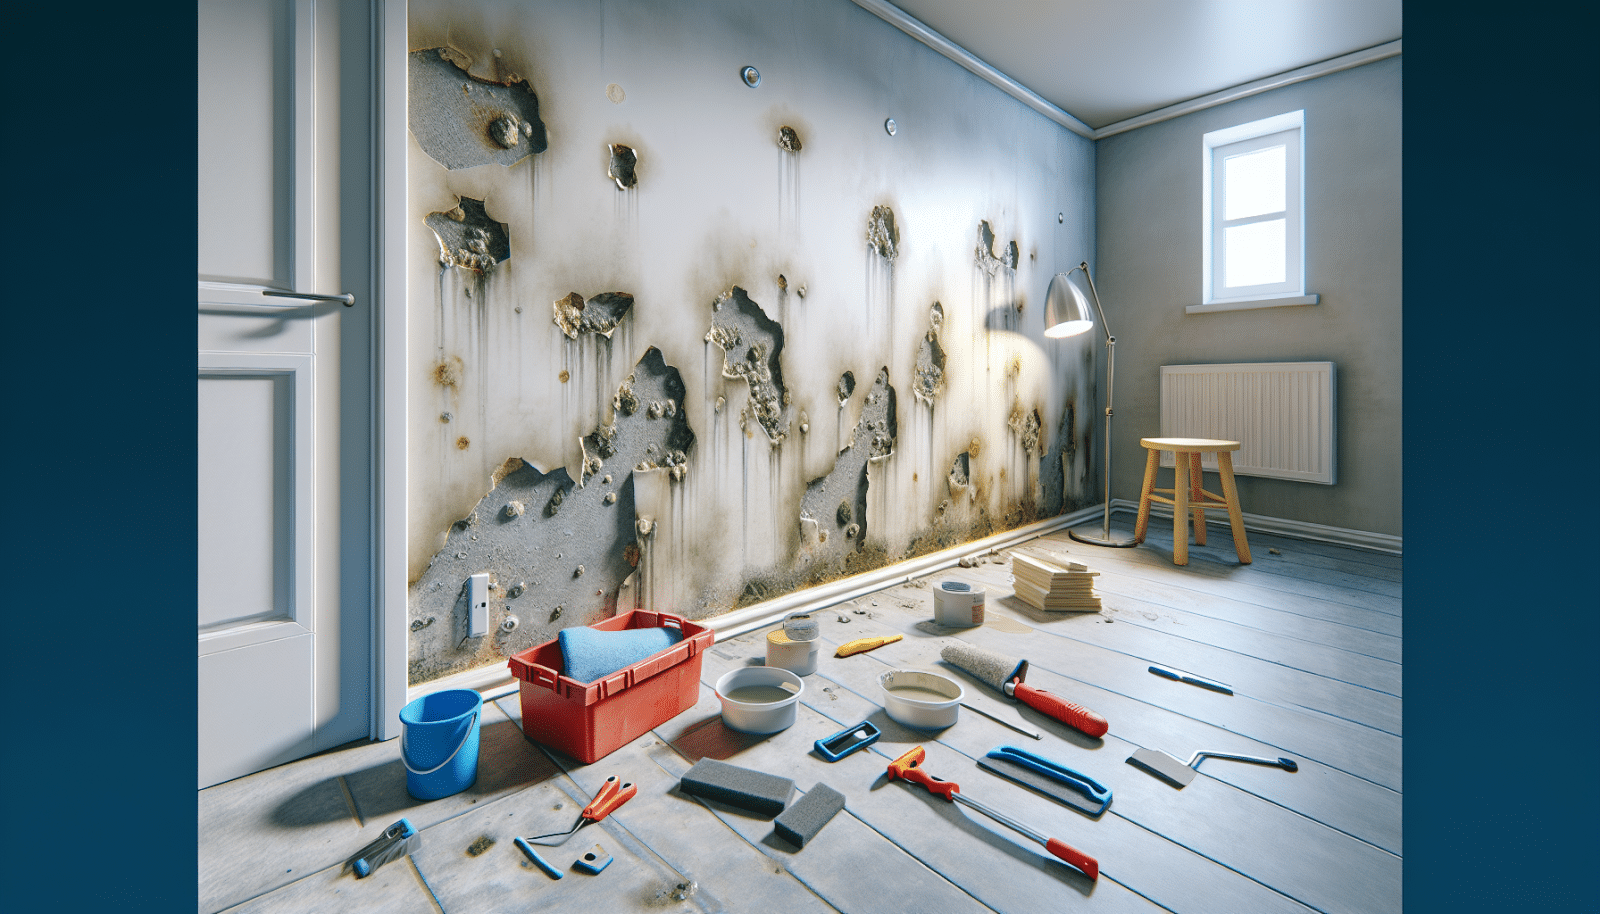
Before diving into repairs, it’s crucial to identify the extent and source of the water damage. Look for discoloration, warping, or a musty odor as these are telltale signs. Ignoring such damage can lead to more significant issues, including mold growth, which poses health risks and further damage to your home.
If you’re unsure about the damage, we recommend consulting a professional to assess the situation. Early detection and repair can save you from an expensive and extensive restoration process down the line.
Stopping the Source of Water
The first step in any repair is to stop the source of water. This may involve repairing leaking pipes, addressing foundation cracks, or ensuring proper exterior drainage. Failing to address the root cause will only lead to recurring problems, making your repair efforts futile.
Once the source of water is controlled, allow the affected area to dry completely. This can be expedited with fans, dehumidifiers, or natural ventilation, depending on the damage’s extent and your home’s conditions.
Removing Damaged Drywall
Cutting out the damaged section of drywall is essential for a thorough repair. Use a utility knife to score the wall around the affected area, then carefully remove the damaged section. This creates a clean space for inserting the new drywall patch.
It’s important to remove any wet insulation or other materials behind the drywall to prevent mold and mildew growth. Proper disposal of these materials is crucial for your safety and maintaining a healthy living environment.
Preparing for the Patch
Preparation is key for a seamless Drywall Repair. Measure and cut a piece of new drywall to fit the gap left by the removed section. Be precise; a snug fit is necessary for a smooth finish.
Next, secure a support structure, such as wooden boards, inside the cavity if necessary. This will provide a stable base to attach the new drywall section, ensuring longevity and durability of the repair.
Patching and Sanding
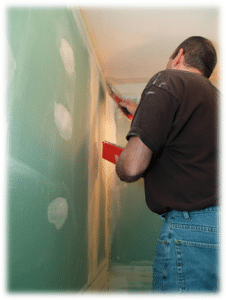
With the new drywall in place, it’s time to patch. Apply joint compound (mud) over the seams and gently place paper or fiberglass Tape over the mud, smoothing out any bubbles or wrinkles. This step might require several coats, allowing adequate drying time between each.
Once the mud has dried completely, sand the area until smooth. This prepares the surface for priming and Painting, ensuring a seamless match with the surrounding wall.
Priming and Painting
Never underestimate the power of priming. Apply a primer designed for use on drywall to ensure an even and smooth finish. Priming also prevents moisture from seeping through and allows the topcoat of paint to adhere better.
After priming, paint the repaired area to match the rest of your wall. It might take several coats to completely camouflage the repair. Patience here will yield a visually pleasing and long-lasting result.
Mold Prevention Tactics
- Proper Ventilation: Ensure your home, especially areas like bathrooms and kitchens, are well-ventilated to prevent moisture buildup.
- Regular Inspections: Regularly inspect your home for leaks or signs of water damage to catch and address problems early.
- Use of Dehumidifiers: Utilize dehumidifiers in damp areas to keep humidity levels in check and inhibit mold growth.
- Mold-resistant Drywall: In high moisture areas, consider installing mold-resistant drywall for an added layer of protection.
- Prompt Repairs: Address water leaks and damage promptly to minimize the risk of mold developing.
When to Call a Professional
DIY repairs can be cost-effective and fulfilling, but sometimes the damage is too extensive or complex for a do-it-yourself project. If the water damage has affected a large area, involves mold remediation, or if you’re unsure about your ability to complete the repair safely and effectively, it’s time to call in the professionals.
Our team at Utah Drywall & Repair has the tools, experience, and knowledge to tackle any drywall water damage repair, ensuring your home is restored to its former glory efficiently and effectively.
Preventing Future Water Damage
Prevention is always better than cure. Inspect your home regularly for signs of leaks or damage, and address minor issues before they escalate. Ensure your home’s exterior, particularly the roof and gutters, is well-maintained to prevent water infiltration.
Consider waterproofing solutions, such as sealants or membranes, especially in areas prone to moisture. This proactive approach can save you time, money, and the inconvenience of dealing with future water damage.
Maintaining Your Drywall
Maintaining your drywall is key to ensuring its longevity and avoiding potential water damage. Regularly check for cracks or holes and repair them promptly. Be mindful of the humidity levels in your home, as excessive moisture can weaken drywall and lead to damage.
Implementing the mold prevention tactics mentioned earlier will also contribute to maintaining healthy and intact drywall throughout your home.
Ready to tackle your drywall water damage, but need some professional guidance or service? Don’t hesitate to reach out to us by phone at 801-406-6350 or Request a Free Quote. Let us help you restore your home’s beauty and integrity.


