Drywall Repair looks simple on YouTube, right? One guy, one putty knife, magically smooth walls. But real life—especially around Salt Lake County, Davis County, or Utah County—comes with curious nail pops, drywall Tape that peels after a humid spring, or a kid who discovers the Ceiling is a great place for soccer practice. You know what? It’s fixable. And honestly, for most homeowners, learning a few wallboard repair techniques is more satisfying than you’d think. Let me explain how to keep your walls looking calm, even when life gets a little chaotic.
Contents
- 1 Okay, first: what is wallboard repair, really?
- 2 Tools you’ll actually need (and a couple you don’t)
- 3 Step-by-step: small holes, big holes, and that ugly water damage
- 4 Finishing touches that make the repair disappear
- 5 Common mistakes and how to avoid them
- 6 Seasonal tips for Utah homeowners
- 7 When to call Utah Drywall & Repair (yes, sometimes it’s worth it)
Okay, first: what is wallboard repair, really?
Wallboard (a.k.a. drywall or Sheetrock) is the skin of your home. It covers studs, hides insulation, and gives you something to hang family photos on. Repairing it can mean anything from filling a thumb-sized hole to replacing a water-stained section after a roof leak. Sounds straightforward, but here’s the trick: small mistakes show. A poor patch reads like a scar. Done right, the wall vanishes. Done wrong, well—everyone notices.
Tools you’ll actually need (and a couple you don’t)
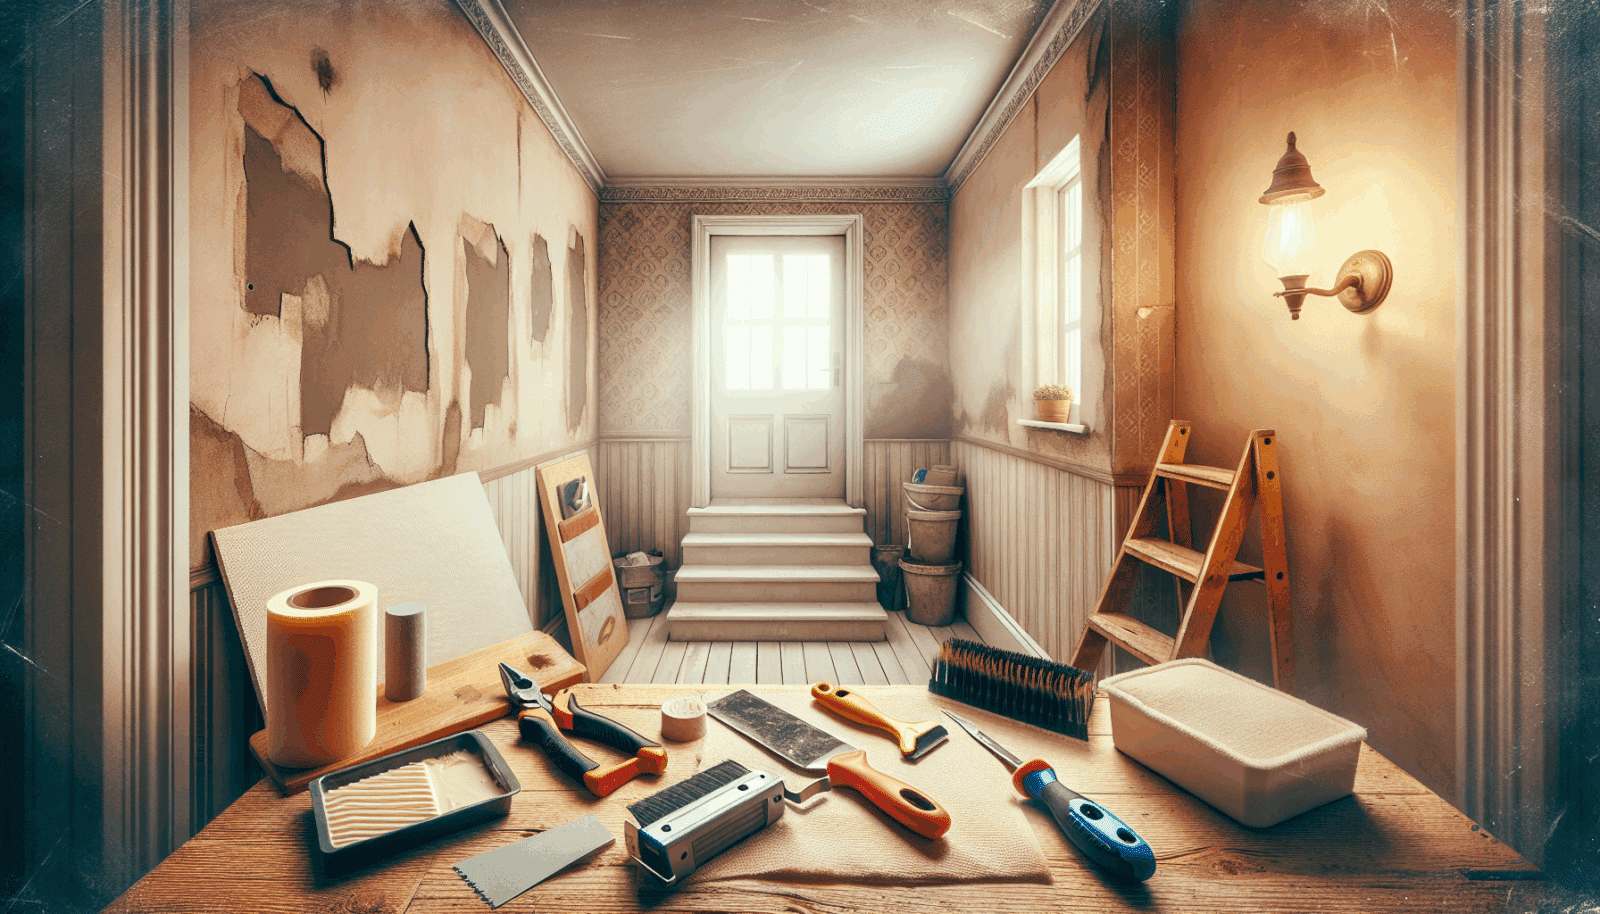
Here’s the thing: you don’t need a truck full of tools. But a few good ones make the job faster and cleaner. Quality matters; cheaper tools can leave you frustrated.
- Knives — 6-inch and 12-inch Taping knives (USG or Hyde are solid).
- Joint compound — Lightweight pre-mixed for finish work; setting-type “hot mud” (Durabond) for fast jobs.
- Tape — Paper tape for seams; fiberglass mesh for quick holes.
- Sanding — 3M microfiber sanding pads or a sanding block; avoid dust-cloud sanders unless you have a HEPA vacuum.
- Cutting & power — Oscillating tool (Dewalt or Milwaukee) or a jab saw for big patches.
- Patching — Ready-made patch kits are handy for tiny holes; DAP DryDex spackling is forgiving and color-changes when dry.
A couple of things you don’t need: a giant drywall lift for a vertical patch, and the fanciest sander if you’re working in a single room. Save the heavy gear for Commercial jobs.
Step-by-step: small holes, big holes, and that ugly water damage
Let’s break it down by size — because technique changes.
Small holes (nail holes, picture hangers)
Small holes are the easiest and the most satisfying. Clean out loose paper. Apply a bit of spackle with a small knife. Smooth it flat, feathering the edges. Let it dry, sand lightly, and paint. Done. Honestly, these take less time than brewing a pot of coffee.
Medium holes (doorknob strikes, kids’ experiments)
For holes up to about 6 inches, use a patch:
– Trim back ragged paper to square.
– Use a self-adhesive mesh patch (3M or Fibatape) or a backing method with a scrap of drywall secured behind the hole.
– Apply two coats of joint compound, letting each dry fully; feather the edges wide.
– Sand gently between coats. Paint when smooth.
You’d think one thick coat would work. It doesn’t. Thin coats dry better, shrink less, and sand like a dream.
Large holes & wet rot (sections that need replacement)
Big patches are more like carpentry than art. If water damaged a section (common after spring storms or ice damming in Utah winters), first dry it and check framing for rot or mold. Cut out the damaged drywall to the center of studs. Measure and cut a new piece of ½” or 5/8″ drywall to fit. Screw it to the studs, tape the seams with paper tape, and apply three coats of compound — each wider than the last. Use setting-type compound for cold rooms or quick turnarounds. Sand between coats, prime, and paint.
Here’s a mild contradiction: replacing a whole sheet can be easier than patching a tricky seam. It’s true. Full sheets line up cleanly; awkward patches take finesse.
Finishing touches that make the repair disappear
This is where patience pays off. Texture Matching is the secret — and it can be maddening. Smooth walls are easiest: sand to a soft feather and prime. But if your wall has knockdown texture, orange peel, or Popcorn, take a minute to match it.
- Smooth walls: a skim coat and fine sand.
- Orange peel: use an aerosol texture can or a hopper gun if you’ve got it.
- Knockdown: spray then wait a short time and trowel gently with a knife.
Prime before paint. Primer seals joint compound and helps paint hide seams. Skipping primer is tempting, but stains and patches will show through. Trust me.
Common mistakes and how to avoid them
You’ll hear a lot of folklore: sand until it hurts, use paper tape only, never use mesh. Some of that is true. Some isn’t. Let me point out a few traps:
- Rushing dry time. Compound that isn’t fully dry will crack when painted.
- Over-sanding. Sand too much and you expose tape — then you’ll need another coat.
- Skipping primer. I mentioned this, but it’s worth repeating: primer saves you from ugly surprises.
Also, be kind to your lungs. Wear a dust mask or respirator. Drywall dust gets everywhere and is terrible to inhale.
Seasonal tips for Utah homeowners
Living in Salt Lake County, Davis County, or Utah County means seasonal humidity swings and winter heating that dries walls out. In spring, watch for popped nails and hairline cracks — they love temperature and moisture changes. In winter, keeping humidity balanced in the home helps reduce cracking. A basic dehumidifier or adjusting HVAC settings can make repairs last longer.
When to call Utah Drywall & Repair (yes, sometimes it’s worth it)
You can do a lot yourself. But call the pros if:
– The damage involves electrical wiring or plumbing.
– There’s active mold or structural rot.
– You want a perfect texture match across a large area.
Our team serves Salt Lake County, Davis County, and Utah County. We’ve got the tools (and the patience) for tricky seams and stubborn textures. Plus, we clean up like we live there — because we often do; many of our customers are neighbors.
If this sounds like more than you want to handle, give Utah Drywall & Repair a shout. Call us at 801-406-6350“>801-406-6350 or Request a Free Quote – please visit our contact page or email us.’);”>Request a Free Quote. We’ll walk you through what’s needed, whether it’s a quick patch or a room that needs real attention. Fixing walls is part craft, part know-how, and yes — a little humility. But when your wall looks right again, that feeling? Priceless.


